Peppermint Bark
This easy peppermint bark combines semisweet or milk chocolate, creamy white chocolate, and crushed candy canes in a festive, no-bake treat you can break into shareable pieces.
A sheet of peppermint bark makes holiday candy feel wonderfully approachable. There is no dough to mix or sugar syrup to cook: the work is in melting gently, spreading the chocolate, and adding the candy before the surface sets. A light swirl joins the two chocolate colors without blending them completely, leaving a pretty marbled top. This measured version matches the preparation shown in the supplied images. Use the peppermint extract only if you want that extra mint flavor; the crushed candy canes already bring their familiar holiday crunch.
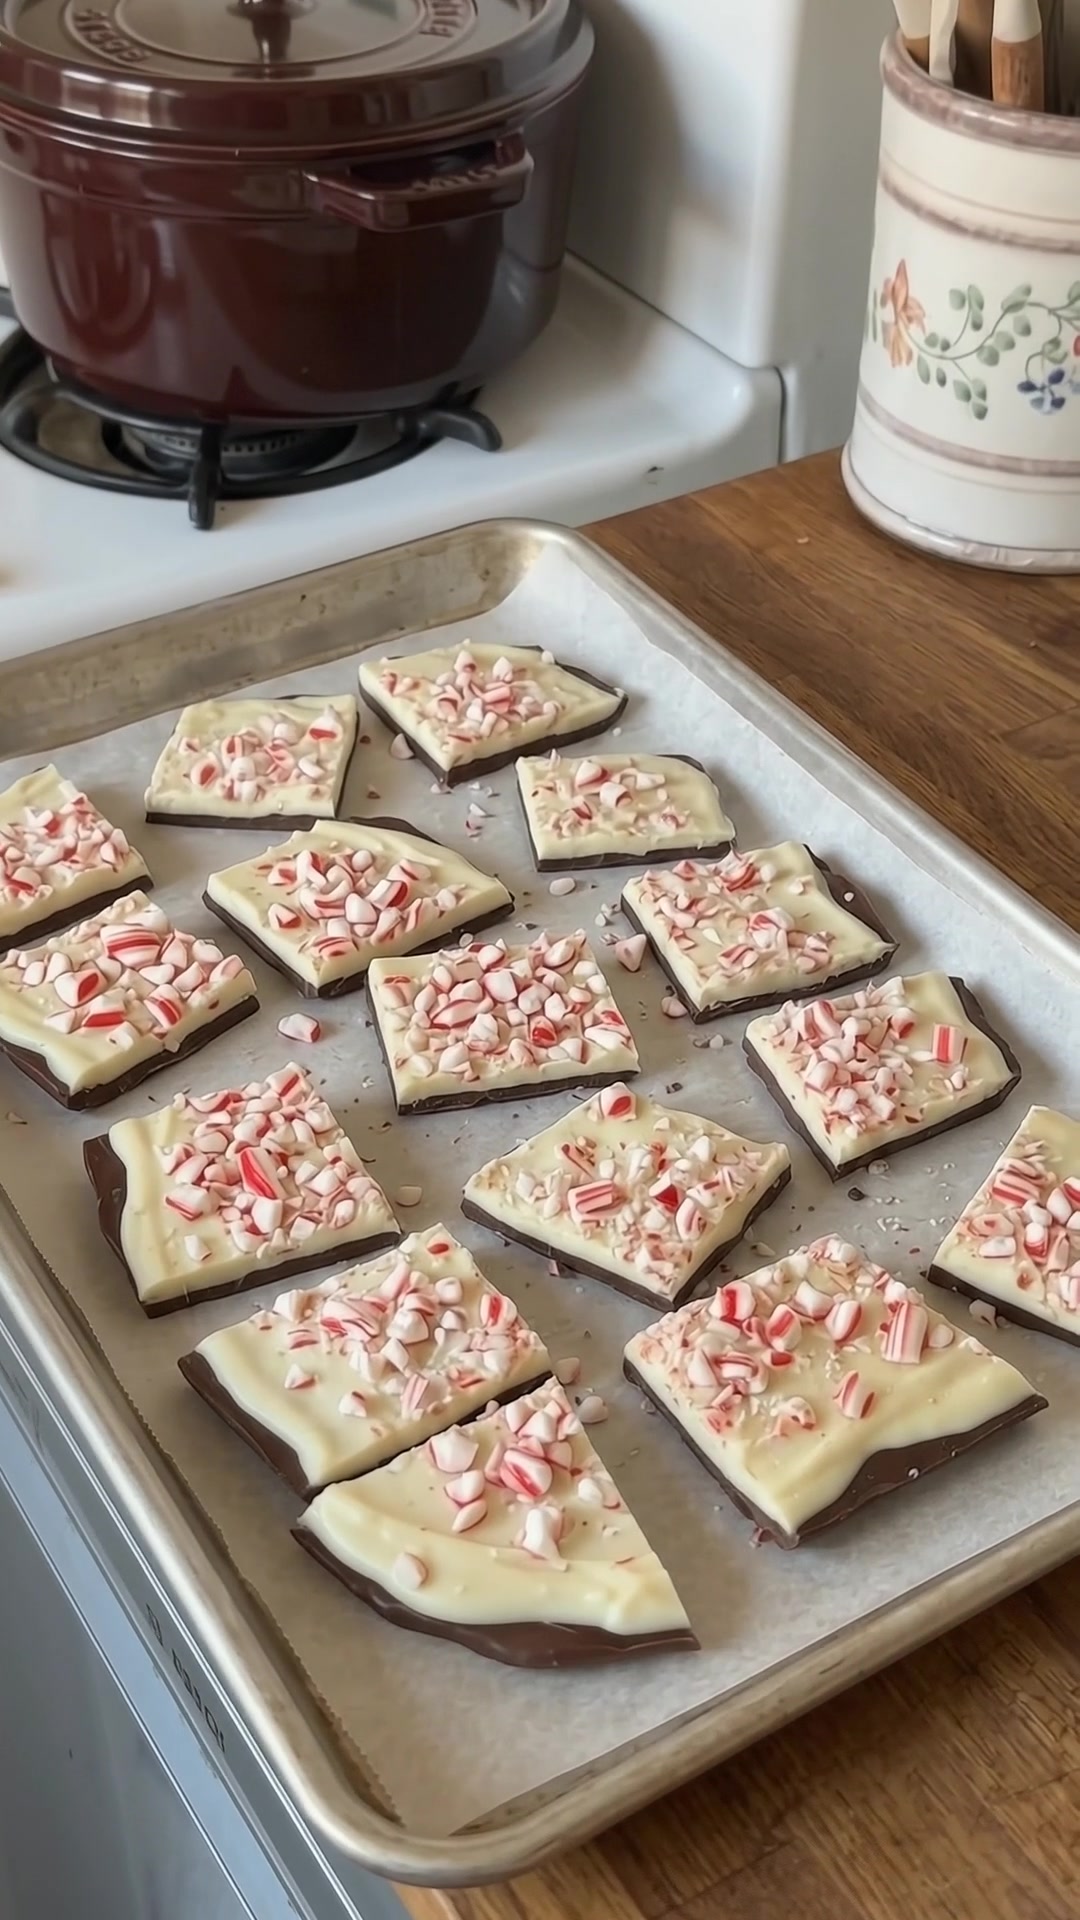
Why You’ll Love This Recipe
- Three main ingredients create a colorful Christmas candy.
- Peppermint extract is optional, so you can choose the mint intensity.
- No oven or candy thermometer is needed.
- Swirled chocolate looks festive without precise decorating.
- Irregular pieces fit easily onto dessert trays and into gift boxes.
Recipe Details
Makes: about 16–20 pieces. Method: no-bake. Allow about 20 minutes for melting, spreading, and decorating, plus 30–45 minutes in the refrigerator to firm. Piece size and bark thickness determine the exact yield. Use a rimmed baking sheet lined with parchment, and check that it fits in your refrigerator before you begin.
Ingredients
- 12 ounces semisweet or milk chocolate, chopped
- 12 ounces white chocolate, chopped
- ½ teaspoon peppermint extract, optional
- ⅓ cup crushed candy canes, plus more for topping
Choose chocolate you enjoy eating, since it is the main flavor in the finished bark. Chop it into fairly even pieces so it melts more consistently. The semisweet or milk chocolate forms the bottom layer, while the white chocolate forms the pale top. Use peppermint extract rather than an unspecified mint flavoring if you include the optional addition.
Crush the candy canes into small pieces with some texture, rather than reducing all of them to powder. A sealed bag and gentle pressure from a rolling pin work well. Have the measured candy and any additional topping ready before spreading the chocolate so you can decorate immediately.
Numbered Instructions
- Line the sheet. Cover a rimmed baking sheet with parchment paper. Smooth the paper so it lies fairly flat, and clear a level space in the refrigerator for the finished tray.
- Melt the bottom chocolate. Gently melt the chopped semisweet or milk chocolate in a clean, dry bowl. Use short microwave intervals with stirring between them, or a heatproof bowl over barely simmering water. Stop heating when the remaining small pieces can melt as you stir.
- Spread the base. Pour the melted chocolate onto the parchment and spread into a rectangle with a spatula. Aim for an even layer rather than filling the entire sheet. The perimeter can remain a little rustic because the bark will be broken into pieces.
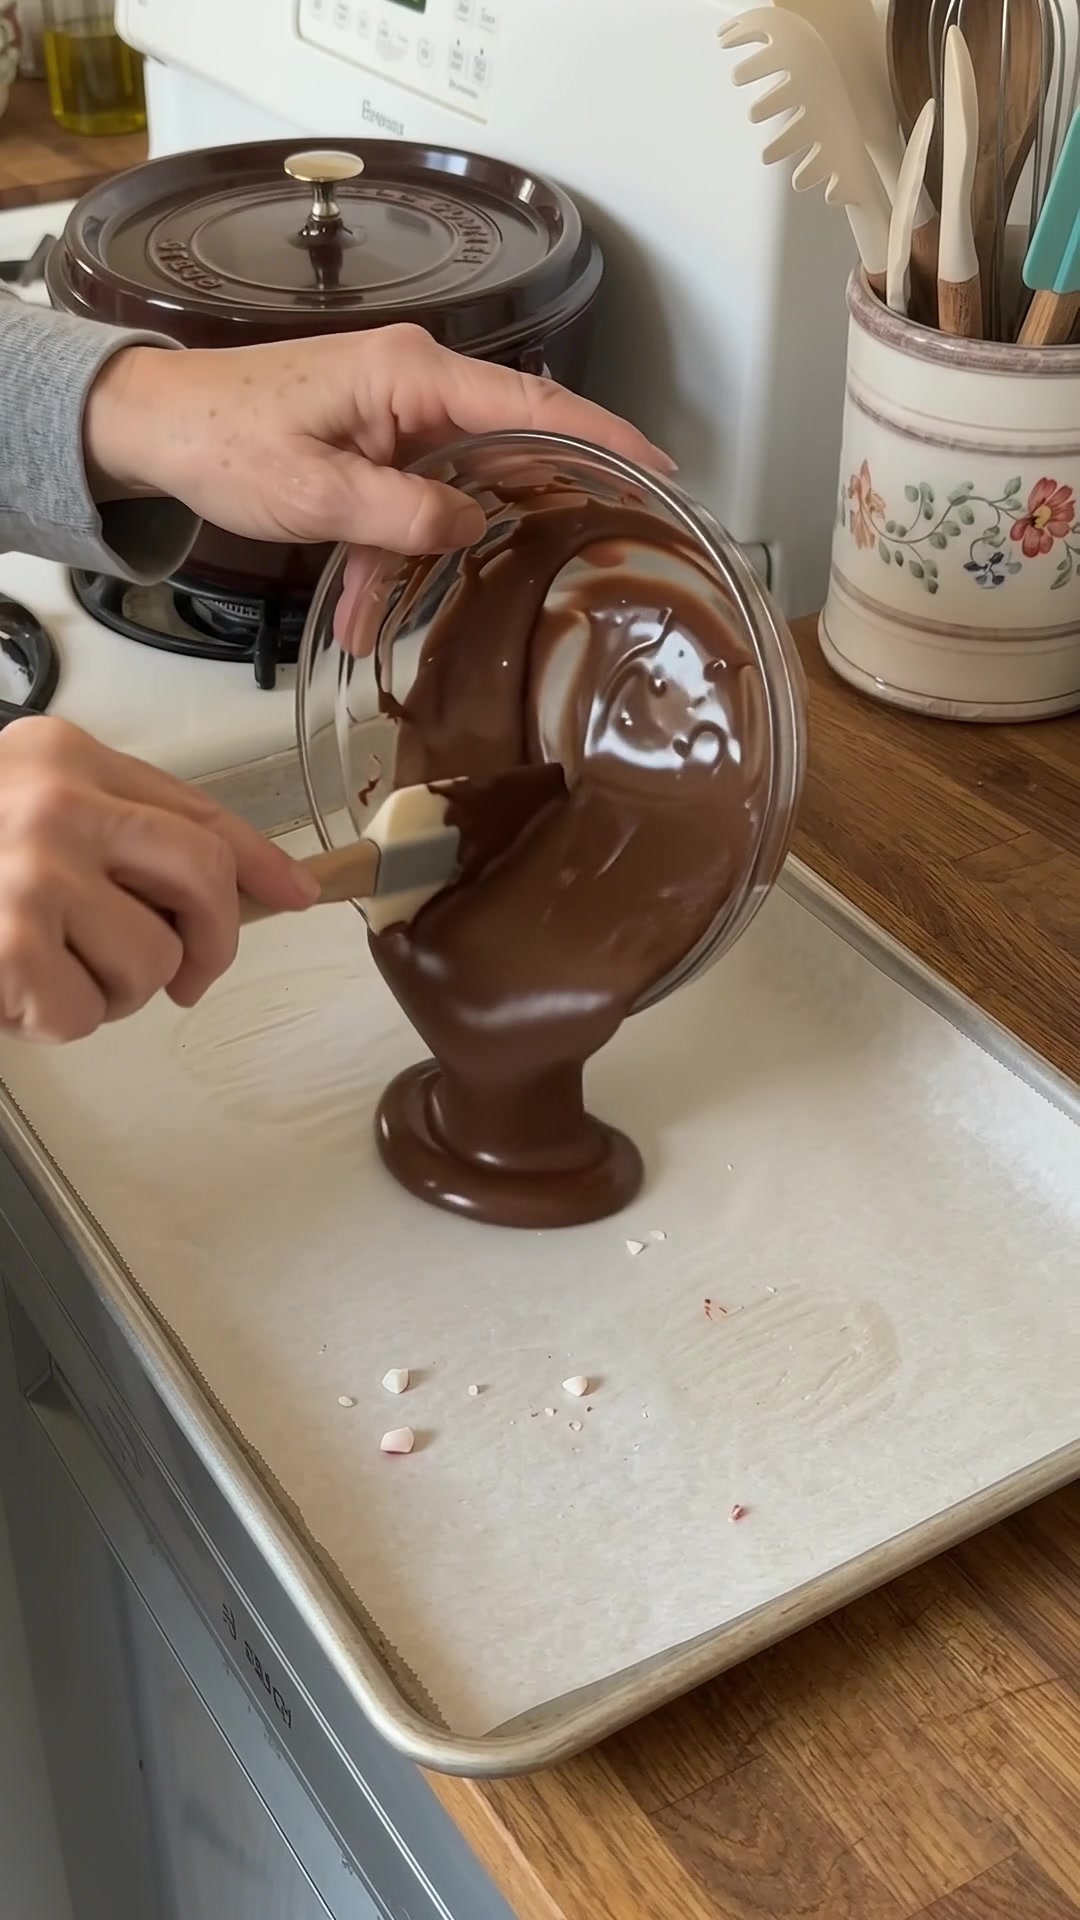
- Melt and add the white chocolate. Gently melt the chopped white chocolate in a separate clean, dry bowl, stirring frequently. Stir in the optional ½ teaspoon peppermint extract if using. Spread the white chocolate over the dark base while the layers are still soft enough to swirl.
- Swirl and decorate. Draw a knife gently through the layers to create a few marbled curves. Stop before the two colors blend into one. Sprinkle the crushed candy canes over the soft surface, using the measured ⅓ cup and additional pieces for topping as desired. A light touch helps the pieces adhere without dragging the chocolate.
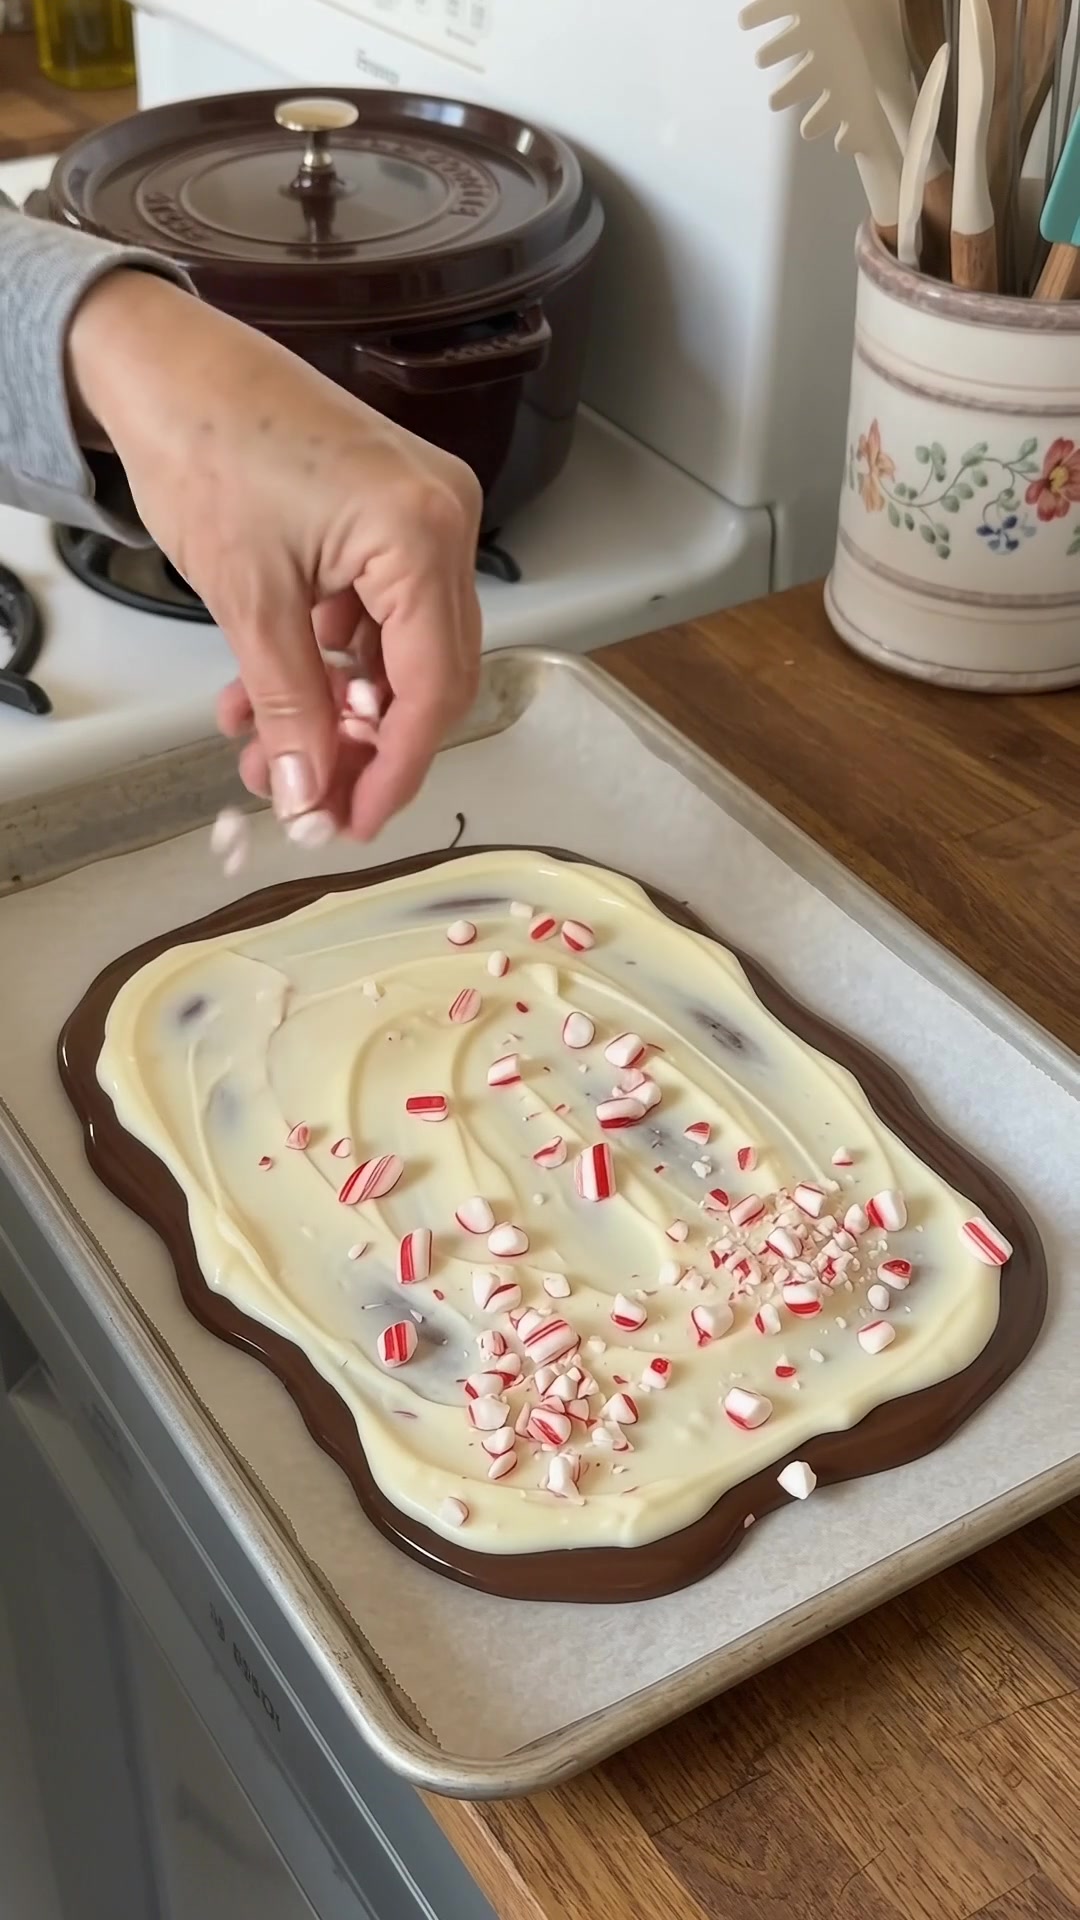
- Chill and break. Refrigerate for 30–45 minutes, until firm throughout. Lift the bark from the parchment and break into about 16–20 pieces. If the middle bends instead of snapping or feels soft underneath, return the tray to the refrigerator until it is fully set.
Helpful Tips
Keep the bowls, spatulas, and knife dry. Even a small amount of stray water can interfere with smooth melted chocolate. When using a bowl above simmering water, avoid letting steam collect in the bowl or splash onto the chocolate.
White chocolate needs especially gentle handling. Stir often and use residual heat to finish melting the last small pieces. A bowl that looks partly unmelted can become smooth after stirring, so check before adding more heat. Do not add an unlisted liquid to rescue a thick or overheated mixture.
Spread the layers before they harden, following this recipe’s swirl method rather than setting the bottom layer separately. Use a few deliberate passes of the knife. Excessive swirling loses the contrast and can leave the surface uneven. Add candy promptly so the pieces stay attached when the bark is broken.
Variations
Choose semisweet chocolate for a stronger cocoa contrast or milk chocolate for a sweeter base, keeping the amount at 12 ounces. Leave out the optional peppermint extract for a milder mint flavor, with the candy canes providing the peppermint element.
For a more distinct two-color appearance, use only a few broad swirls. For a more marbled finish, make a few additional gentle passes. You can break larger pieces for individual gifts or smaller pieces for a mixed candy tray. A consistent thickness matters more than making each piece the same shape.
Storage Advice
Once firm, store the bark in an airtight container with parchment between layers. Keep it in the refrigerator for up to 2 weeks, especially if your kitchen is warm. Protect it from strong-smelling foods and avoid repeatedly moving an open container between cold and warm environments.
Let the closed container stand briefly before opening for serving, which helps limit moisture collecting on the chilled chocolate. Candy canes can become sticky in humid conditions, so keep the bark covered until needed. Pack gift portions only after the chocolate has fully set, and keep them cool during transport to preserve the layers and crunchy topping.