Naleśniki — Sweet Cheese Crepes
Thin, tender crepes hold a lightly sweet vanilla cheese filling, then receive a buttery skillet finish for warm, golden naleśniki.
These sweet cheese crepes are made in two simple stages: cook a stack of thin crepes, then fill and warm them in butter. Farmer’s cheese gives the filling a gentle tang, while well-drained ricotta is an alternative when that is what you can find. A short batter rest makes spreading easier, and modest portions of filling help each crepe fold without splitting. Serve the finished crepes warm for a special breakfast, a cozy brunch, or a simple dessert with an optional dusting of powdered sugar.

Why You’ll Love This Recipe
- The batter uses familiar pantry and refrigerator ingredients.
- Farmer’s cheese or drained ricotta gives you a practical choice.
- Crepes can be folded into quarters or rolled around the filling.
- A final skillet pass warms the cheese and adds golden edges.
Recipe Details
Serves 4, making about 8–10 crepes depending on pan size. Prep: about 15 minutes. Batter rest: 10–15 minutes. Cook: about 25–35 minutes, including the filled-crepe finish in batches. Total: about 50–65 minutes. Stovetop: medium for thin crepes, then medium-low for filled crepes. No oven is needed.
Ingredients
- 1 cup all-purpose flour
- 2 large eggs
- 1 cup milk
- ½ cup water
- 1 tablespoon melted butter
- 1 tablespoon sugar
- ¼ teaspoon salt
- 1½ cups farmer’s cheese or well-drained ricotta, for filling
- 3 tablespoons sugar, for filling
- 1 teaspoon vanilla extract, for filling
- 1 teaspoon lemon zest, optional, for filling
- 1 egg yolk, optional, for filling; use only with thorough final cooking
- 2 tablespoons butter, for frying
Keep the melted tablespoon of butter for the batter separate from the 2 tablespoons used in the skillet. Drain ricotta well so the filling holds a soft mound rather than releasing liquid. Farmer’s cheese can be gently broken up with a fork for a slightly textured filling. The optional yolk enriches the cheese but requires cooking the center to 160°F; omit it if you plan to serve without the final pan-fry.
Numbered Instructions
- Mix and rest the batter. Whisk the flour, 2 whole eggs, milk, water, melted butter, tablespoon of sugar, and salt until smooth. Let stand for 10–15 minutes. Stir gently before cooking, since a resting batter can settle.
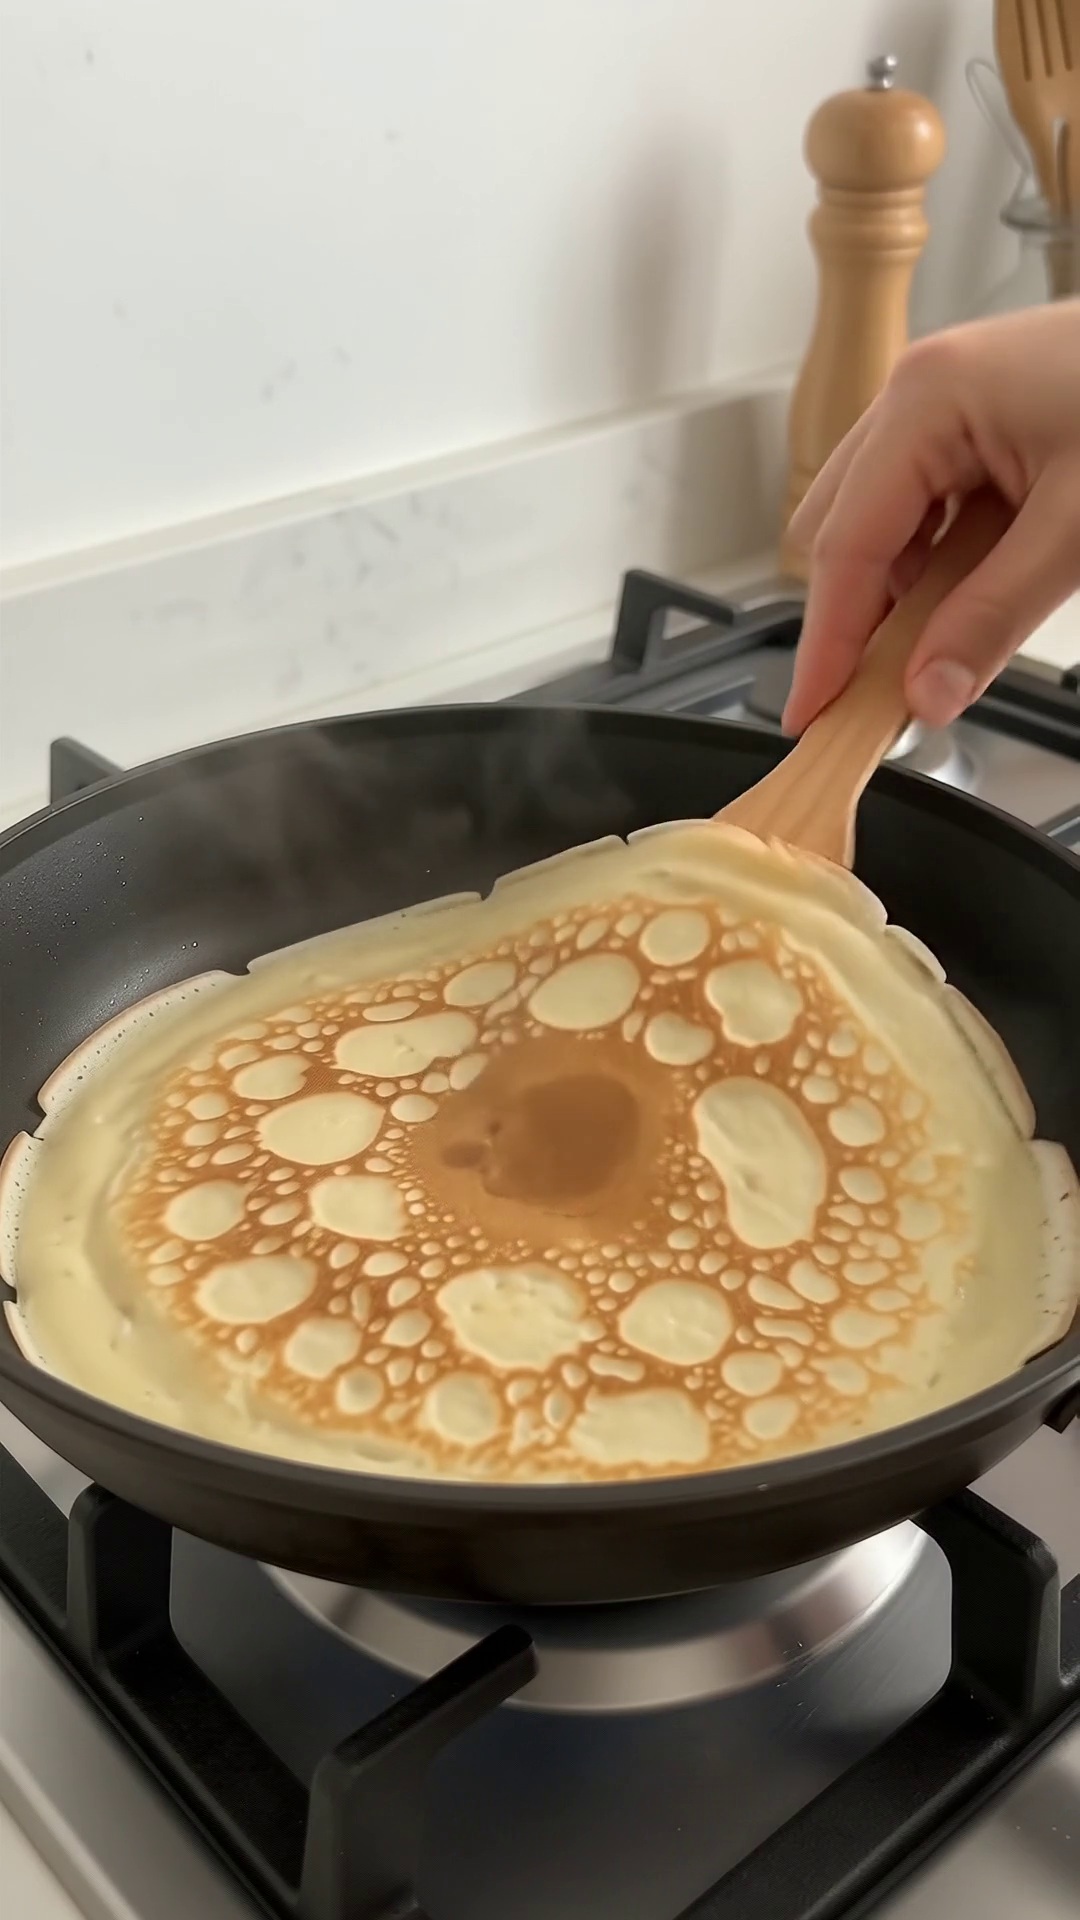
- Cook thin crepes. Heat a lightly buttered nonstick skillet over medium heat, using a little of the 2 tablespoons frying butter. Pour in about ¼ cup batter and immediately tilt the pan so it spreads thinly. Cook 1–2 minutes, until the edge releases and the underside is lightly golden. Flip and cook another 30–45 seconds. Repeat, reserving butter for the filled-crepe finish.
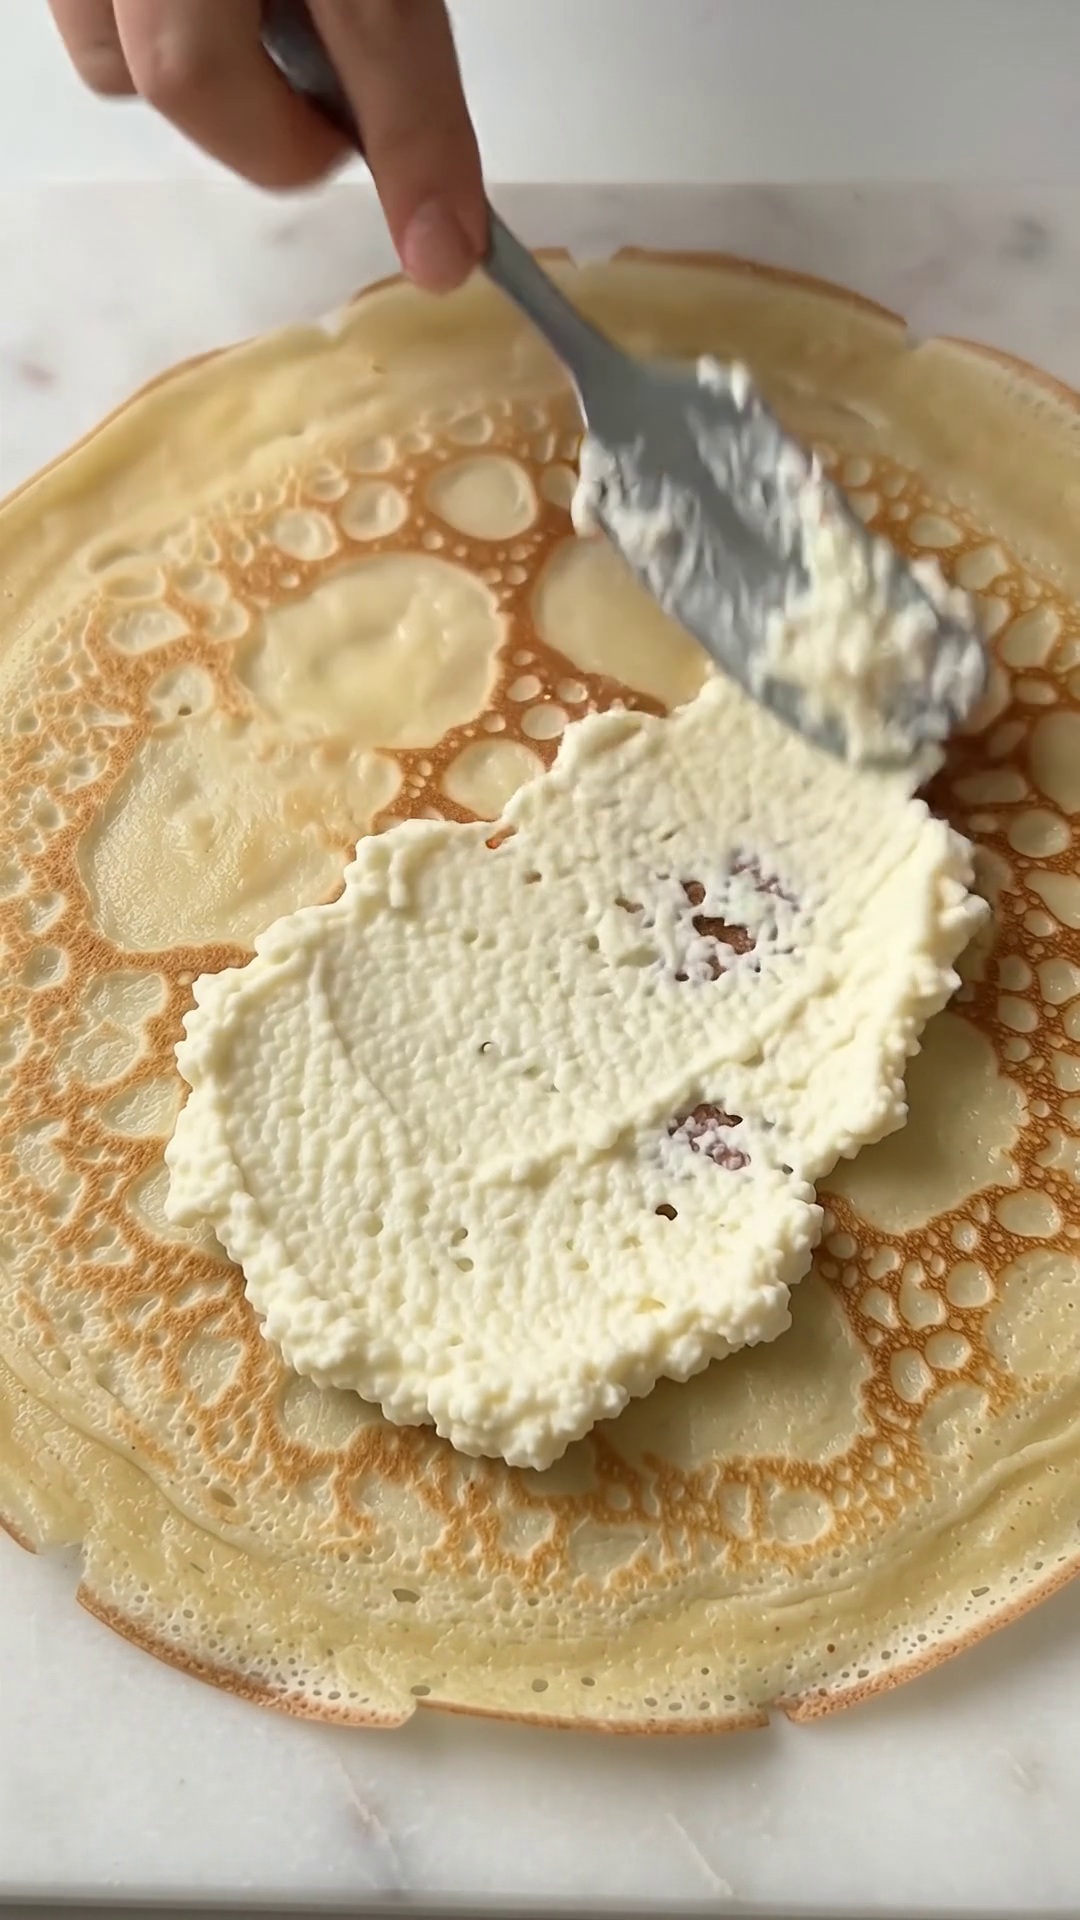
- Mix the filling. Combine the farmer’s cheese or drained ricotta with the 3 tablespoons sugar, vanilla, and optional lemon zest. Stir in the optional egg yolk only if you will cook the filled crepes thoroughly in the next stage.
- Fill and fold. Spread about 2–3 tablespoons filling over each crepe, distributing the cheese evenly across the batch. Fold into quarters or roll gently, keeping the filling enclosed and avoiding an overly thick center.
- Warm in butter. Heat the remaining frying butter over medium-low heat. Add filled crepes in batches and cook about 2–3 minutes per side, until golden and heated through. If the filling contains yolk, check that its center reaches 160°F; lower the heat and allow longer if necessary rather than browning the exterior too quickly.
- Serve warm. Transfer to plates and serve promptly. Powdered sugar, berries, or a spoonful of sour cream are optional serving choices, not part of the measured batter or filling.
Helpful Tips
A thin batter layer is easier to fold than a thick pancake-like round. Tilt the pan as soon as the batter goes in, and adjust the heat if it sets before you can spread it. The first crepe can help you judge the pan temperature and the amount of batter needed for its surface.
Wait for the edge to release before turning. A crepe that resists lifting may simply need a little longer on the first side. Slide a broad, thin spatula underneath and turn gently. Stack finished plain crepes as you work, then fill them once the cooking stage is complete. The final skillet finish works best with a moderate amount of filling and medium-low heat.
Variations and Serving Ideas
Choose farmer’s cheese for a more crumbly, tangy filling or well-drained ricotta for a smoother one. The optional lemon zest adds citrus aroma without changing the sugar amount. Fold into quarters for a compact packet or roll for a longer shape, keeping portions consistent within each batch. The yolk is optional; leaving it out is the simpler choice if you want a filling that only needs warming.
Storage and Reheating
Refrigerate cooked crepes promptly in a covered container and use within 3–4 days. Keep raw-yolk filling refrigerated and cook it the same day rather than storing partially cooked filled crepes. Reheat cooked leftovers to 165°F over gentle heat, covering briefly if needed to warm the center before uncovering to restore the surface. Freeze fully cooked, cooled crepes for up to 2 months with parchment between portions, then thaw in the refrigerator before reheating.
Frequently Asked Questions
Do I have to use the egg yolk?
No. The filling works without it. If you include it, the filled crepes must be cooked until the center reaches 160°F; a golden outside alone does not establish that.
Why is my filling watery?
Ricotta may not have been drained enough. Drain before measuring the filling ingredient, and avoid adding extra liquid to the cheese mixture.
Can I skip the batter rest?
The listed rest helps the flour hydrate and makes thin spreading more manageable. Plan it into the total time rather than treating it as active mixing.