Easy No-Knead Bread Recipe (Soft & Fluffy Homemade Bread)
Grandma’s Easy No-Knead Bread Recipe (Soft and Fluffy Homemade Bread)
There’s something special about the smell of freshly baked homemade bread filling the kitchen. It brings back memories of Grandma’s house, where a warm loaf of bread was always worth waiting for.
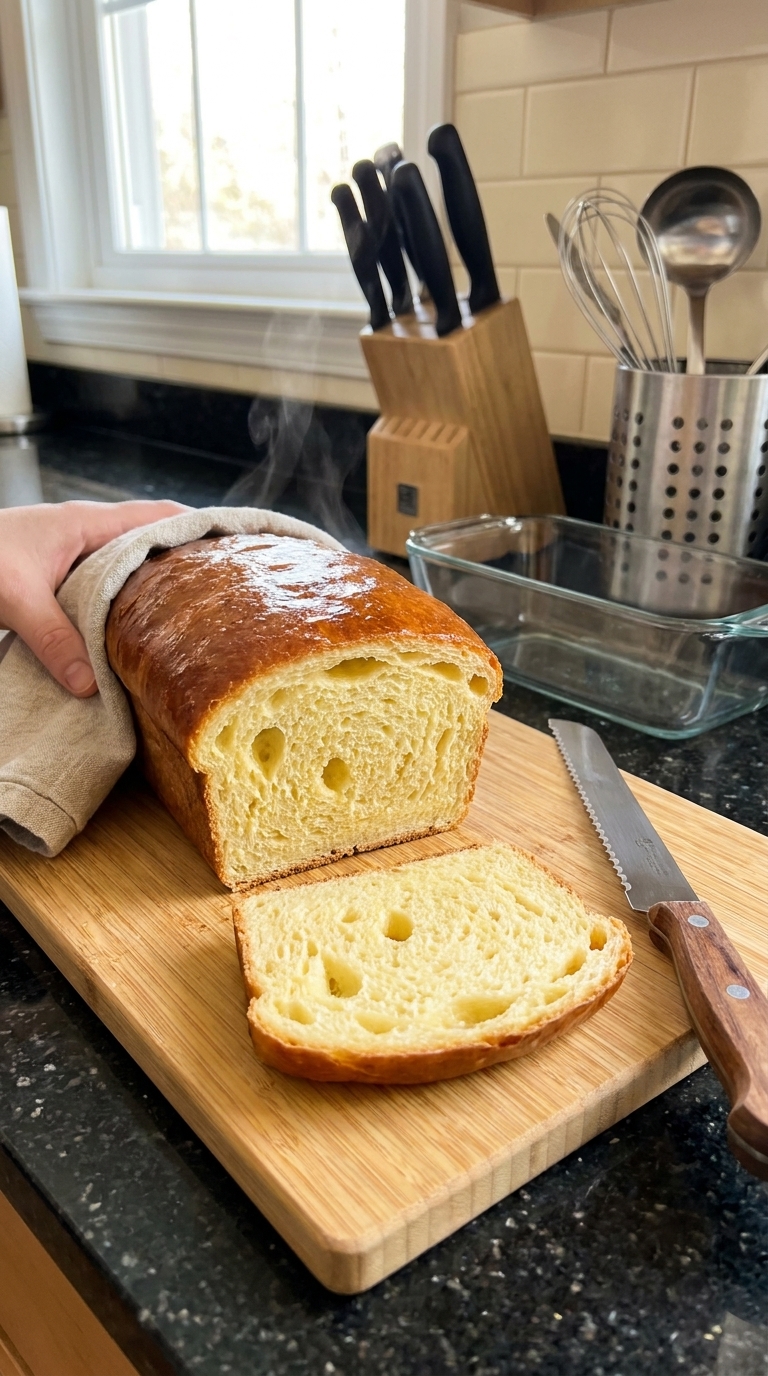
This easy no-knead bread recipe is perfect for anyone who loves homemade bread but doesn’t want to spend time kneading dough. With just a handful of pantry ingredients, a mixing bowl, and a little patience, you can make a beautifully golden loaf with a soft, fluffy center.
The secret isn’t complicated. It’s giving the dough enough time to rise and allowing the yeast to do the hard work.
Whether you’re making sandwiches, serving bread with dinner, or enjoying a warm slice with butter, this old-fashioned homemade bread is one you’ll want to bake again and again.
Why You’ll Love This No-Knead Bread
This simple homemade bread recipe has everything you want in a comforting, everyday loaf.
- No kneading required: Just stir the ingredients together and let the dough rise.
- Simple pantry ingredients: Nothing fancy or difficult to find.
- Soft and fluffy texture: Perfect for sandwiches, toast, and buttered slices.
- Beginner-friendly: You don’t need a stand mixer or special baking equipment.
- Budget-friendly: Homemade bread costs very little to make.
Best of all, the dough comes together in just a few minutes.
Ingredients for Homemade No-Knead Bread
You only need six basic ingredients to make this easy bread.
- 3 cups all-purpose flour (360 g)
- 2 teaspoons instant yeast
- 1 tablespoon granulated sugar
- 1 teaspoon salt
- 1¼ cups warm water (100–110°F)
- 2 tablespoons unsalted butter, melted and slightly cooled
Flour: All-purpose flour creates a tender loaf. Bread flour also works, although the texture may be slightly chewier.
Yeast: Instant yeast is convenient because you can mix it directly into the flour.
Sugar: A small amount adds flavor and helps create a nicely browned crust.
Warm water: Water that’s too hot can damage the yeast. Aim for comfortably warm, not hot.
Butter: Melted butter gives the bread a richer flavor and helps keep the crumb tender.
How to Make Grandma’s No-Knead Bread
Step 1: Mix the Dry Ingredients
In a large mixing bowl, combine the flour, instant yeast, sugar, and salt.
Stir everything together until evenly distributed.
Step 2: Add the Wet Ingredients
Pour the warm water and melted butter into the flour mixture.
Use a wooden spoon or sturdy spatula to stir until no dry flour remains.
The dough will look sticky, rough, and slightly shaggy. That’s exactly what you want.
There’s no need to knead it!
Step 3: Let the Dough Rise
Lightly grease a clean bowl and transfer the dough into it, or leave it in the mixing bowl if there’s enough room.
Cover the bowl with a clean kitchen towel or plastic wrap.
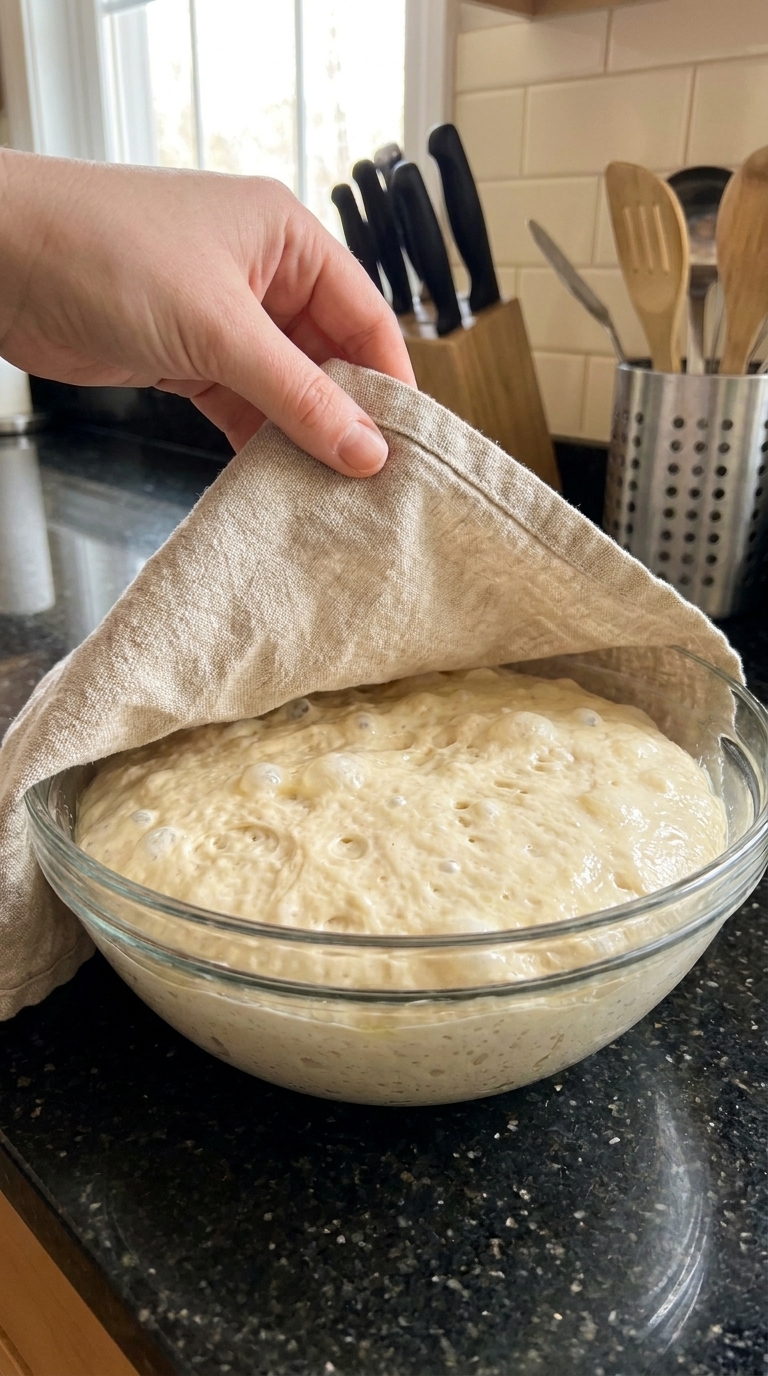
Place it somewhere warm and draft-free for approximately 60–90 minutes, or until the dough has doubled in size.
When you lift the towel, you should see a beautifully risen dough with little air bubbles across the surface.
This is one of the most important steps. Give the yeast enough time to work.
Step 4: Transfer to the Loaf Pan
Grease a standard 9×5-inch loaf pan.
Using a lightly greased spatula, gently loosen the dough from the bowl.
Transfer it into the prepared loaf pan, keeping as much of the trapped air inside as possible.
Smooth the top gently with damp fingers if necessary.
Step 5: Let It Rise Again
Cover the loaf pan loosely with a kitchen towel.
Allow the dough to rise for another 25–45 minutes, until it’s visibly puffy and rises near the top of the pan.
Meanwhile, preheat your oven to 375°F (190°C).
Step 6: Bake Until Golden Brown
Place the loaf pan on the center oven rack.
Bake for approximately 30–35 minutes, until the top is beautifully golden brown.
For the most reliable result, the center of the bread should reach approximately 195–200°F on an instant-read thermometer.
If the top browns too quickly, loosely cover it with aluminum foil during the final minutes.
Step 7: Cool and Slice
Remove the bread from the oven and allow it to rest in the pan for 5–10 minutes.
Carefully transfer the loaf to a wire rack.
For clean slices and the best texture, allow it to cool for at least 45 minutes before cutting.
Slice and enjoy with butter, jam, or your favorite sandwich fillings.
Grandma’s Tips for Extra-Soft Homemade Bread
Don’t add too much flour. This dough is supposed to be sticky. Adding extra flour can make the finished bread dense.
Measure your flour correctly. Spoon flour into your measuring cup and level it off rather than scooping directly from the bag.
Be patient with the rising time. A cool kitchen may require additional time. Watch the dough instead of relying entirely on the clock.
Don’t skip the second rise. This helps create a lighter loaf.
Let the bread cool before slicing. Cutting into very hot bread can make the inside gummy.
Common No-Knead Bread Mistakes
Why Didn’t My Bread Rise?
Your yeast may be old, the water may have been too hot, or the kitchen may have been too cold.
Always check the expiration date on your yeast and give the dough enough time to double.
Why Is My Bread Dense?
Dense bread usually happens when the dough hasn’t risen enough or too much flour has been added.
For the softest result, keep the dough sticky and avoid rushing the rising process.
Why Is My Bread Gummy Inside?
The bread may be underbaked or sliced while still too hot.
Check the internal temperature and let the loaf cool before cutting.
How to Store Homemade Bread
Room temperature: Store completely cooled bread in an airtight container or bread bag for up to 3 days.
Refrigerator: Refrigeration tends to make bread stale faster, so room-temperature storage is preferable for short periods.
Freezer: Slice the cooled loaf and place the slices in a freezer-safe bag. Freeze for up to 3 months.
To enjoy, thaw at room temperature or toast slices directly from frozen.
Frequently Asked Questions
Can I Use Active Dry Yeast Instead?
Yes. Use the same amount, but dissolve the active dry yeast in the warm water with the sugar first. Let it sit for 5–10 minutes before mixing with the remaining ingredients.
Can I Make This Bread Without Butter?
Yes. Replace the melted butter with 2 tablespoons of neutral vegetable oil.
Can I Use Whole Wheat Flour?
You can replace up to 1 cup of the all-purpose flour with whole wheat flour. The loaf may be slightly denser and may need a little extra water.
Do I Need a Dutch Oven?
No! This recipe is designed for a regular 9×5-inch loaf pan.
A Simple Bread Worth Making Again
Sometimes the simplest recipes are the ones we remember most.
This homemade no-knead bread doesn’t require expensive equipment or complicated techniques. Just mix, let it rise, and bake until golden.
Serve a thick slice with butter, and you’ll understand why homemade bread never goes out of style.
Have you ever made homemade bread without kneading? I’d love to hear how yours turned out!