Easy Chocolate Fudge (Smooth & Creamy)
Smooth, chocolate-rich fudge made with sweetened condensed milk and a short list of pantry ingredients.
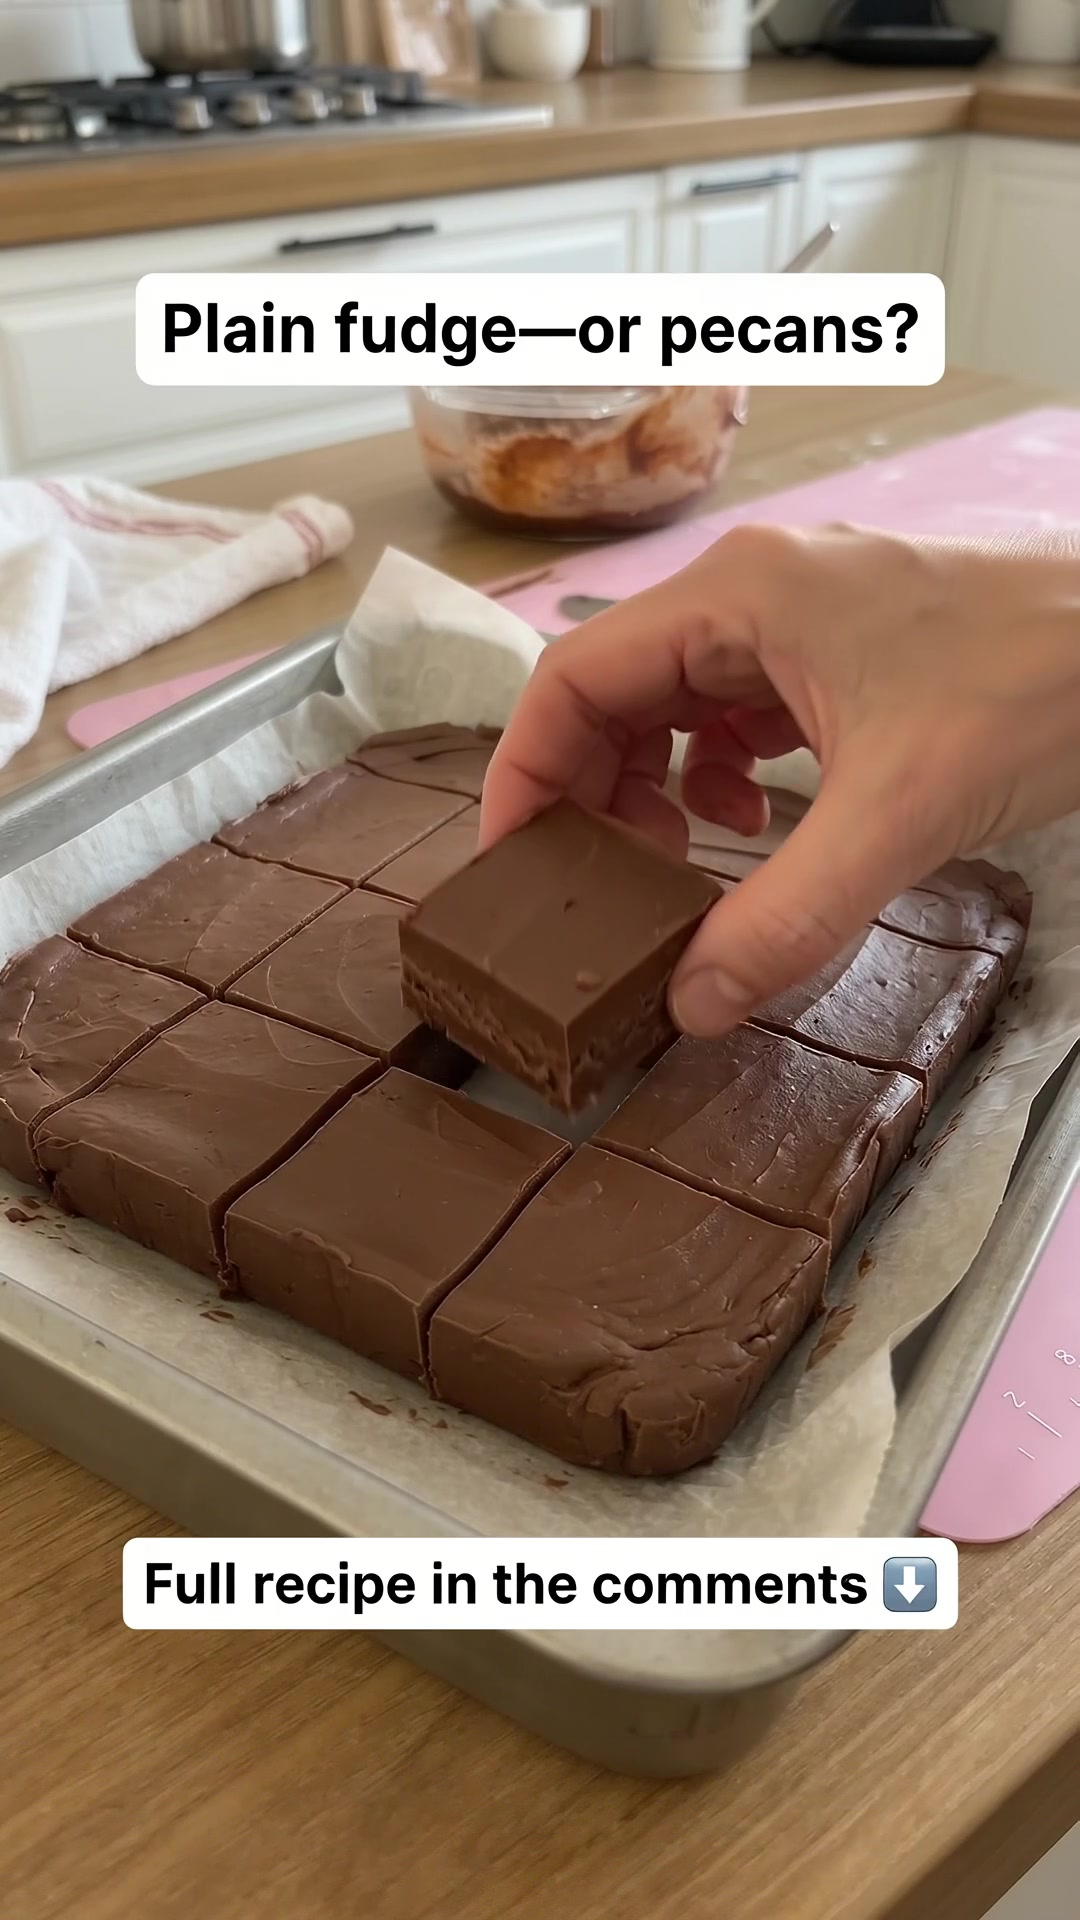
A tray of homemade chocolate fudge is an easy way to make a small gathering feel special. This version melts chocolate gently with condensed milk, then sets in the refrigerator, so there is no sugar-syrup stage to judge. The result is a dense, creamy candy that slices neatly for gift boxes, dessert plates, or a little treat after dinner.
Why You’ll Love This Easy Chocolate Fudge
- No candy thermometer: The chocolate provides the structure as it cools.
- Simple preparation: One saucepan and an 8-inch pan do most of the work.
- Rich texture: Condensed milk keeps the mixture smooth.
- Flexible finish: Serve plain or add a modest handful of toasted nuts.
Easy Chocolate Fudge Recipe
Prep Time: 15 minutes
Cook Time: 5–8 minutes
Chilling Time: At least 3 hours
Total Time: About 3 hours 25 minutes
Yield: 36 small squares
Course: Dessert and candy
Method: Stovetop; no oven required
Ingredients
- 3 cups semisweet chocolate chips, about 18 ounces
- 1 can (14 ounces) sweetened condensed milk
- 2 tablespoons unsalted butter, cut into pieces
- 1 teaspoon vanilla extract
- ¼ teaspoon fine salt
- ½ cup chopped toasted pecans or walnuts, optional
Use sweetened condensed milk, which is thick and sweet, rather than evaporated milk. They are not interchangeable here. Choose chocolate chips you enjoy eating, since chocolate is the main flavor. Semisweet chocolate balances the sweetness; milk chocolate makes a softer, sweeter fudge and is not a direct substitution for this recipe.
Candy Tip: Prepare the lined pan before heating the chocolate. The mixture thickens quickly once it leaves the stove, so having everything ready makes spreading much easier.
How to Make Easy Chocolate Fudge
Step 1: Prepare the Pan
Line an 8-inch square baking pan with parchment paper, leaving an overhang on two opposite sides. Lightly butter any exposed corners. The paper handles let you lift the chilled slab without digging into the edges. For a thinner fudge, use a 9-inch square pan and begin checking the set a little earlier.
Measure the vanilla and salt and set them near the stove. If adding nuts, toast them in a dry skillet over medium-low heat, stirring often, until fragrant. Cool completely before chopping and adding. Warm nuts can slow the setting process and make the mixture harder to handle.
Step 2: Melt Gently
Combine the chocolate chips, condensed milk, and butter in a heavy saucepan. Set over low heat and stir continuously with a flexible spatula, scraping the bottom and corners. Cook for about 5–8 minutes, just until the chips have melted and the mixture is smooth. Do not bring it to a boil.
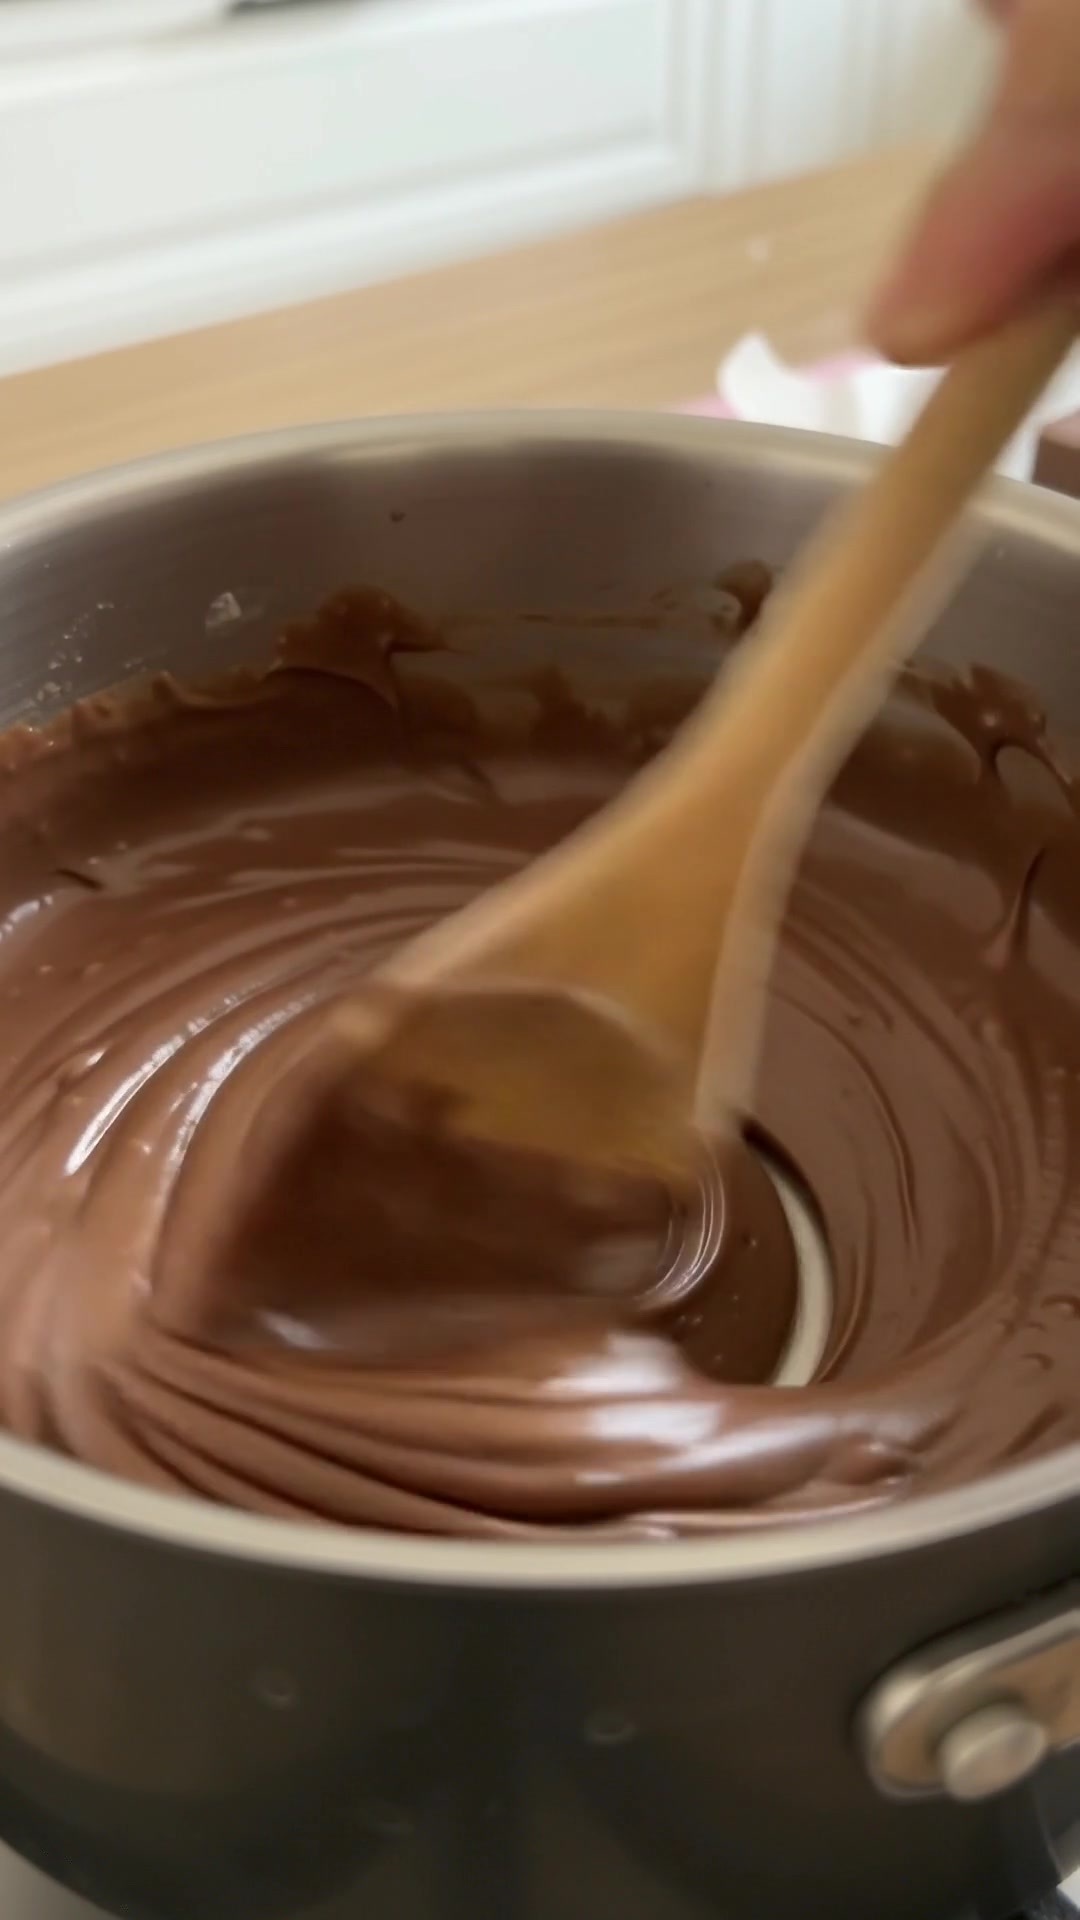
If a few small pieces remain, remove the pan from the heat and keep stirring; the residual warmth often melts them. High heat can scorch the milk or make the chocolate oily. Keep utensils and the pan dry, and avoid splashing water into the chocolate mixture while working.
Step 3: Flavor and Spread
Take the saucepan off the heat and stir in the vanilla and salt. Fold in the optional nuts. Scrape the fudge into the prepared pan immediately. Use a lightly buttered spatula to push it into the corners and smooth the top. Tap the pan gently once or twice on the counter to settle large air pockets.
Let stand at room temperature for about 20 minutes so it is no longer hot, then refrigerate for at least 3 hours. The center should feel firm when lightly pressed. An especially thick slab or a warm refrigerator may need longer. Do not try to speed things up by slicing while the middle is still soft.
Step 4: Slice into Squares
Lift the chilled slab using the parchment handles and place it on a cutting board. Peel the paper away from the sides. Use a large sharp knife to cut six rows in each direction for 36 squares. Wipe the blade between cuts for cleaner edges. If the slab is very hard, let it stand for 10 minutes before slicing.
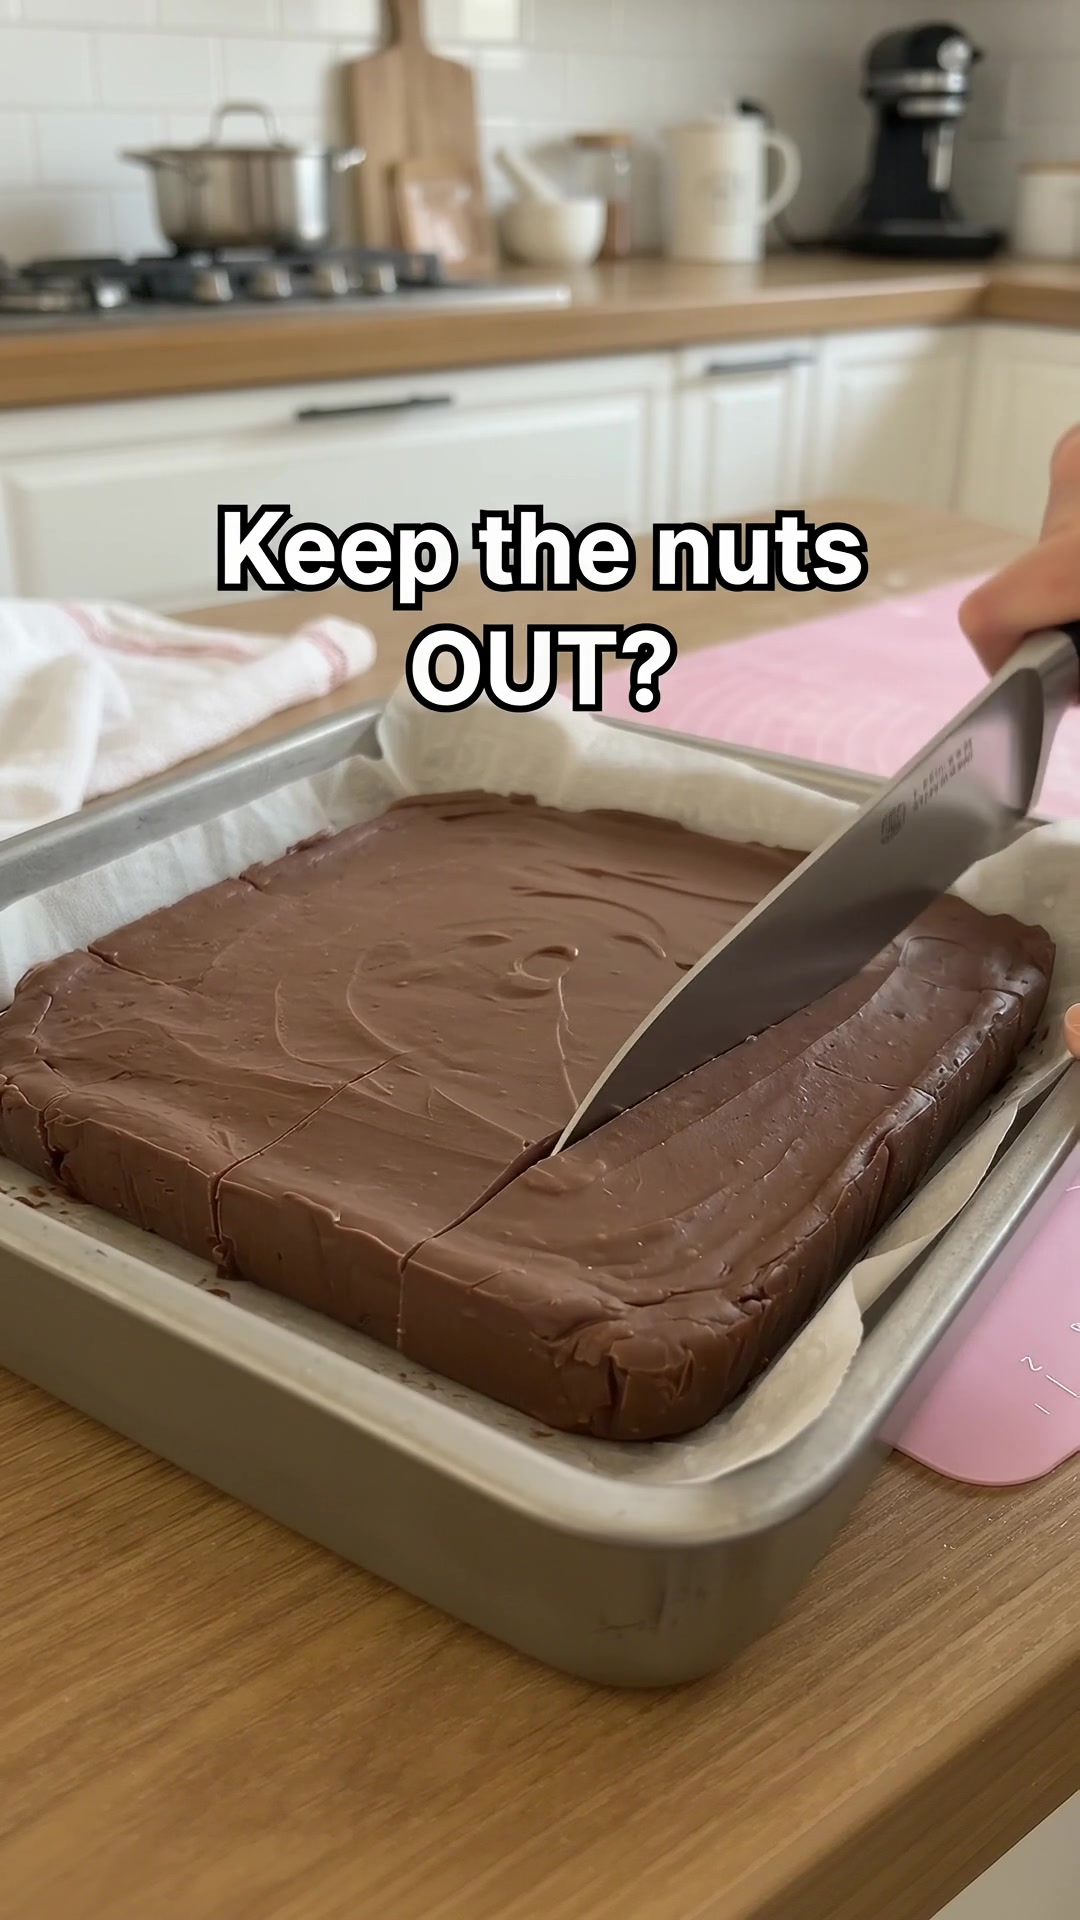
For a particularly neat gift box, trim a thin strip from the outer edges first and save the trimmings for snacking. Separate layers with parchment. The fudge softens as it warms, so serve small portions and keep the rest cool until needed.
Tips for the Best Chocolate Fudge
- Keep the heat low: Melting slowly protects both the chocolate and the milk.
- Use the right can: A 14-ounce can of condensed milk is measured by weight, not as 14 fluid ounces.
- Wait for a full set: Chilling makes slicing easier and prevents squashed edges.
- Avoid extra liquid: Large additions of coffee, cream, or extracts can keep the fudge soft.
Delicious Variations to Try
For a nutty batch, use the optional toasted pecans or walnuts. Add a light sprinkle of flaky salt to the surface before chilling for a sweet-and-salty finish. For a peppermint version, use ¼ teaspoon peppermint extract instead of vanilla, then taste only the cooked mixture after it has cooled enough to handle. Add more sparingly if needed.
How to Store Chocolate Fudge
Refrigerate in an airtight container for up to 2 weeks, with parchment between layers. Let a few squares stand at room temperature for 10–15 minutes before serving. Freeze tightly wrapped portions in a freezer-safe container for up to 2 months. Thaw overnight in the refrigerator while still wrapped to reduce condensation on the surface.
Frequently Asked Questions
Why is my fudge too soft?
Check that you used condensed milk and the full amount of chocolate. Give it an overnight chill before judging the final texture.
Can I use chopped chocolate?
Yes. Use 18 ounces of semisweet baking chocolate, chopped evenly, in place of the chips.
Does this need to be beaten?
No. This chocolate-and-condensed-milk method sets without the cooling and beating used for traditional sugar-syrup fudge.