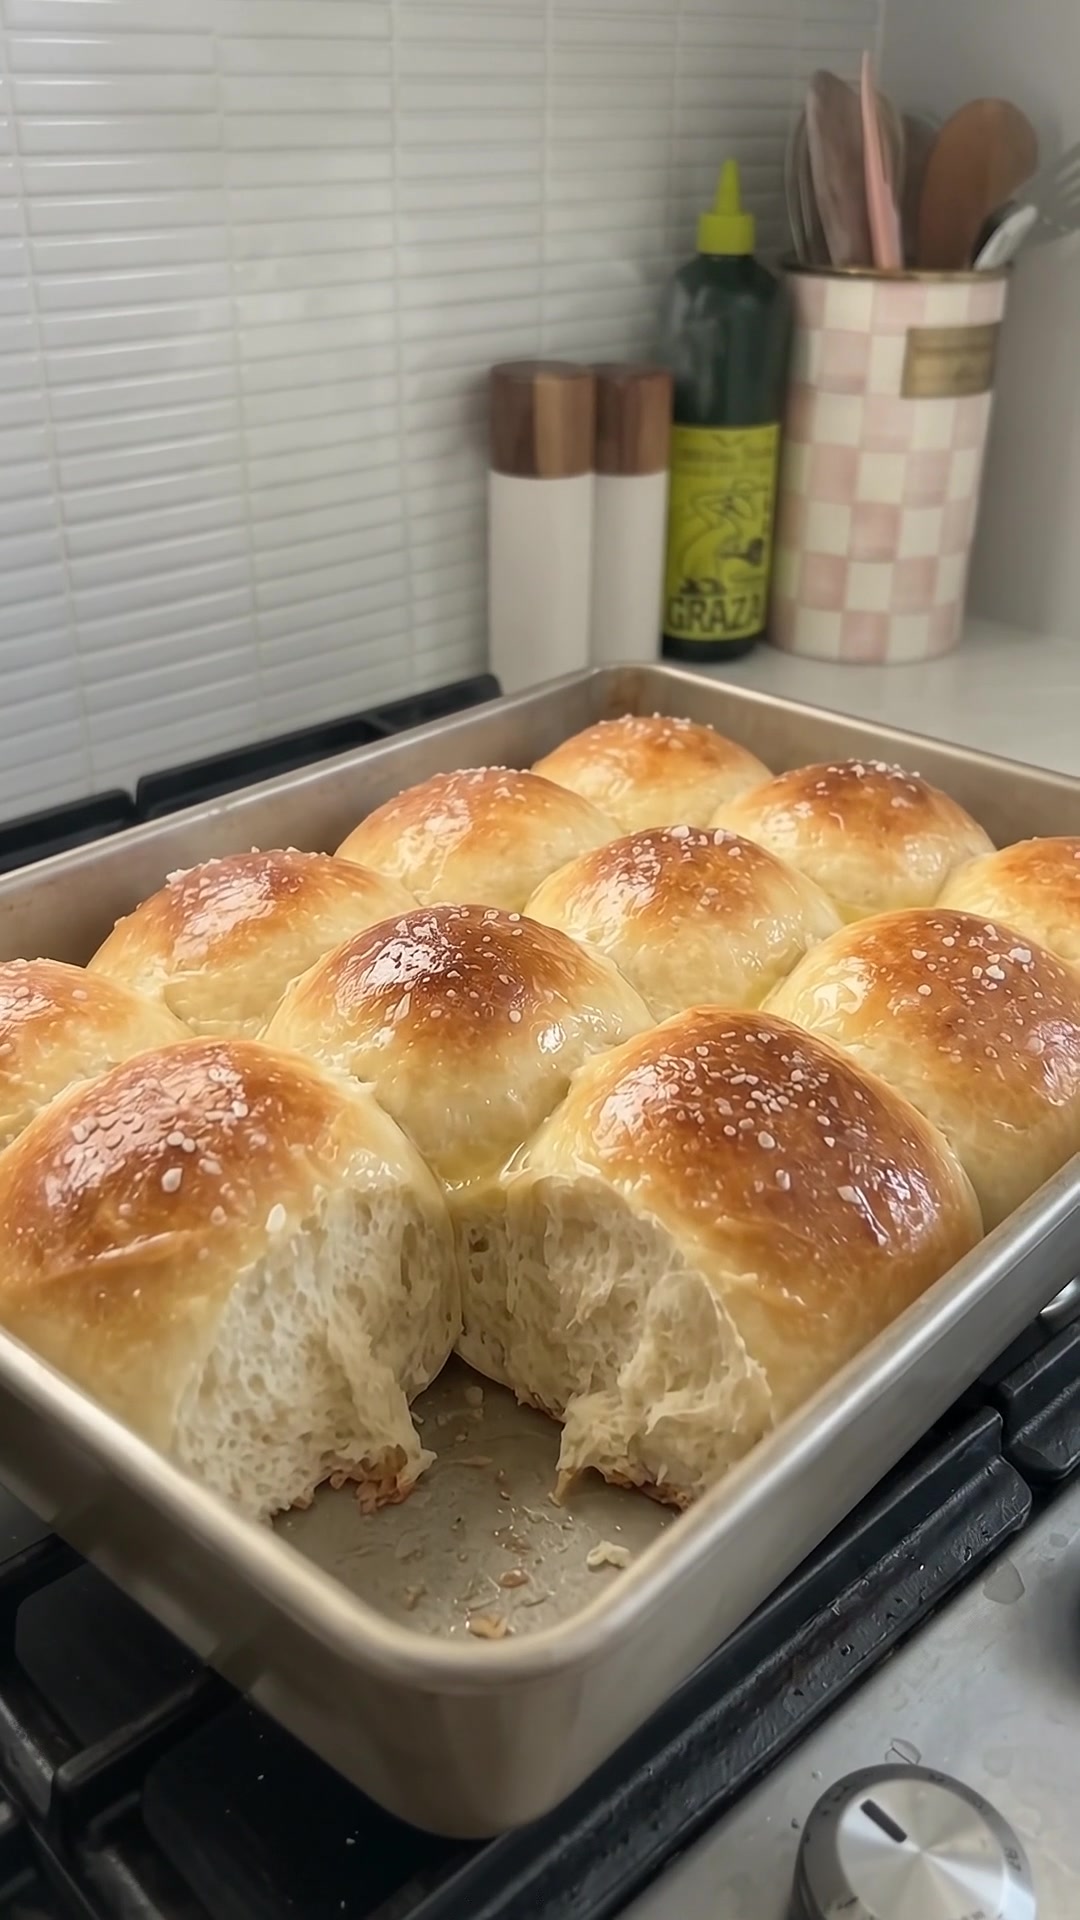
Soft Sourdough Dinner Rolls with Butter
Tender, naturally leavened dinner rolls with a golden top and a soft butter finish.
Sourdough dinner rolls make a comforting addition to a roast dinner or holiday table. Milk, an egg, and butter enrich the dough, while active starter supplies the rise. This recipe uses no commercial yeast, so allow a flexible schedule. Watch for a puffy, aerated dough rather than trying to force it into the timing of a quick yeast roll.
Why You’ll Love These Rolls
- A soft crumb that pulls apart easily.
- Gentle sourdough flavor balanced by milk and butter.
- One pan of evenly sized rolls for sharing.
- A useful make-ahead option with overnight refrigeration.
Sourdough Dinner Rolls Recipe
Hands-on: 35 minutes
Rising: About 8–13 hours at 75°F
Bake: 22–28 minutes
Yield: 12 rolls in a 9-by-13-inch pan
Oven: 375°F
Ingredients
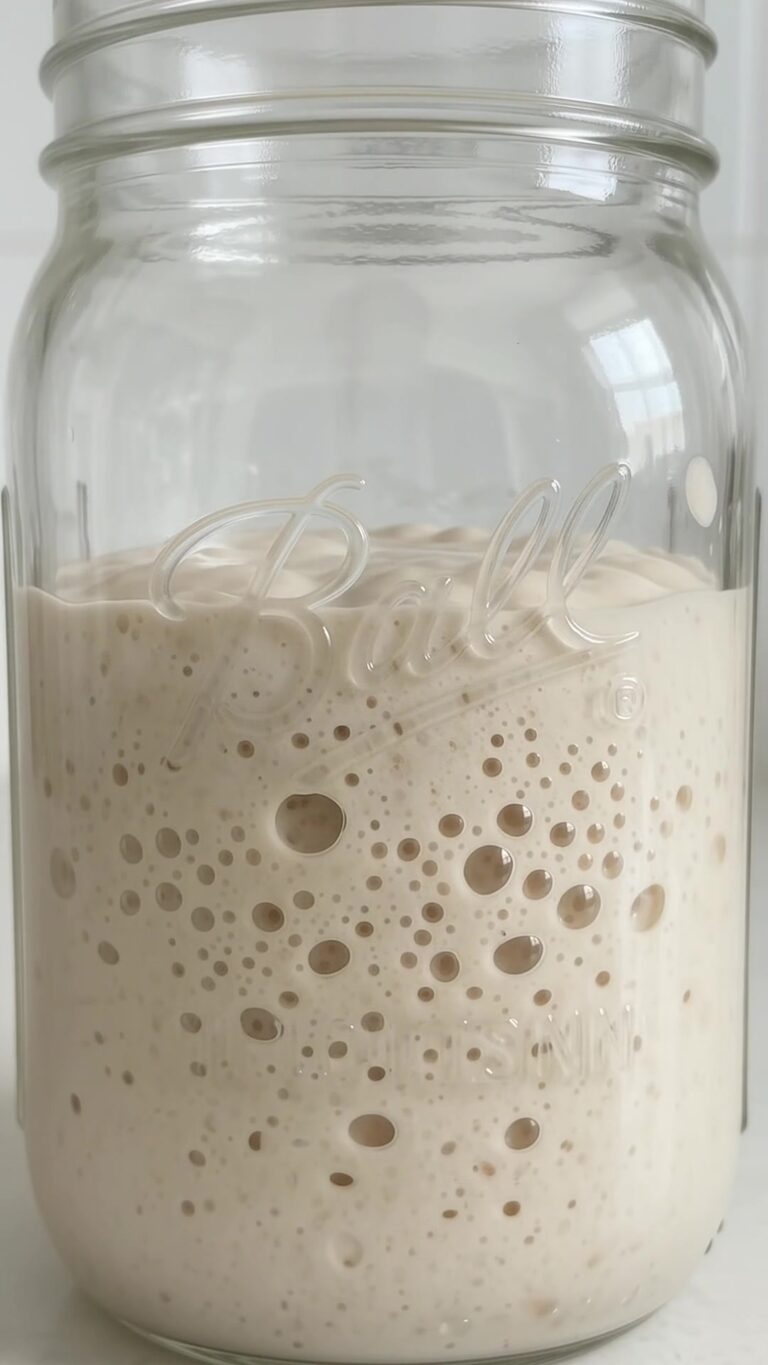
- ½ cup active 100%-hydration sourdough starter, about 4 ounces by weight
- ¾ cup whole milk, lukewarm
- 1 large egg, room temperature
- 3 tablespoons granulated sugar
- 3 cups bread flour, spooned and leveled
- 1 teaspoon fine salt
- ¼ cup unsalted butter, softened and cut into pieces
- 1 tablespoon melted butter, for finishing
Baking Tip: Use starter that reliably doubles after feeding and is near peak. Enriched dough asks more of the starter than a lean loaf, so unfed discard is not a dependable substitute.
How to Make Sourdough Dinner Rolls
Step 1: Mix and Rest
Stir the starter, milk, egg, and sugar in a large bowl. Add the flour and salt and mix until no dry patches remain. Cover and rest for 20 minutes. This pause helps the flour absorb liquid and makes the next stage of kneading easier.
The dough should feel soft and slightly tacky. Flour brands vary, so work in another teaspoon or two of milk only if the mixture is too dry to gather. Avoid adding a large amount of flour at the start simply to keep your hands clean.
Step 2: Knead in the Butter
Add the softened butter a few pieces at a time, kneading until each addition is incorporated. The dough may feel slippery at first, then become smooth again. Continue kneading about 8–10 minutes by hand or 5–7 minutes with a dough hook on low speed.
Stop when the dough is elastic and a small piece can stretch into a thin membrane before tearing. Use brief rests if kneading by hand becomes difficult. Melted butter is not ideal here because it can make the dough greasy rather than smoothly enriched.
Step 3: Ferment Until Puffy
Place in a lightly buttered bowl, cover, and leave around 75°F for 5–8 hours, until noticeably aerated and about 50–75% larger. Give the dough one gentle fold after the first hour if it spreads loosely. It should feel lighter and show small bubbles, not simply sit unchanged for the allotted time.
For an overnight option, refrigerate the covered dough after this first rise for up to 12 hours. Cold dough is easy to divide, but its final proof will take longer. Do not refrigerate immediately after mixing and expect the fridge to replace the room-temperature fermentation.
Step 4: Shape the Rolls
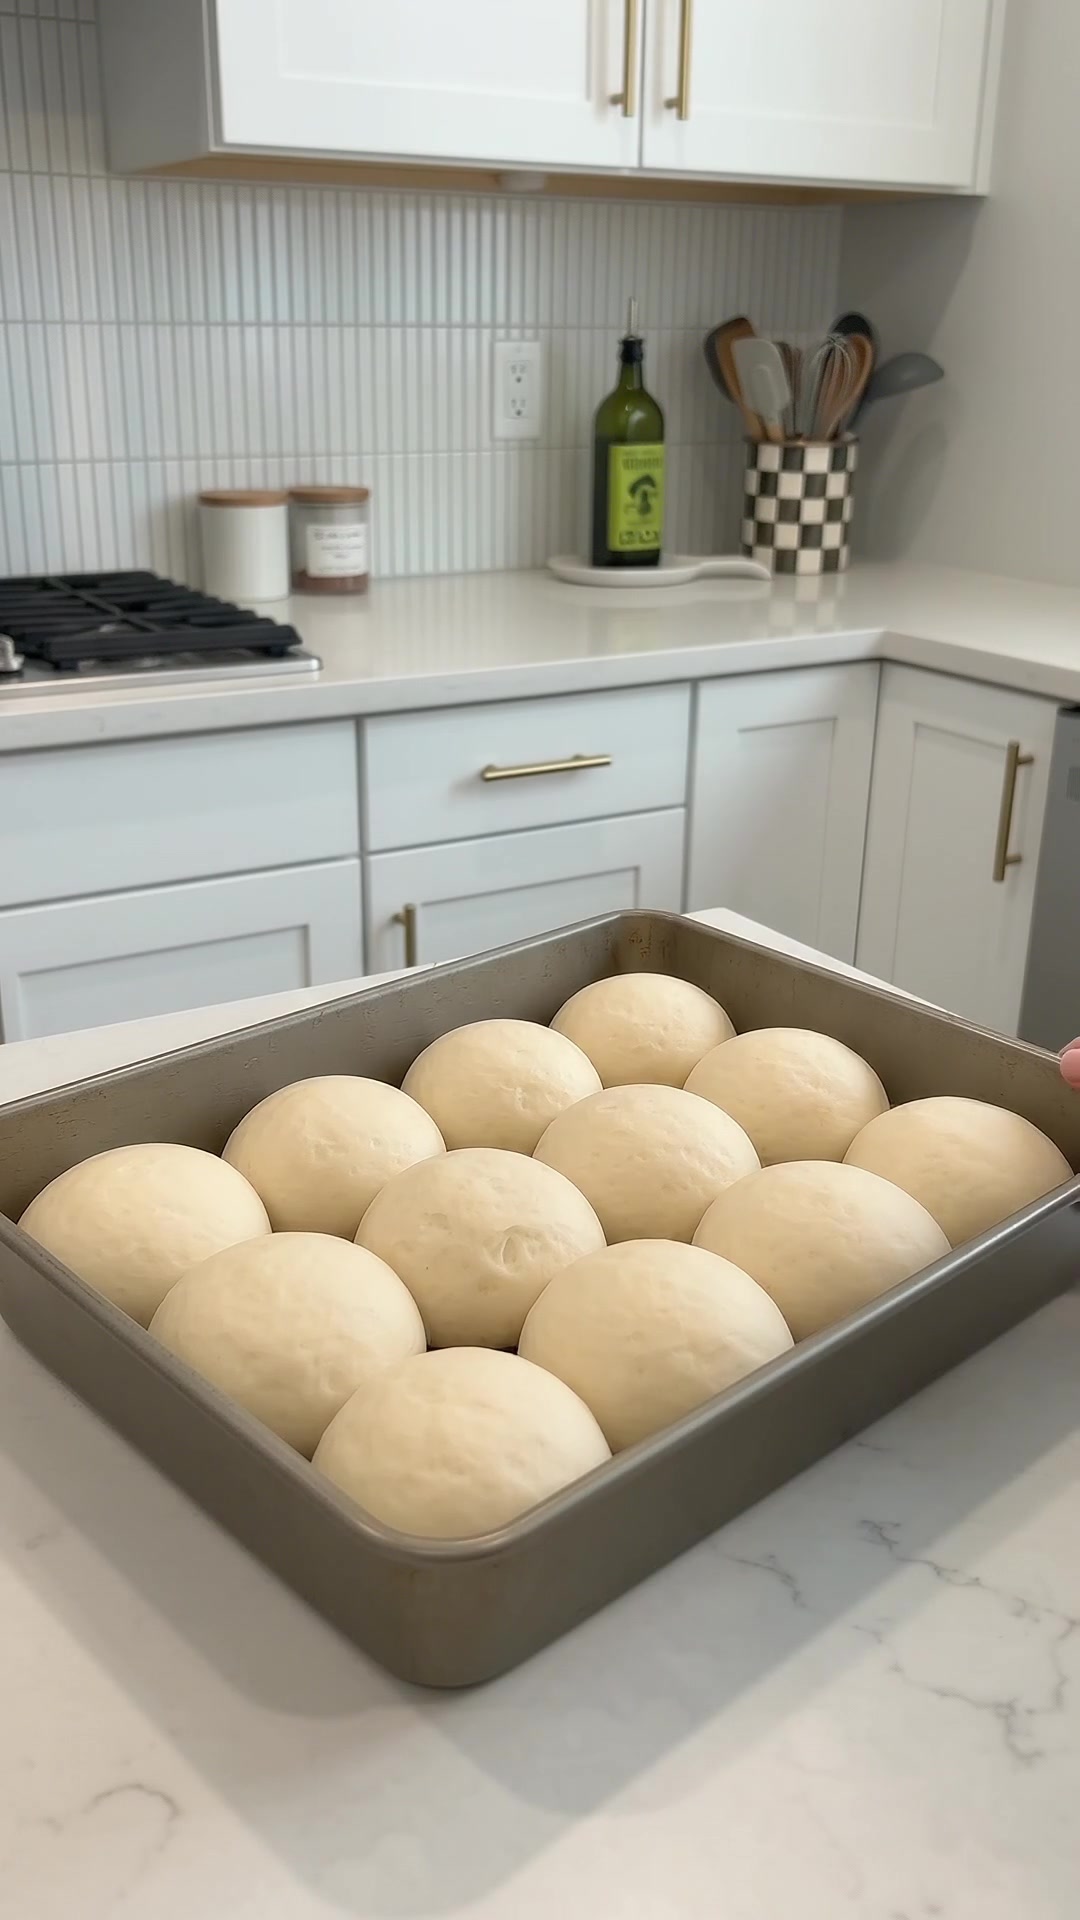
Grease a 9-by-13-inch metal pan. Turn out the dough and divide into 12 equal portions. Flatten each piece gently, fold the edges toward the center, then turn seam side down and cup your hand around it to make a rounded ball. Use only a light dusting of flour so the base can grip the counter.
Arrange in three rows of four, leaving room to expand. Cover loosely with a nonstick cover. Proof around 75°F for 3–5 hours, or longer from cold, until the rolls are very puffy and nearly touching. A light fingertip press should return slowly rather than springing back immediately.
Step 5: Bake and Butter
Heat the oven to 375°F during the final proof. Bake on the center rack for 22–28 minutes, until the tops are golden and a middle roll registers about 195–200°F. If the surface colors early, tent loosely with foil while the centers finish baking.
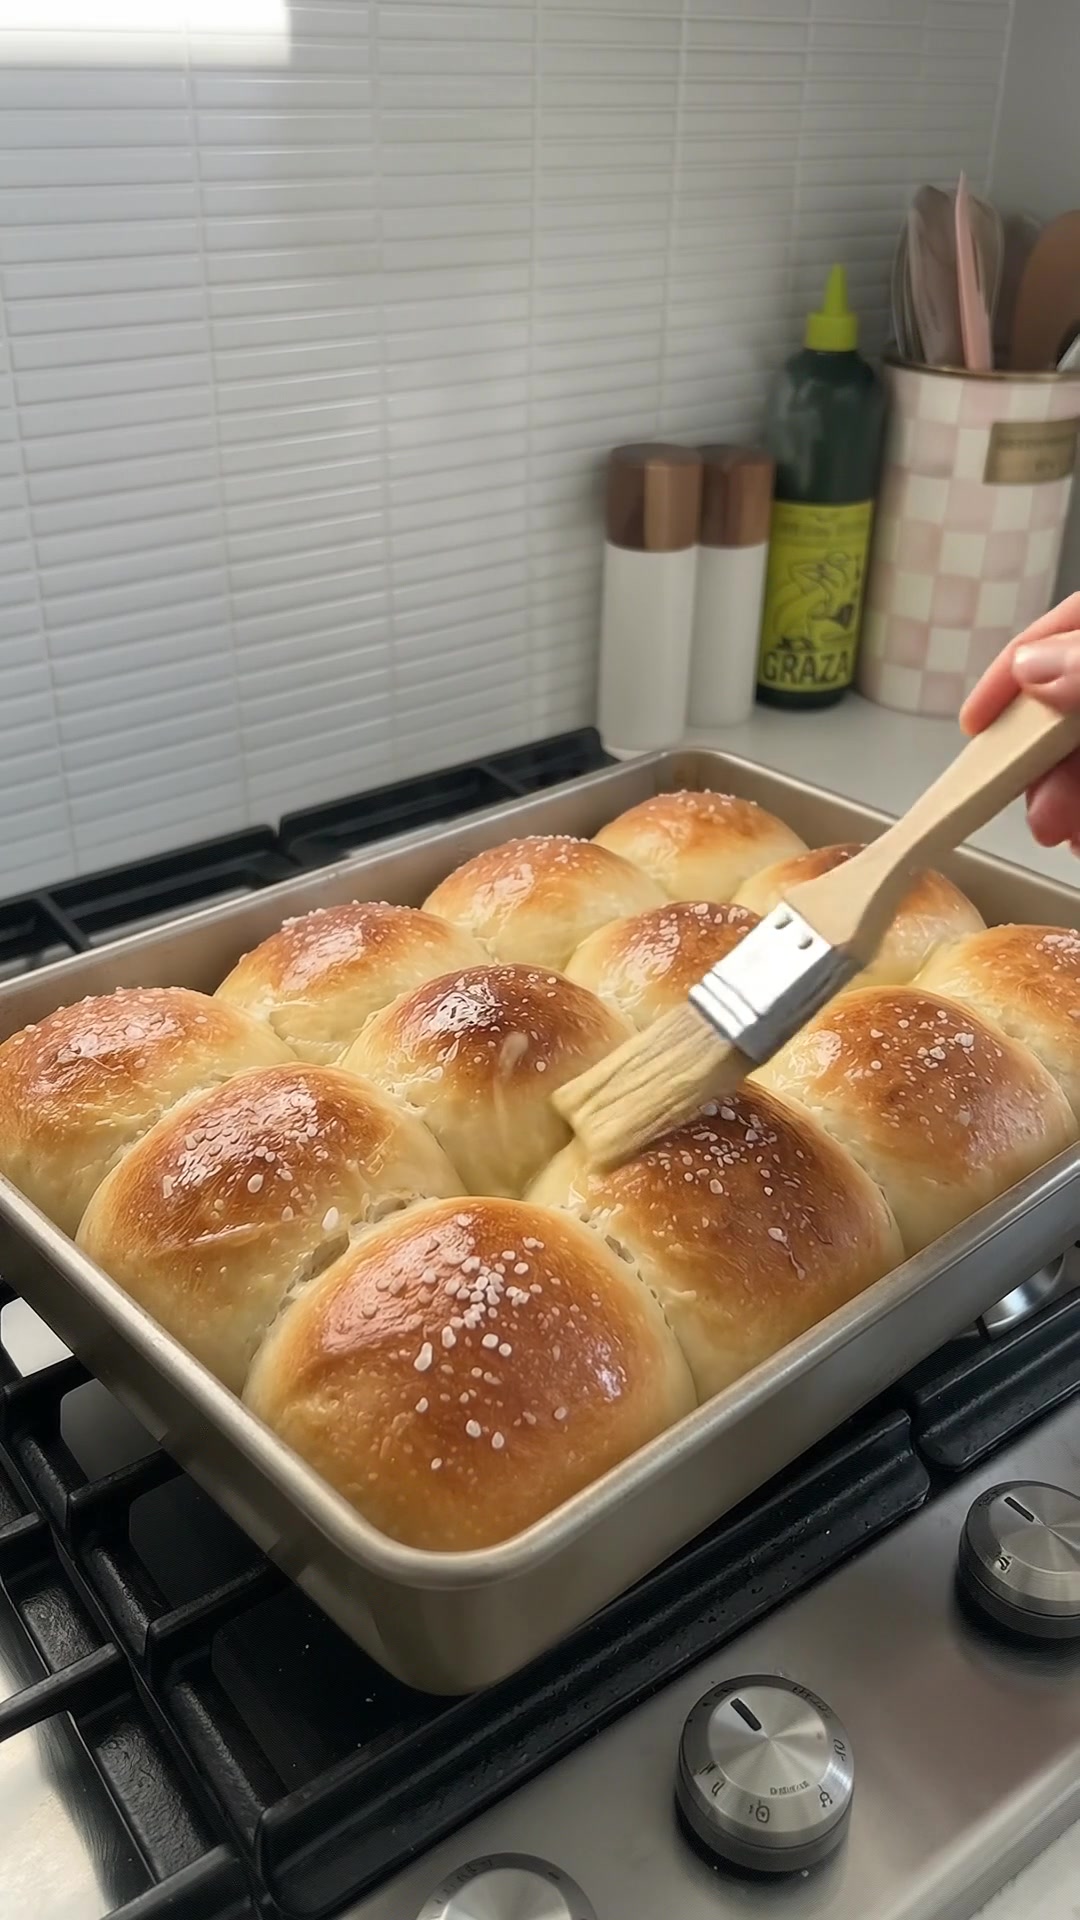
Brush the hot rolls with the tablespoon melted butter. Rest in the pan for 5 minutes, then transfer carefully to a rack. Wait at least another 10 minutes before pulling apart so the warm crumb has time to set.
Tips for the Best Rolls
Keep all portions similar in size so the middle and outer rolls bake evenly. A cool kitchen can add hours to the schedule, especially with cold dough. Do not use a very hot oven as a proofing box; gentle warmth is enough. If the dough smells fermented but has barely expanded, check starter strength before adding more time indefinitely.
Delicious Variations
Add 2 tablespoons chopped chives for a savory version. For a honey note, substitute 2 tablespoons honey for the sugar, holding back a teaspoon of milk initially. A light sprinkle of flaky salt over the buttered tops adds contrast. Keep large wet fillings out of the dough on your first batch.
Storage Guidance
Cool completely and store airtight at room temperature for up to 2 days. Freeze cooled rolls for up to 2 months. Thaw covered, then warm in foil at 325°F for 10–15 minutes. For leftovers that feel dry, split and toast rather than repeatedly reheating the entire pan.
Short FAQ
Why are the rolls dense?
A weak starter, insufficient fermentation, or underbaking can all produce a heavy center.
Can I use all-purpose flour?
Yes, though the dough may be a little softer. Add extra flour sparingly.
Can I freeze raw shaped rolls?
Baked rolls are more dependable to freeze. Freezing raw naturally leavened dough can weaken the culture and make proofing unpredictable.