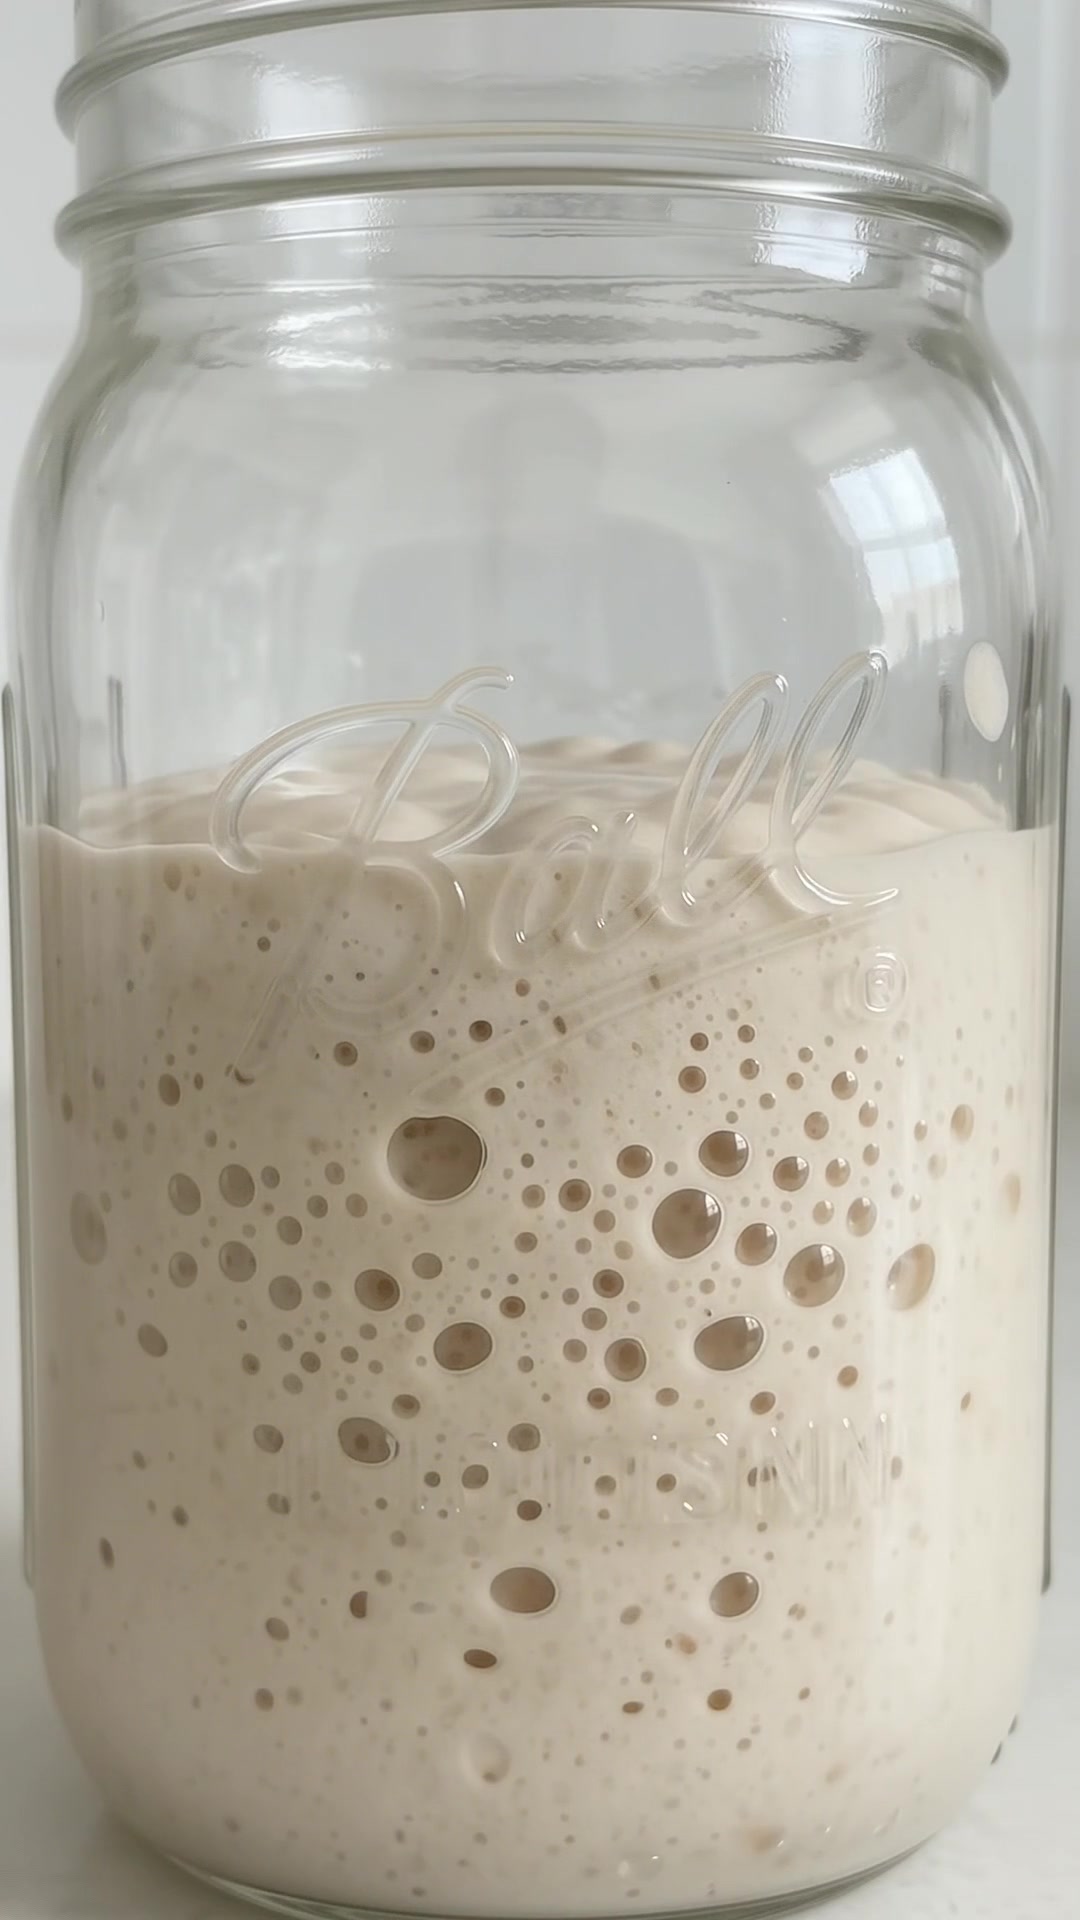
Sourdough Starter from Scratch (Beginner Guide)
A small-batch flour-and-water starter with a practical feeding routine and clear signs of baking readiness.
Making sourdough starter from scratch is a gradual process, not a race to a certain day on the calendar. Fresh flour and water support a changing community of microorganisms until a reliable culture develops. Early bubbles are encouraging, but steady rises after feeding matter more. Allow about 1–2 weeks, sometimes longer, and keep notes so you can recognize the pattern in your own kitchen.
Why Start a Small Culture?
- Uses modest amounts of flour during the learning stage.
- Fits in an ordinary straight-sided jar.
- Builds observation skills before mixing bread dough.
- Can be expanded later when you need more for baking.
Starter Schedule at a Glance
Hands-on: About 5 minutes per feeding
Development: Commonly 7–14 days or longer
Preferred room temperature: About 74–78°F
Yield after a feeding: About 2.6 ounces
Method: Equal flour and water by weight
Ingredients and Equipment
- 0.88 ounce whole-wheat or whole-rye flour, about 25 grams, for the first mixture
- 0.88 ounce drinking water, about 25 grams, for the first mixture
- Unbleached bread or all-purpose flour for later feedings
- Additional drinking water for later feedings
- A clean jar of at least 16 fluid ounces capacity
- A digital scale, spoon, loose-fitting lid, and rubber band
The ingredient ounces are weight ounces, not fluid ounces. A scale preserves equal flour and water accurately; equal cups would produce a very different mixture. The small weights also keep discard manageable. Use a separate clean bowl or jar when transferring the retained portion if the sides become heavily crusted.
Starter Tip: New cultures often rise dramatically in the first few days and then become quiet. That early burst is not proof the starter can reliably leaven bread.
How to Make Sourdough Starter from Scratch
Step 1: Mix on Day One
Stir the whole-grain flour and water in the jar until no dry patches remain. Scrape down the sides and level the mixture. Mark the starting height. Cover loosely so the surface does not dry out while gas can escape, and leave around 74–78°F for 24 hours.
Choose a stable spot away from direct sun and hot appliances. Do not put the jar in a switched-on oven. Water should be cool to lukewarm, never hot. Use drinkable tap water, or filtered water if yours has a strong chlorine odor.
Step 2: Refresh on Day Two
Inspect and smell the mixture. Keep 0.88 ounce starter and discard the rest. Add 0.88 ounce unbleached flour and 0.88 ounce water. Stir thoroughly, scrape the sides, mark the height again, and cover loosely. Leave for another 24 hours.
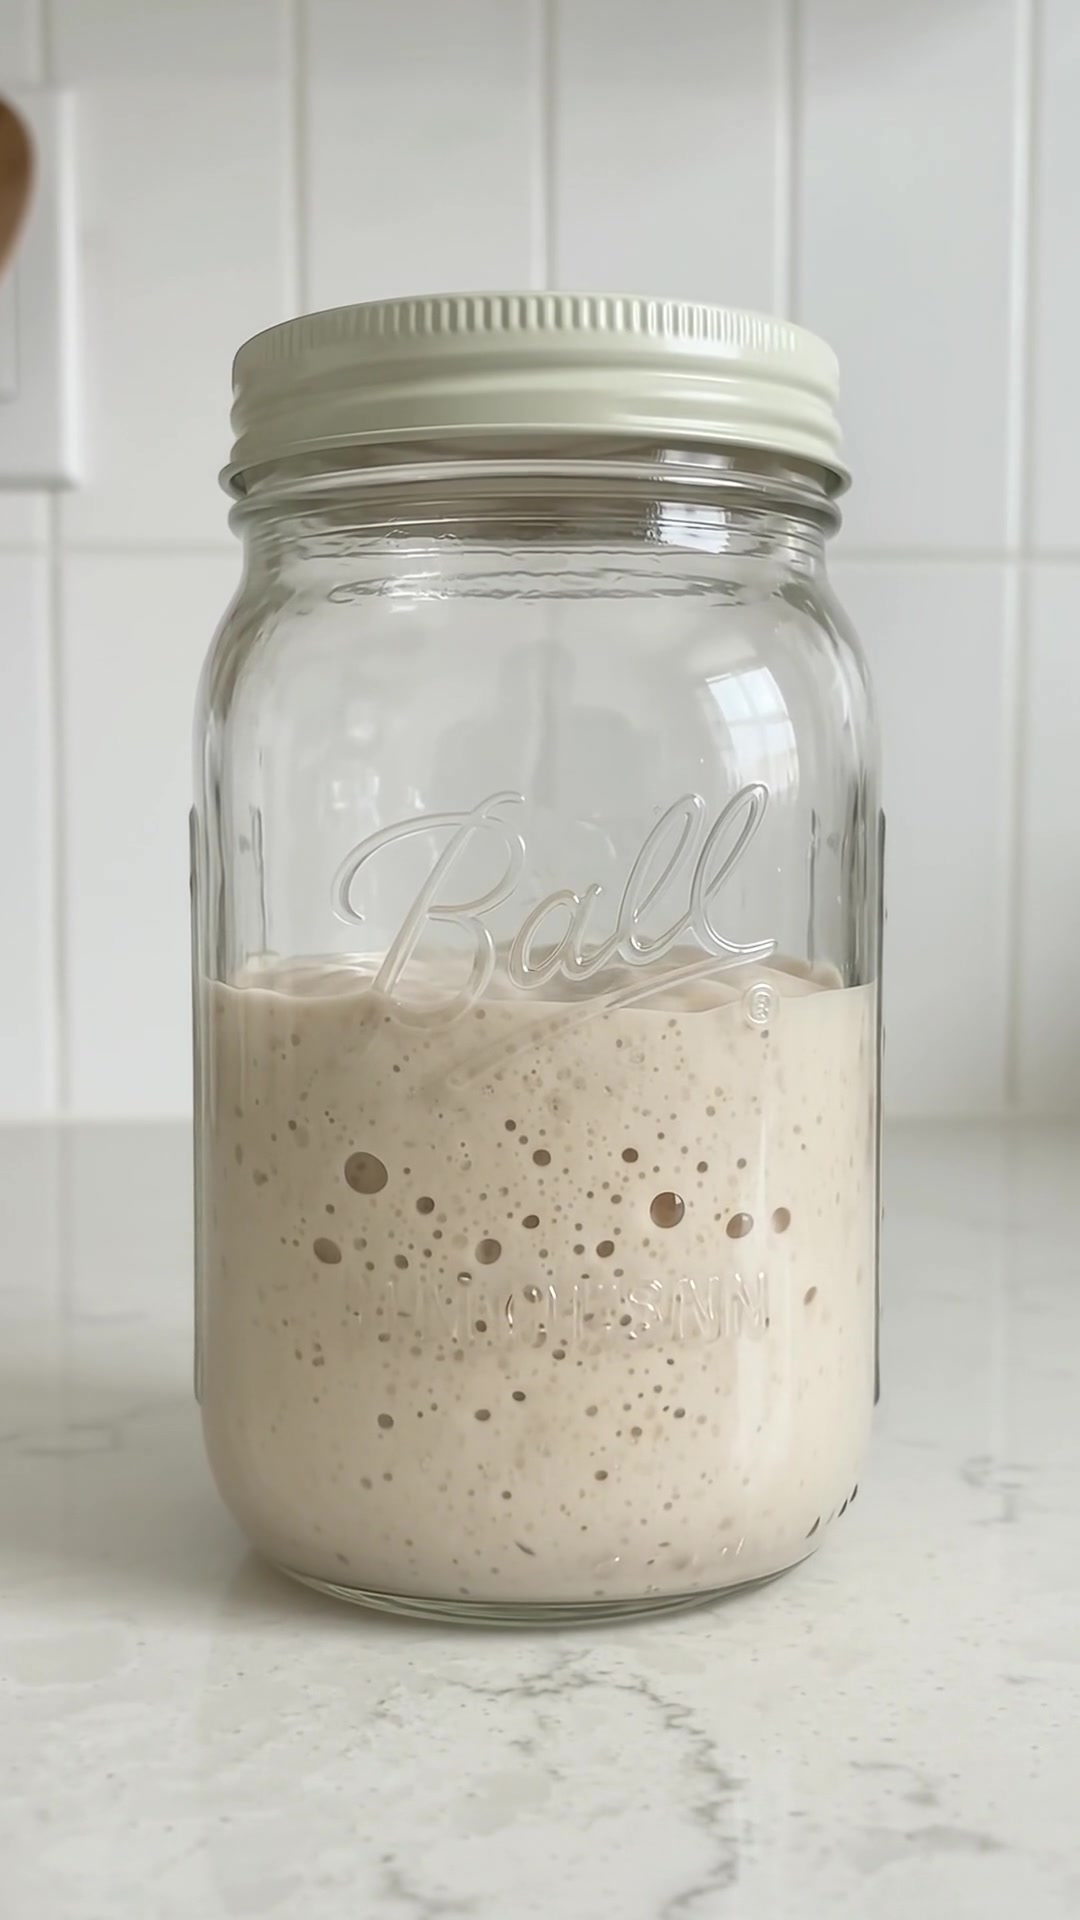
Discarding before feeding keeps the amount of old culture proportional to the new food. Simply adding a spoonful of flour to an ever-growing jar makes the feeding progressively smaller. Put discard in household waste or compost where suitable, rather than washing thick starter down the drain.
Step 3: Continue Regular Feedings
From day three, repeat the same retained-starter, flour, and water weights about every 12 hours. At each feeding, keep 0.88 ounce culture and add 0.88 ounce each flour and water. Stir well and mark the new level. A consistent morning-and-evening routine makes changes easier to compare.
Expect the appearance and smell to change. Some days may show only small bubbles and little height increase. Keep the routine steady rather than adding yeast, sugar, fruit, or yogurt. If the kitchen is cool, development usually takes longer; gentle room warmth is more useful than frequent drastic changes.
Step 4: Look for Reliable Readiness
Continue until the starter repeatedly doubles after feeding, has bubbles throughout, and smells pleasantly fermented. At about 75°F, a strong equal-weight feeding often doubles within roughly 4–8 hours. Look for that behavior over several consecutive feedings instead of relying on one unusually active day.
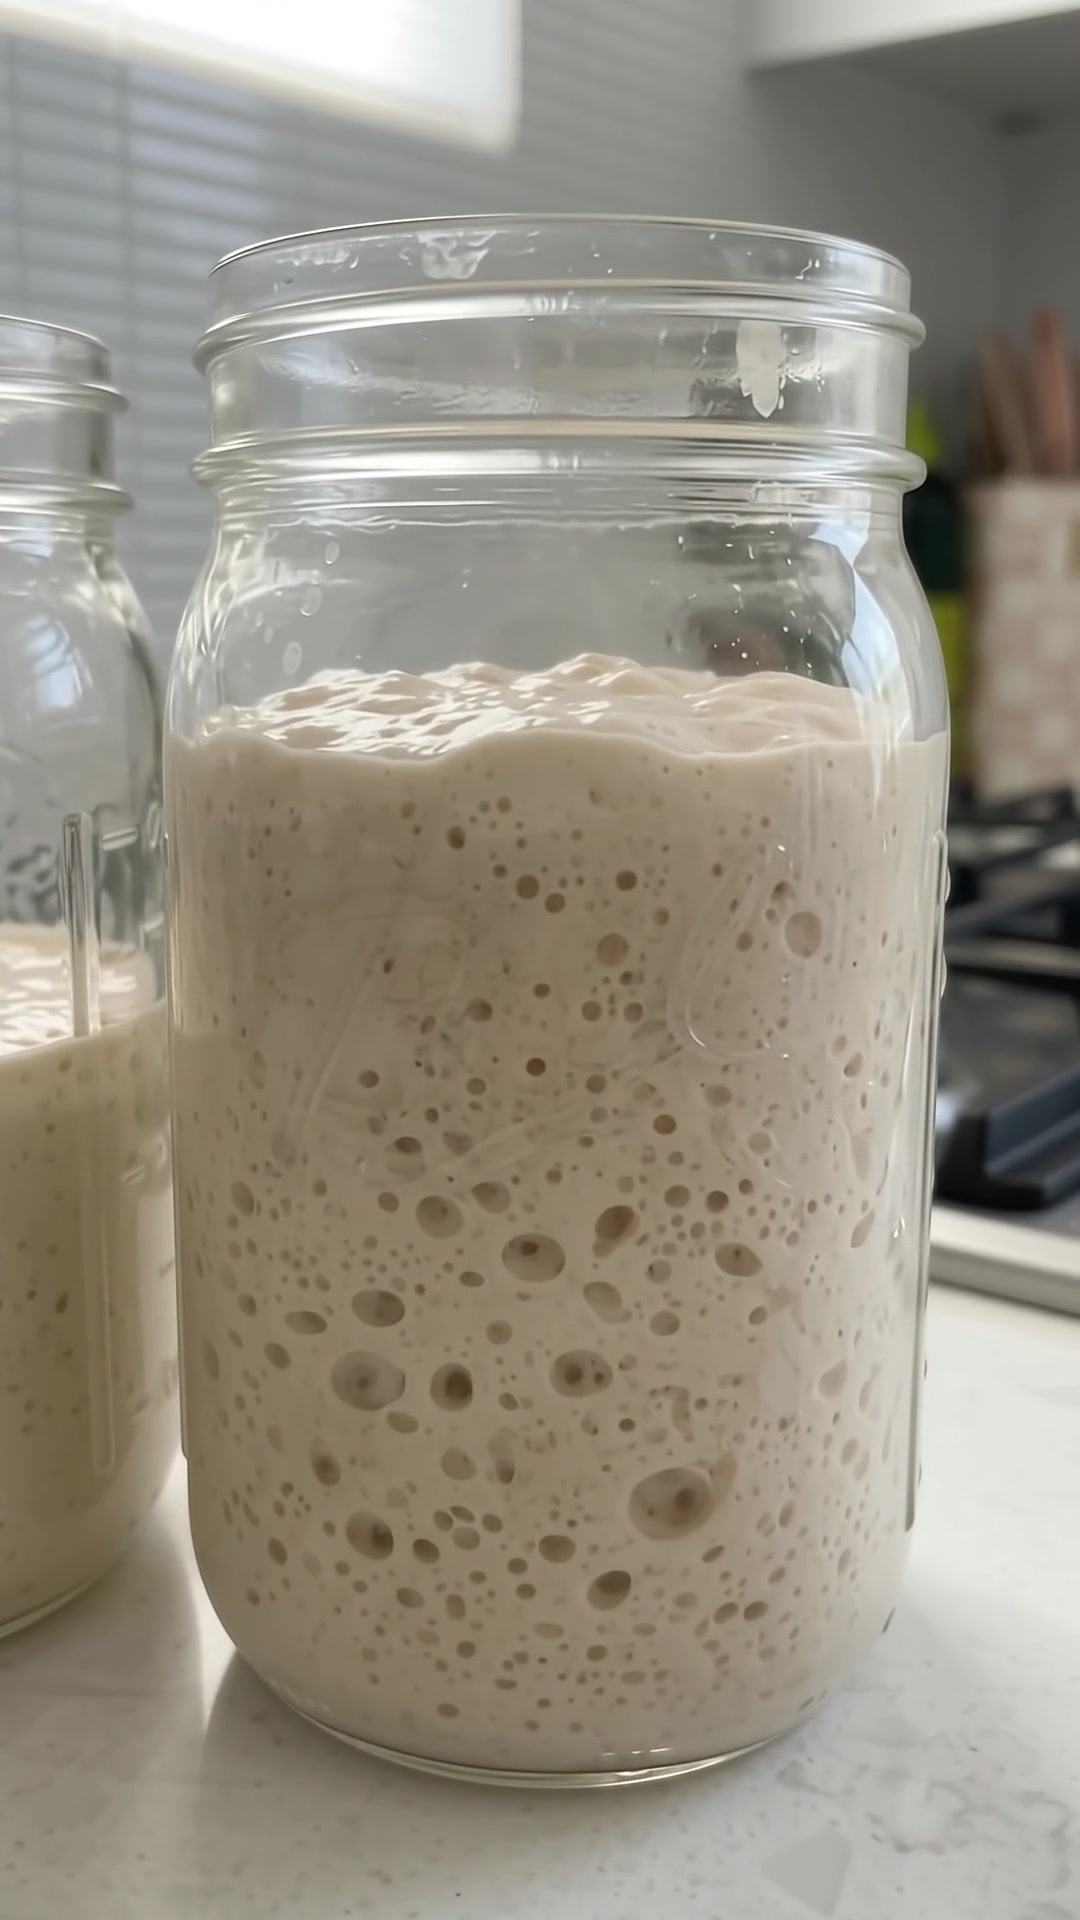
The top may dome near peak and then flatten or recede. That rise-and-fall pattern helps you decide when to use it. A float test alone cannot establish readiness because hydration, flour, and trapped gas affect the result. If a young starter bubbles without lifting well, keep feeding and give it more time.
Step 5: Build Enough for Bread
Once established, expand a portion with equal weights flour and water to make the quantity your bread recipe needs. Keep a small separate portion to maintain. Use the build when well expanded and near peak. Do not use all of your culture in the first loaf and leave yourself without a maintenance portion.
Troubleshooting and Clean Handling
Use clean utensils and a clean cover. Never taste raw starter or flour. Discard a culture with visible mold, pink or orange discoloration, or a putrid odor; taking a spoonful from underneath does not make it safe. See King Arthur’s starter FAQ for warning signs. For a conservative approach, discard the first two weeks’ removals rather than cooking with them, as advised in the UC ANR starter schedule.
Storage Guidance
Keep feeding at room temperature while the culture is developing. Once it rises reliably, feed it, allow the first signs of activity, and refrigerate if you bake only occasionally. Refresh about weekly. Before baking, return a portion to room-temperature feedings until vigorous again. A neglected starter may need several refreshments rather than one quick stir.
Short FAQ
Why is nothing happening?
Check temperature and give it time. Quiet periods are common in a young culture.
Can I change flour?
Yes, but keep feeding weights consistent and expect absorption and timing to change.
Is it ready on day seven?
Only if it shows reliable repeated rises. Many starters need longer before they can lift bread well.