Homemade Polish Pierogi Recipe (Potato & Cheese)
Homemade Polish Pierogi with Potato and Cheese (Traditional Family Recipe)
There’s nothing quite like a plate of homemade Polish pierogi, especially when they’re filled with creamy potatoes and cheese, then pan-fried in butter until golden brown. These traditional Polish dumplings are soft, comforting, and full of old-fashioned flavor.
For many Polish-American families, pierogi bring back memories of holidays spent in Grandma’s kitchen. The kitchen counter would be covered with flour, bowls of potato filling would be ready, and everyone would gather around to help fold and seal the little dumplings.
Making pierogi from scratch takes a little patience, but the results are worth it. This homemade Polish pierogi recipe uses simple ingredients and easy-to-follow steps, making it perfect for beginners.
Whether you’re preparing them for Christmas, a Sunday family dinner, or simply craving traditional Polish comfort food, these potato and cheese pierogi are sure to become a family favorite.
What Are Polish Pierogi?
Pierogi are traditional Polish dumplings made from thin, tender dough wrapped around a variety of savory or sweet fillings.
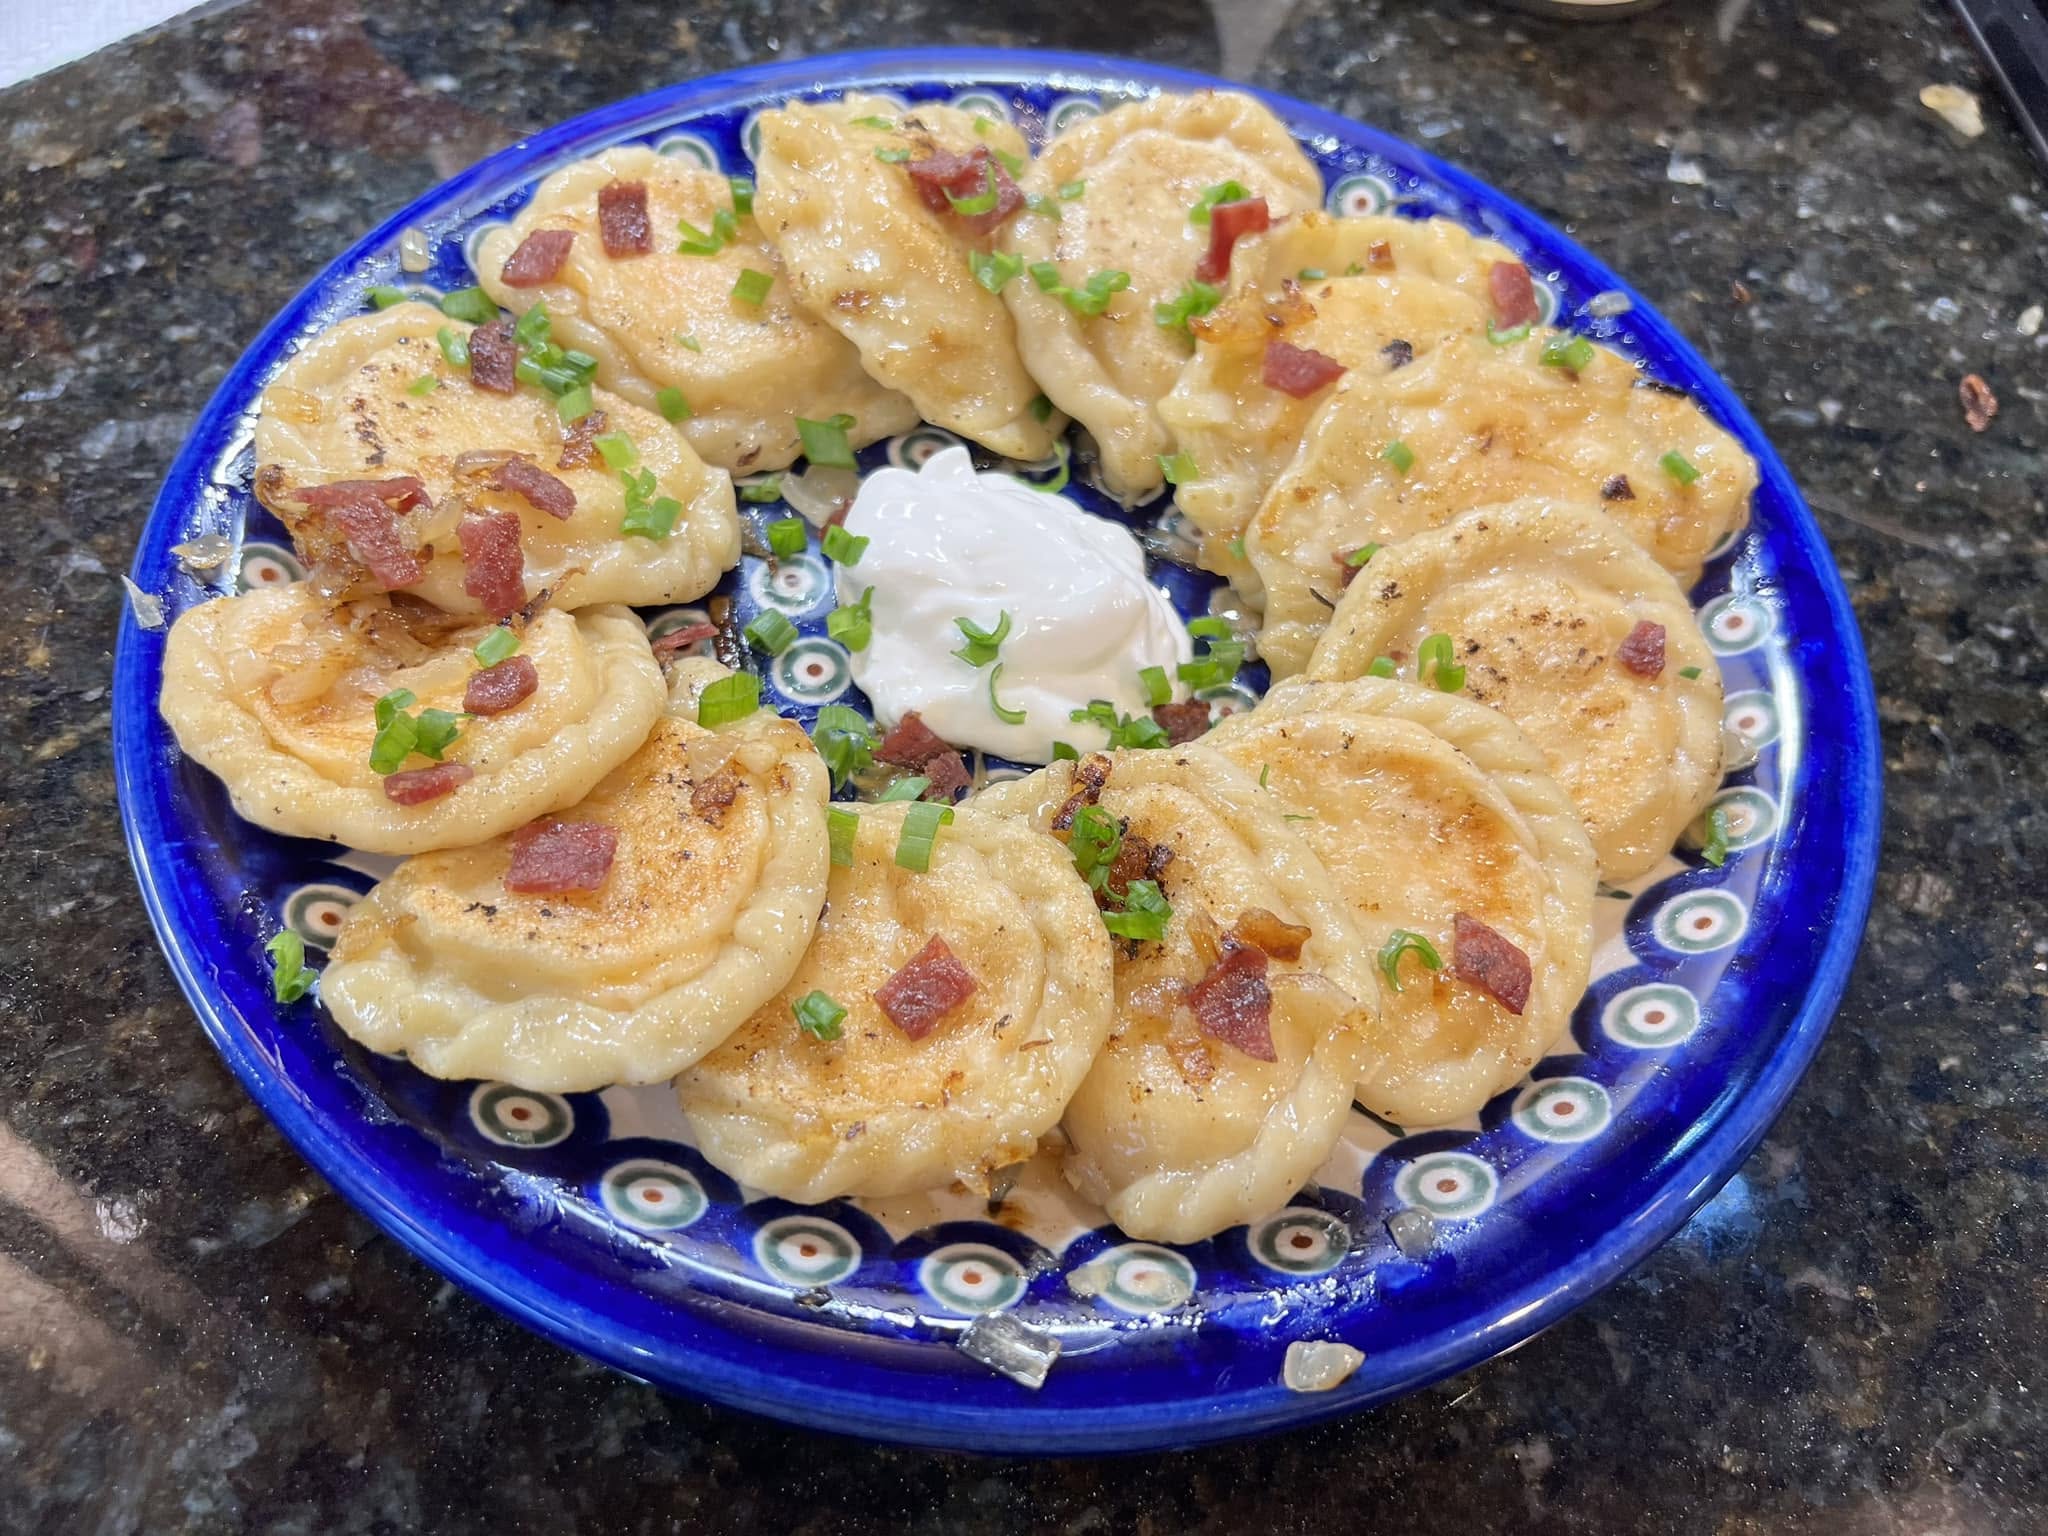
One of the most popular varieties is pierogi ruskie, filled with mashed potatoes, farmer’s cheese, and sautéed onions.
Unlike Italian ravioli, pierogi are usually shaped into half-moons, boiled in salted water, and sometimes pan-fried in butter before serving.
They’re commonly enjoyed with caramelized onions, sour cream, and crispy bacon.
Why You’ll Love This Homemade Pierogi Recipe
- Traditional comfort food: A classic Polish family recipe with simple ingredients.
- Soft, tender dough: Easy to roll, fill, and shape.
- Creamy filling: Mashed potatoes, cheese, and golden onions create wonderful flavor.
- Perfect for making ahead: Prepare a large batch and freeze some for later.
- Versatile: Enjoy boiled pierogi or pan-fry them until golden and slightly crispy.
Ingredients for Homemade Polish Pierogi
For the Pierogi Dough
- 3 cups all-purpose flour, plus extra for dusting
- 1 teaspoon salt
- 1 large egg
- 2 tablespoons unsalted butter, melted
- ¾ cup warm water, plus more if needed
For the Potato and Cheese Filling
- 2 pounds russet potatoes, peeled and cubed
- 1 cup farmer’s cheese, well-drained
- 1 medium yellow onion, finely chopped
- 2 tablespoons unsalted butter
- ½ teaspoon salt
- ¼ teaspoon black pepper
For Serving
- 3 tablespoons unsalted butter
- 1 small onion, sliced
- 4 slices bacon, cooked and crumbled (optional)
- Sour cream
- Fresh chopped chives
How to Make Homemade Polish Pierogi
Step 1: Prepare the Potato Filling
Place the peeled and cubed potatoes in a large pot of salted water.
Bring to a boil and cook for approximately 15–20 minutes, or until the potatoes are fork-tender.
Drain thoroughly and mash until smooth.
Meanwhile, melt 2 tablespoons of butter in a skillet over medium heat. Add the chopped onion and cook until soft and golden.
Combine the mashed potatoes, sautéed onions, farmer’s cheese, salt, and black pepper.
Mix until creamy and well combined. Allow the filling to cool completely before assembling the pierogi.
Step 2: Make the Pierogi Dough
In a large mixing bowl, combine the flour and salt.
Add the egg, melted butter, and warm water.
Mix until a soft dough begins to form.
Transfer the dough to a lightly floured surface and knead for approximately 5–7 minutes until smooth and elastic.
If the dough feels too dry, add a little more water, one tablespoon at a time.
Cover the dough with a clean kitchen towel and let it rest for 20–30 minutes.
Step 3: Roll Out the Dough
Divide the dough into two equal portions.
On a lightly floured countertop, roll one portion into a thin sheet, approximately ⅛ inch thick.
Use a round cookie cutter or drinking glass to cut circles approximately 3 inches wide.
Keep the remaining dough covered while working.
Step 4: Fill and Shape the Pierogi
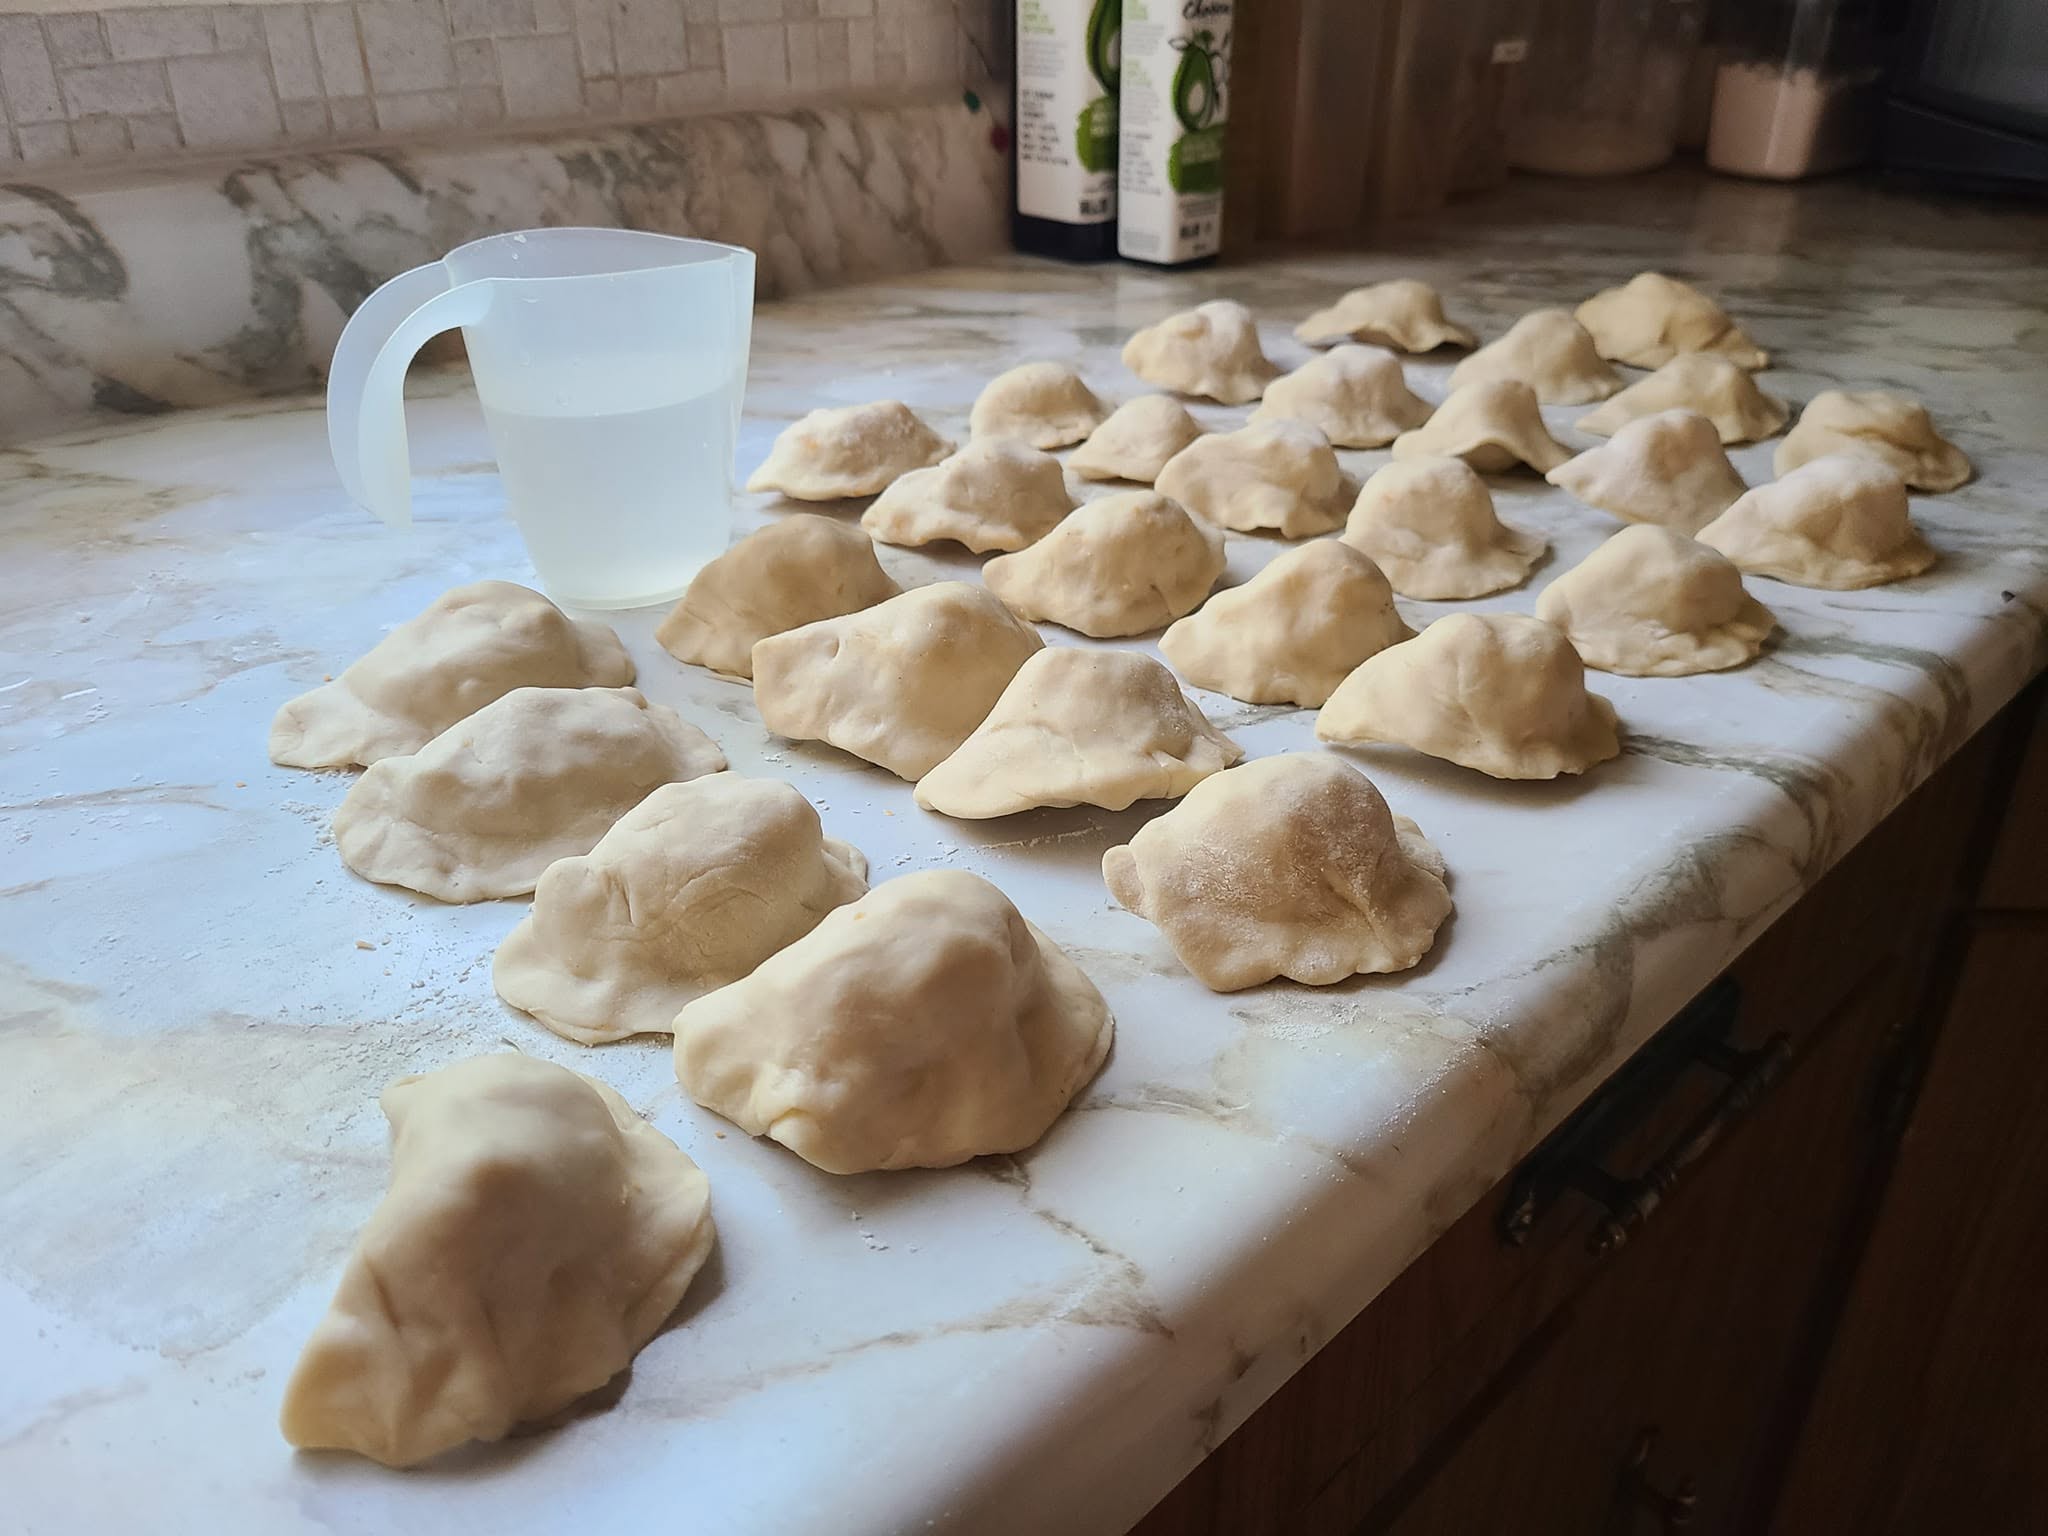
Place approximately 1 tablespoon of potato and cheese filling in the center of each dough circle.
Fold the dough in half to create a half-moon shape.
Press the edges firmly together, making sure the filling stays inside.
You can also use a fork to crimp the edges for a decorative finish.
Place the shaped pierogi on a lightly floured surface and cover with a clean towel to prevent drying.
Step 5: Boil the Pierogi
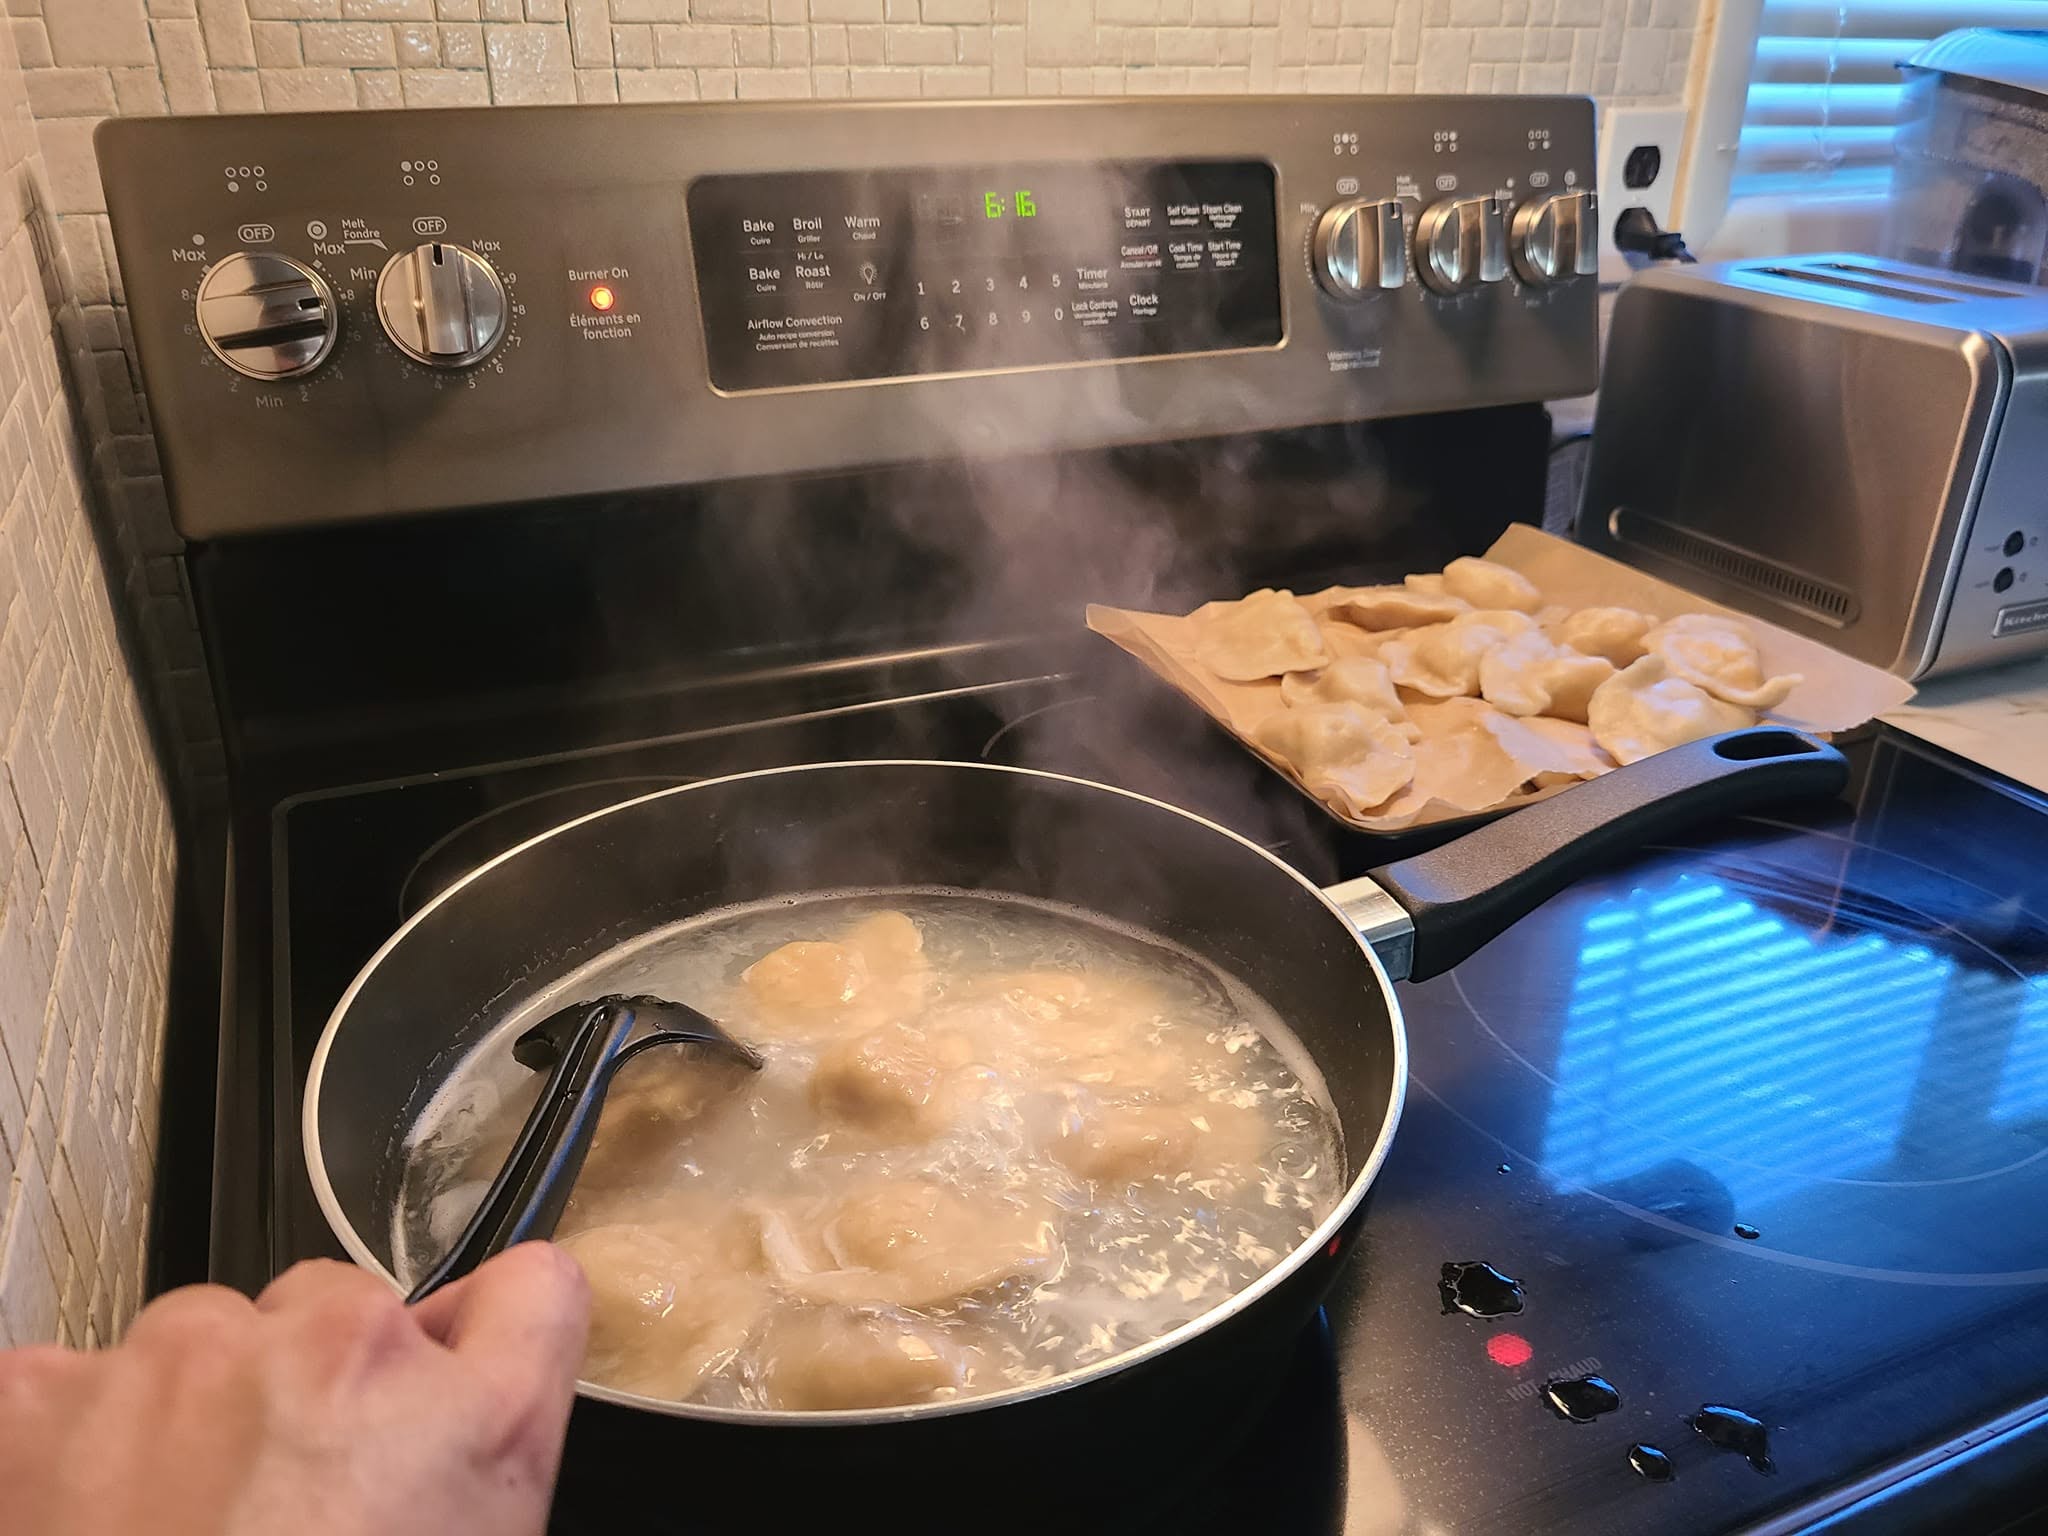
Bring a large pot of salted water to a gentle boil.
Carefully add the pierogi in small batches.
Stir gently to prevent them from sticking to the bottom.
Once the pierogi float to the surface, continue cooking for another 2–3 minutes, until the dough is tender and cooked through.
Remove with a slotted spoon and transfer to a lightly buttered plate.
Step 6: Pan-Fry Until Golden Brown
Melt 3 tablespoons of butter in a large skillet over medium heat.
Add the sliced onion and cook until golden and caramelized.
Arrange the boiled pierogi in a single layer in the skillet.
Cook for approximately 2–3 minutes per side until lightly golden and crispy.
Transfer to a serving plate and top with the cooked onions, crumbled bacon, and chopped chives.
Serve immediately with a generous spoonful of sour cream.
Babcia’s Tips for Perfect Homemade Pierogi
Don’t add too much flour. The dough should be soft and slightly elastic. Adding too much flour can make the pierogi tough.
Let the dough rest. Resting makes the dough easier to roll and prevents it from shrinking.
Cool the filling completely. Warm potato filling can soften the dough and make the edges difficult to seal.
Avoid overfilling. Too much filling can cause the pierogi to burst during boiling.
Seal the edges carefully. Make sure no filling gets caught between the edges of the dough.
Pan-fry in butter. Although boiled pierogi are delicious, lightly frying them adds extra flavor and a beautiful golden finish.
What to Serve with Polish Pierogi
Traditional Polish pierogi are delicious with simple toppings.
Caramelized onions and melted butter are classic choices, while crispy bacon adds a smoky, savory flavor.
A spoonful of sour cream provides a cool, creamy contrast to the warm dumplings.
You can also serve pierogi alongside sautéed cabbage, a fresh green salad, or a comforting bowl of Polish beet soup.
How to Store and Freeze Homemade Pierogi
Refrigerator: Store cooked pierogi in an airtight container in the refrigerator for up to 3–4 days.
Freezer: Arrange uncooked pierogi in a single layer on a parchment-lined baking sheet. Freeze until firm, then transfer to freezer-safe bags. Store for up to 2 months for best quality.
Reheating: Warm cooked pierogi in a buttered skillet over medium-low heat until heated through.
Cooking from frozen: Add frozen pierogi directly to gently boiling salted water. Cook until they float and the dough is fully cooked, allowing additional cooking time.
Frequently Asked Questions
Can I make Polish pierogi ahead of time?
Yes! You can prepare the filling a day in advance and refrigerate it. You can also assemble and freeze uncooked pierogi for later.
What cheese is best for traditional Polish pierogi?
Farmer’s cheese, known in Poland as twaróg, is the traditional choice for potato and cheese pierogi. Well-drained ricotta can be used as an alternative.
Do I have to pan-fry pierogi?
No. Traditional pierogi can be served immediately after boiling with melted butter and onions. Pan-frying is optional.
Why are my homemade pierogi tough?
Pierogi can become tough if the dough contains too much flour, is rolled too thick, or isn’t allowed to rest before shaping.
Can I freeze cooked pierogi?
Yes. Cool them completely, freeze them in a single layer, and transfer to freezer-safe containers. Reheat thoroughly before serving.
Final Thoughts
Homemade Polish pierogi are one of those recipes that remind us why traditional family cooking is so special.
The tender dough, creamy potato and cheese filling, and golden butter-fried edges create a comforting meal that never goes out of style.
Whether you’re making them for Christmas Eve, a family gathering, or a cozy dinner at home, these traditional Polish dumplings are a wonderful way to bring a little taste of Babcia’s kitchen to your table.
Have you ever made homemade pierogi with your family? Do you prefer them boiled or pan-fried?
Ingredients
Method
- Dough
- 3 cups all-purpose flour
- 1 teaspoon salt
- 1 large egg
- 2 tablespoons melted butter
- ¾ cup warm water
- Filling
- 2 pounds russet potatoes
- 1 cup farmer's cheese
- 1 medium yellow onion
- 2 tablespoons butter
- ½ teaspoon salt
- ¼ teaspoon black pepper
- Serving
- 3 tablespoons butter
- 1 small onion
- 4 slices cooked bacon, optional
- Sour cream and chopped chives
Notes
Sauté the chopped onion in butter until golden. Mix with mashed potatoes, farmer's cheese, salt, and pepper. Cool completely.
Combine flour, salt, egg, melted butter, and warm water. Knead until smooth and rest for 20–30 minutes.
Roll the dough approximately ⅛ inch thick and cut into 3-inch circles.
Add 1 tablespoon of filling to each circle, fold in half, and seal the edges firmly.
Boil pierogi in batches until they float, then cook for another 2–3 minutes.
Optionally pan-fry in butter until golden brown.
Serve warm with sautéed onions, bacon, sour cream, and chives.