Greek Yogurt Dinner Rolls (No Yeast Needed)
Quick, buttery dinner rolls made with Greek yogurt and baking powder instead of yeast.
Greek yogurt dinner rolls are useful when you want warm bread without planning a long rise. The yogurt gives the dough moisture and a gentle tang, while baking powder and a little baking soda provide the lift. These rolls have a tender, biscuit-like crumb rather than the stretchy structure of a fermented bread. Serve them with soup, roast chicken, or a simple salad.
Why You’ll Love These Rolls
- No starter, yeast, or proofing schedule.
- Easy hand mixing with no special equipment.
- A small pan that serves a family supper.
- Warm butter brushed over the tops for a soft finish.
Greek Yogurt Dinner Rolls Recipe
Prep: 20 minutes
Bake: 25–30 minutes
Rest: 10 minutes
Yield: 9 rolls in an 8-inch square pan
Oven: 375°F
Ingredients
- 2½ cups all-purpose flour, spooned and leveled
- 1 tablespoon baking powder
- ¼ teaspoon baking soda
- ¾ teaspoon fine salt
- 1 tablespoon granulated sugar
- 1 cup plain whole-milk Greek yogurt
- 3 tablespoons unsalted butter, melted and cooled
- Up to 2 tablespoons milk, only if needed
- 1 tablespoon additional melted butter, for finishing
Baking Tip: Use thick, plain Greek yogurt. Regular yogurt is usually much thinner and can turn this dough sticky before it has enough structure to shape.
How to Make Greek Yogurt Dinner Rolls
Step 1: Prepare Before Mixing
Heat the oven to 375°F. Grease an 8-inch square metal baking pan or line it with parchment. Melt the butter and let it cool until just warm. Gather the remaining ingredients before combining the wet and dry mixtures, because the leavening begins reacting once moistened.
Check the baking powder’s date. With no yeast in the dough, fresh chemical leavening is important. If the yogurt has separated slightly in its container, stir it smooth before measuring so the consistency is even from batch to batch.
Step 2: Make a Soft Dough
Whisk the flour, baking powder, baking soda, salt, and sugar thoroughly in a large bowl. In another bowl, stir the yogurt and 3 tablespoons cooled melted butter. Add the yogurt mixture to the flour and fold with a spatula until large moist clumps form.
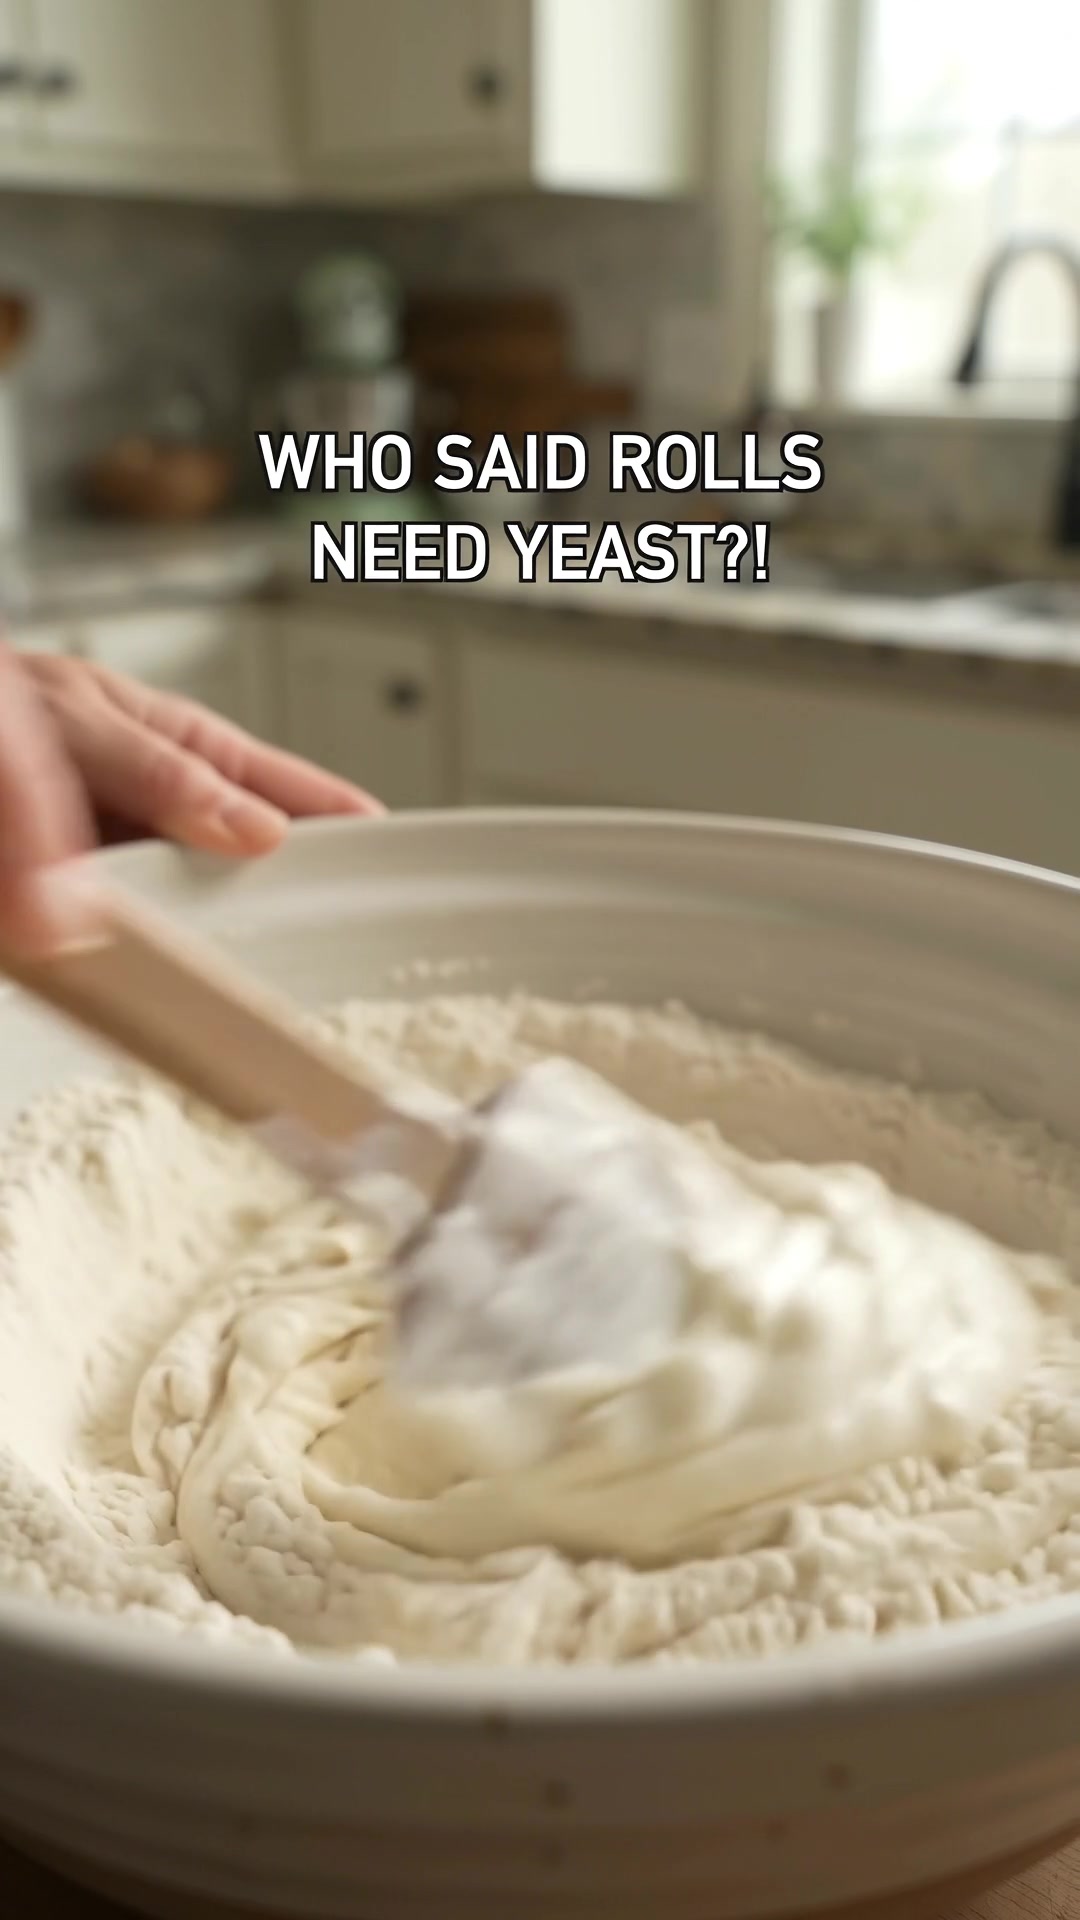
Press a handful together. If the dough holds, do not add milk. If dry flour remains that will not incorporate, add milk 1 teaspoon at a time, up to 2 tablespoons. Different yogurts and flour brands absorb differently, so the dough’s texture is more useful than adding every drop automatically.
Step 3: Shape Gently
Turn onto a lightly floured surface. Fold and press the dough just 4–6 times, enough to bring it together. Avoid prolonged kneading; that can make the rolls tough. The surface does not need to be perfectly smooth.
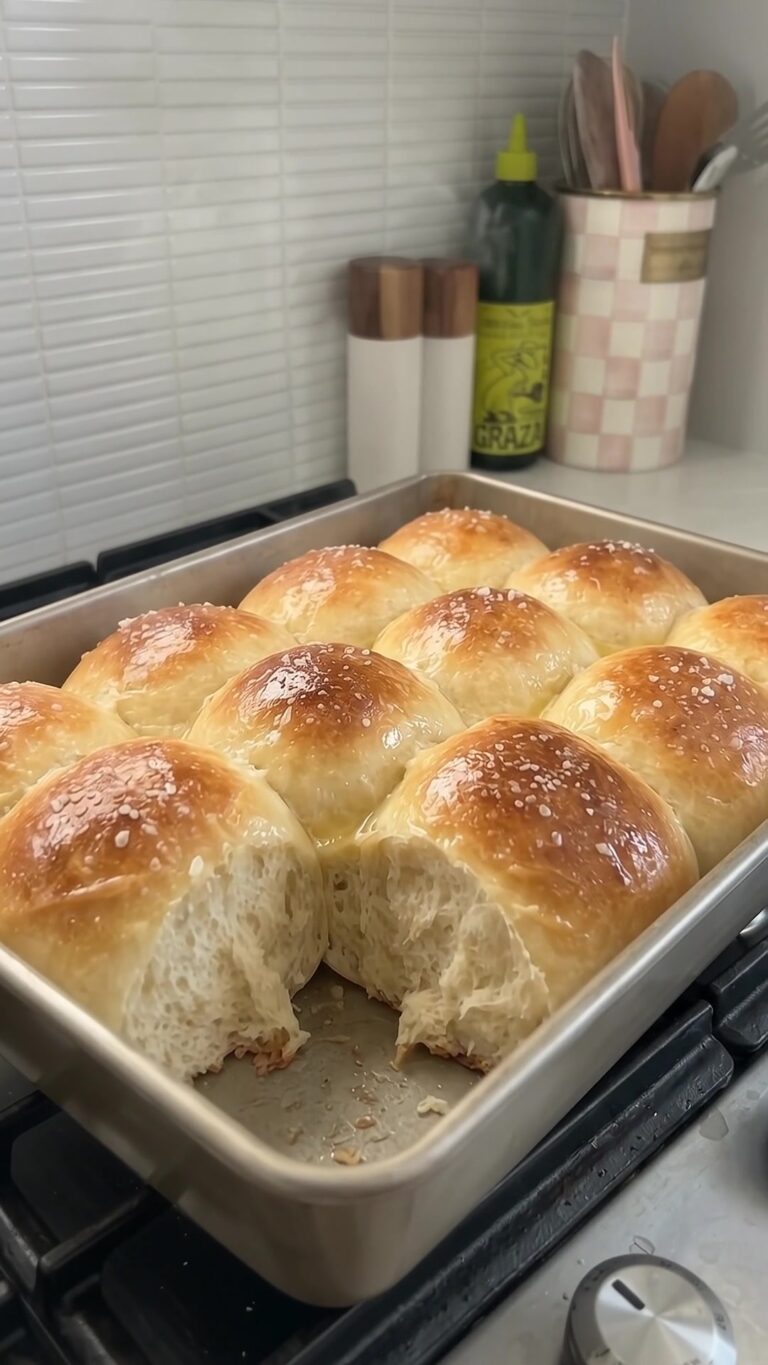
Divide into 9 equal portions. With lightly floured hands, tuck the rough edges underneath each piece to make a rounded ball. Place seam side down in the prepared pan in three rows of three. The rolls can sit fairly close together, which helps the sides stay soft as they bake.
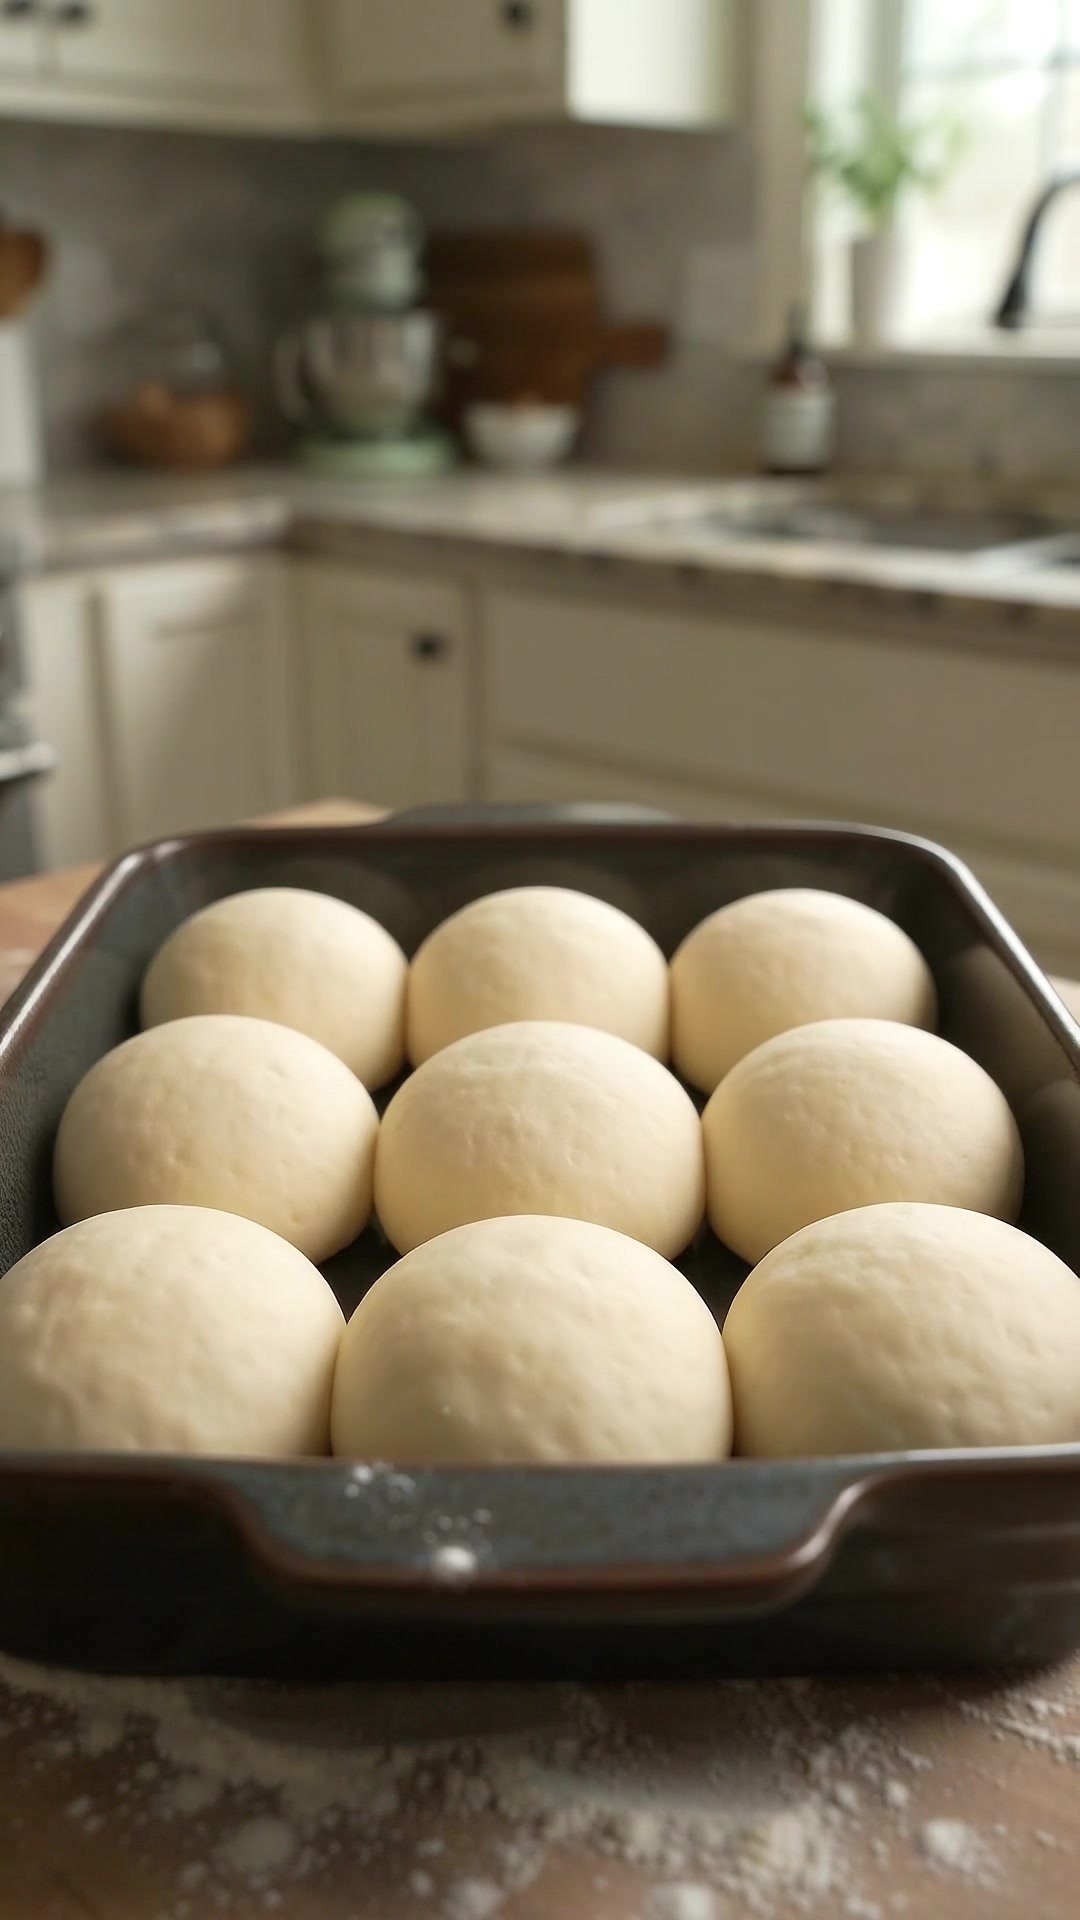
Work promptly and keep flour additions light. If dough sticks to your hands, dust them rather than working large amounts into the dough. There is no rise to wait for: once the rolls are shaped, they are ready for the oven.
Step 4: Bake Until Set
Bake on the center rack for 25–30 minutes, until the tops are golden and the center roll is cooked through. Check around 25 minutes. An instant-read thermometer inserted into the center of a middle roll should read about 200°F. If the tops darken too quickly, tent loosely with foil.
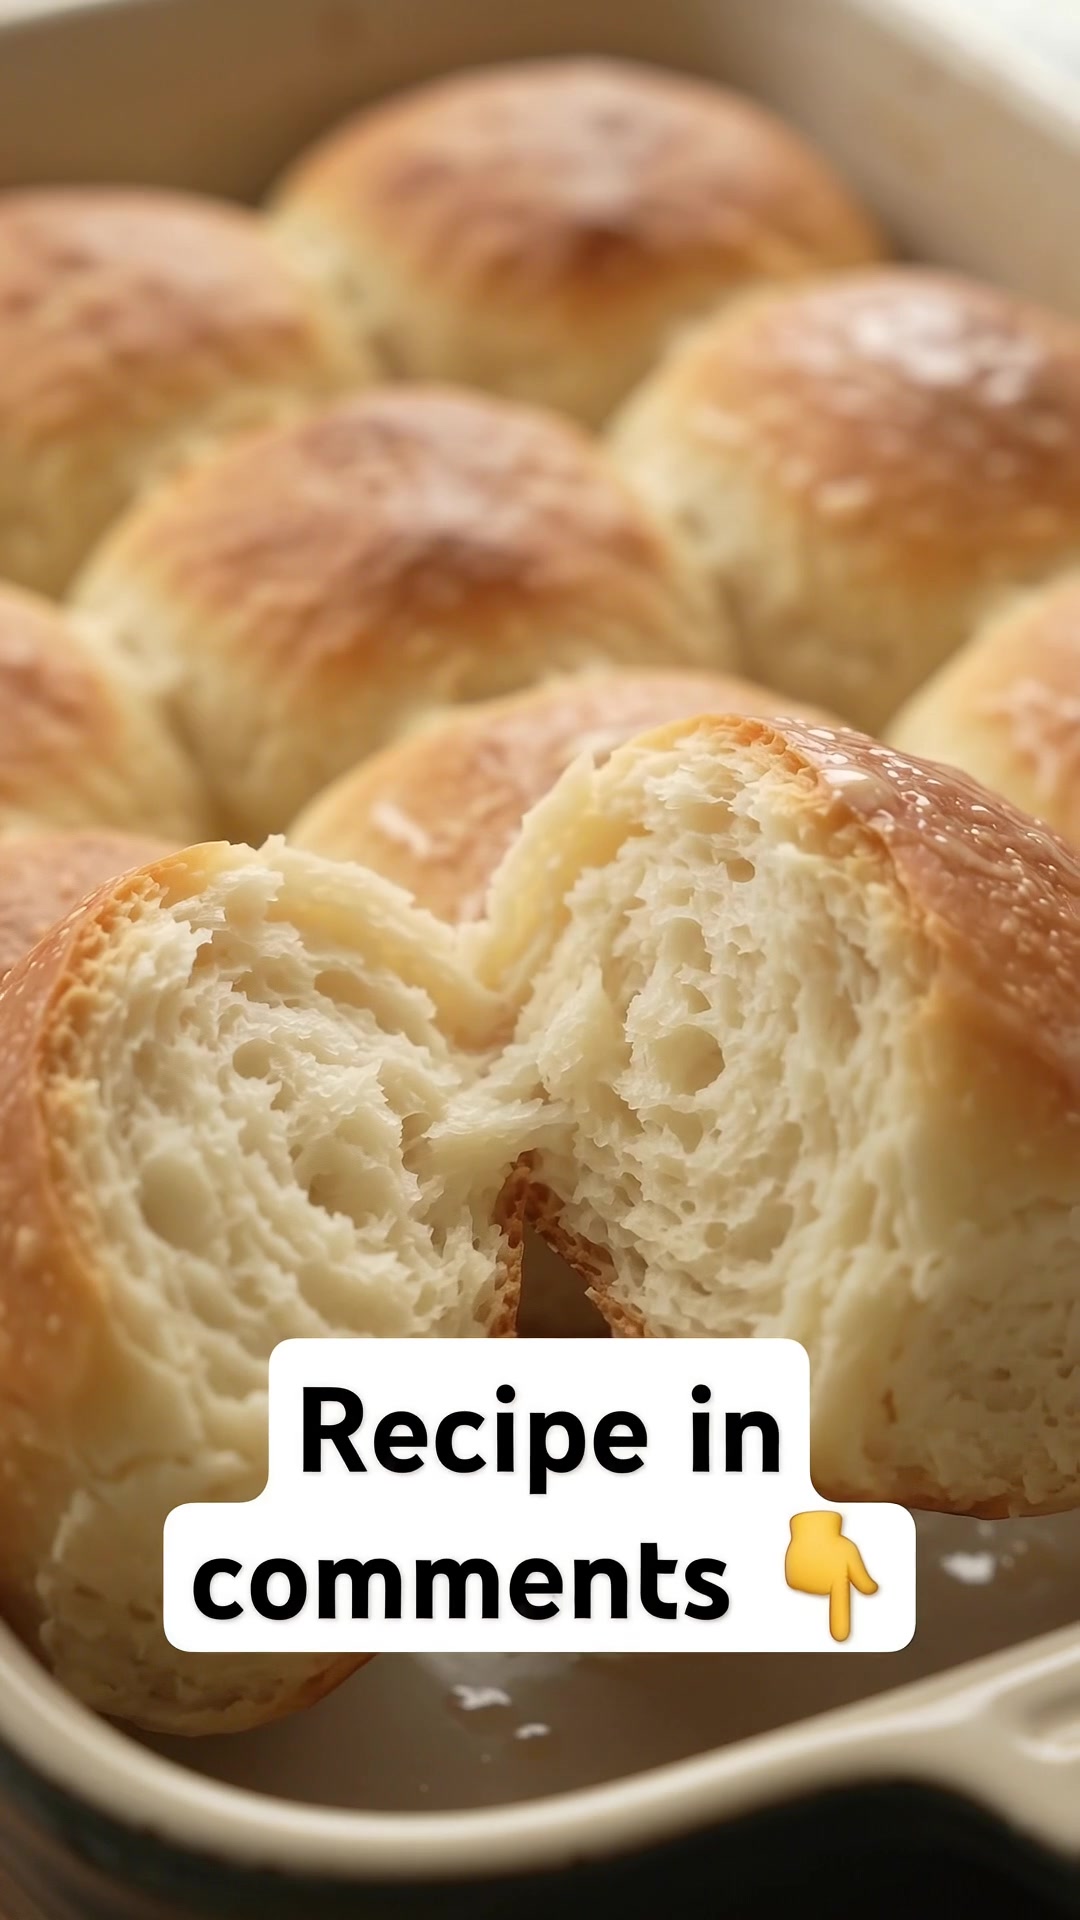
Because the rolls touch, the middle ones may take a little longer than the outer ones. Avoid judging only by a browned corner. The center should feel set, and a small tear between rolls should show cooked crumb rather than a wet, doughy strip.
Step 5: Butter and Rest
Brush the hot tops with the remaining tablespoon melted butter. Rest in the pan for 5 minutes, then lift onto a rack and wait another 5 minutes before pulling apart. That short rest lets the crumb set while keeping the rolls pleasantly warm.
Serve with a small pat of butter or use split rolls for modest sandwich fillings. Their tender structure is best handled with a serrated knife rather than squeezing them while slicing. Expect a slightly more substantial bite than a fluffy yeast roll.
Tips for the Best Rolls
Spoon and level the flour instead of scooping it tightly from the bag. Too much flour creates dry dough that is hard to shape. Full-fat yogurt gives a richer result; low-fat Greek yogurt can work, but the crumb may be less tender. Mix only until combined, and bake promptly rather than letting the shaped dough stand for an hour.
Delicious Variations
Add 2 tablespoons chopped chives and ½ teaspoon garlic powder to the dry ingredients for savory rolls. Fold in ½ cup finely shredded cheddar if desired, keeping wet additions out. For a milder breakfast version, omit the herbs and serve the plain rolls with jam or honey after baking.
Storage Guidance
Cool fully before storing airtight at room temperature for up to 2 days, or refrigerate for up to 4 days. Rewarm wrapped in foil at 325°F for about 10 minutes. Freeze cooled rolls for up to 2 months. Thaw covered and warm gently; overheating can dry the tender crumb.
Short FAQ
Can I use self-rising flour?
Use the listed flour and leaveners for the most predictable result; self-rising blends vary in salt and baking powder.
Why are my rolls dense?
Old baking powder, too much flour, or heavy mixing are common causes.
Can I make the dough ahead?
Mix the dry ingredients ahead, but combine, shape, and bake the dough shortly before serving.