Best Cast Iron Skillet Chicken Pot Pie (Easy One-Pan Recipe)
Best Cast Iron Skillet Chicken Pot Pie
The Ultimate One-Pan Comfort Food
When the weather turns chilly and you need a dinner that feels like a warm hug, nothing hits the spot quite like a homemade chicken pot pie. Traditional pot pies, however, can be incredibly time-consuming. Fiddling with double pie crusts, transferring hot fillings between bowls and baking dishes, and dealing with a mountain of dishes is not ideal for a busy weeknight.
This skillet chicken pot pie solves all those problems while delivering maximum flavor. By building the savory gravy, simmering the vegetables, and baking the entire dish in a single cast iron skillet, you save time and cut your cleanup in half. The heavy cast iron conducts heat beautifully, keeping the creamy filling piping hot while perfectly crisping the pastry topping.
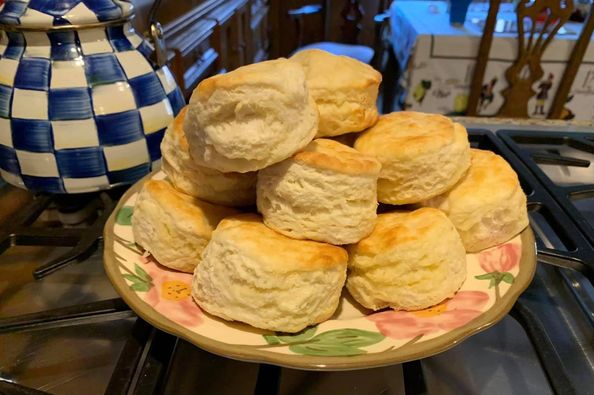
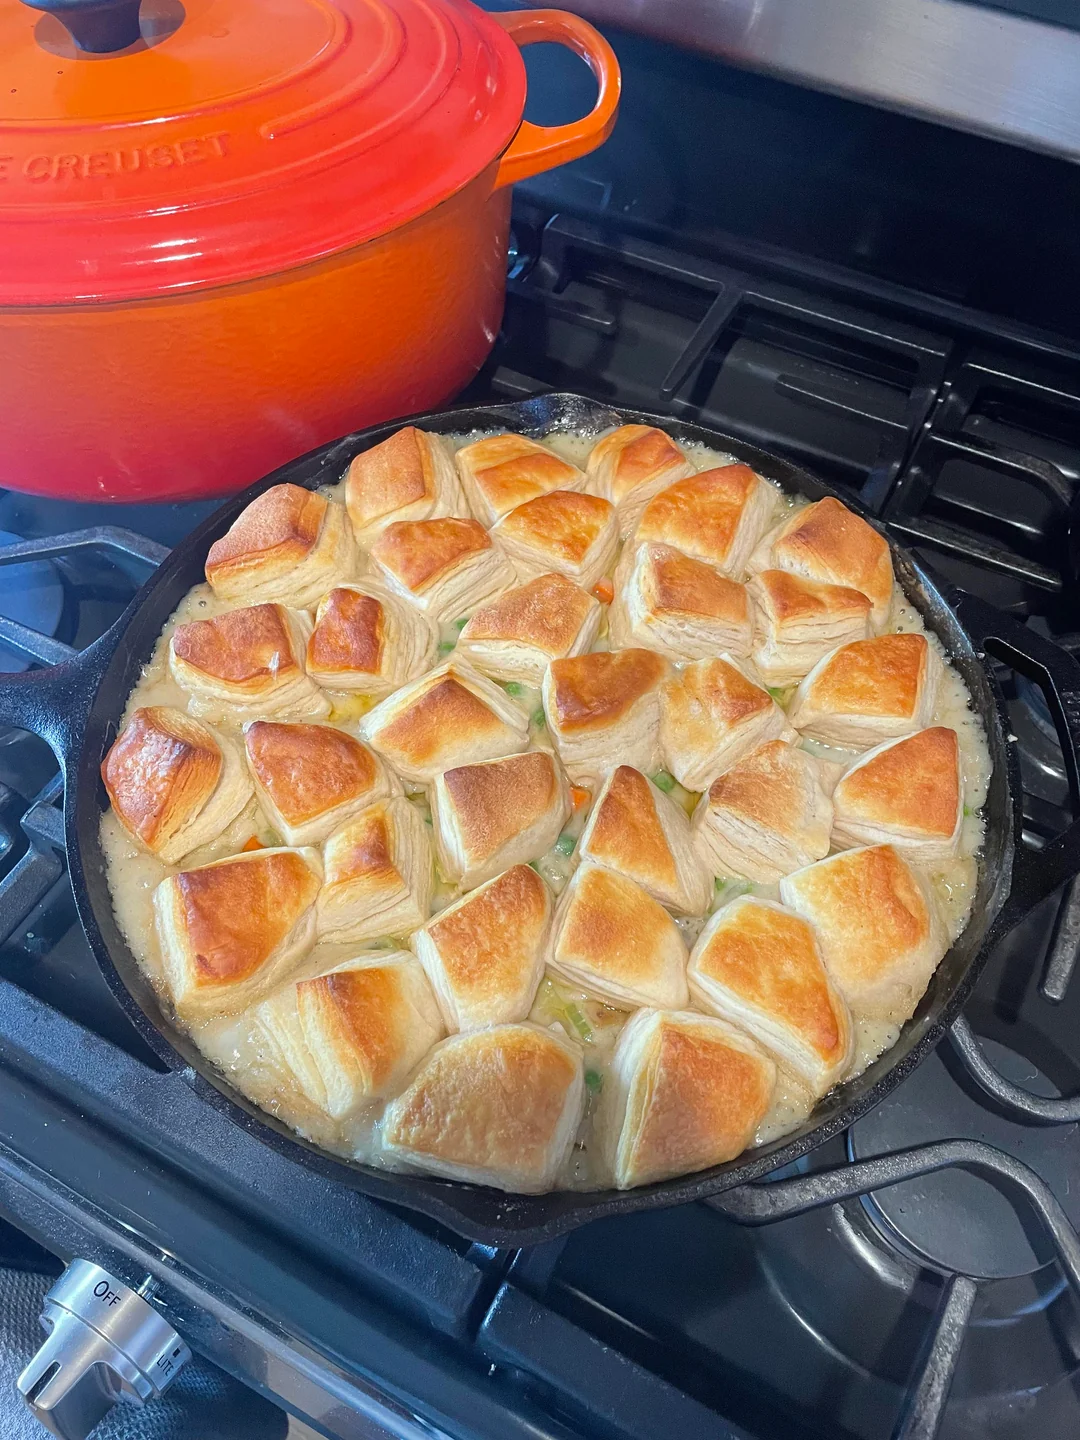
Instead of a traditional, finicky pie crust, this recipe uses a brilliant shortcut: perfectly portioned squares of flaky puff pastry or biscuit dough layered right over the bubbling filling. As it bakes, the bottom of the pastry soaks up the savory chicken gravy, while the top puffs into golden, buttery perfection. It is a hearty, nostalgic meal that looks rustic and beautiful served straight from the skillet to the table.
Why You’ll Love This Recipe
-
One-Pan Cleanup: From sautéing the vegetables to baking the final dish, everything happens in one trusty cast iron skillet.
-
Time-Saving Shortcut: Using store-bought puff pastry or refrigerated flaky biscuit dough eliminates the stress of making a homemade pie crust from scratch.
-
Perfect Texture: The cut pastry topping ensures everyone gets a perfectly crisp, flaky bite without dealing with a soggy bottom crust.
-
Incredibly Versatile: It is the perfect recipe for clearing out the fridge. You can easily toss in leftover vegetables or swap the chicken for turkey.
-
Family Favorite: The creamy, savory gravy and tender chicken make this a guaranteed hit for picky eaters and adults alike.
Ingredients
-
Butter: 1/4 cup (half a stick) of unsalted butter to cook the vegetables and build the roux.
-
Aromatics: 1 medium yellow onion (diced), 2 medium carrots (peeled and diced), and 2 ribs of celery (diced). This classic mirepoix is the flavor foundation.
-
Garlic: 3 cloves of garlic, minced, for savory depth.
-
Flour: 1/4 cup of all-purpose flour to thicken the gravy.
-
Chicken Broth: 2 cups of high-quality, low-sodium chicken broth.
-
Heavy Cream: 1/2 cup of heavy cream or half-and-half for a rich, velvety sauce.
-
Cooked Chicken: 3 cups of cooked, shredded, or cubed chicken. A store-bought rotisserie chicken works perfectly here.
-
Peas: 1 cup of frozen peas. No need to thaw them first!
-
Seasonings: 1 teaspoon dried thyme, 1/2 teaspoon kosher salt, and 1/2 teaspoon freshly cracked black pepper.
-
Topping: 1 sheet of thawed puff pastry or 1 can of jumbo flaky biscuits, cut into small squares or triangles.
-
Egg Wash (Optional): 1 egg beaten with a splash of water to brush over the pastry for a glossy finish.
Step-by-Step Instructions
Step 1: Sauté the Vegetables
Preheat your oven to 400°F (200°C). Place a 10-inch or 12-inch cast iron skillet on the stovetop over medium heat. Melt the butter, then add the diced onion, carrots, and celery. Cook for about 6 to 8 minutes, stirring occasionally, until the onions are translucent and the carrots begin to soften. Add the minced garlic and cook for one more minute until fragrant.
Step 2: Build the Roux
Sprinkle the all-purpose flour evenly over the softened vegetables. Use a wooden spoon to stir the flour into the butter and vegetables constantly for 2 minutes. This cooks out the raw flour taste and creates the thickening base (roux) for your gravy.
Step 3: Create the Creamy Gravy
Slowly pour in the chicken broth, about half a cup at a time, stirring vigorously after each addition to prevent lumps from forming. Once all the broth is incorporated, stir in the heavy cream, dried thyme, kosher salt, and black pepper. Let the mixture simmer for 3 to 5 minutes until it becomes thick and bubbly.
Step 4: Add the Chicken and Peas
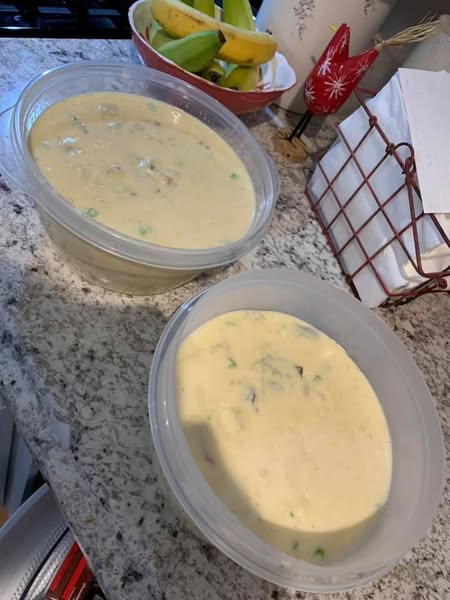
Turn off the stovetop heat. Fold in the shredded cooked chicken and the frozen peas. Stir gently until everything is evenly coated in the rich gravy. Taste the filling carefully and add a little more salt and pepper if needed.

Step 5: Arrange the Pastry Topping
Take your thawed puff pastry or flaky biscuit dough and cut it into 2-inch squares or triangles. Arrange the pieces over the top of the chicken filling in the skillet, overlapping them slightly. They will expand as they bake, creating a beautiful, cobbler-like crust. If desired, brush the tops lightly with the egg wash.
Step 6: Bake to Golden Perfection
Carefully transfer the hot, heavy skillet into the preheated oven. Bake for 18 to 22 minutes, or until the pastry pieces are puffed, deeply golden brown, and cooked through, and the filling is bubbling around the edges. Remove from the oven and let it rest for 10 minutes before serving.
Expert Cooking Tips
-
Rotisserie Chicken Magic: To make this a true 30-minute prep meal, shred a store-bought rotisserie chicken. It adds fantastic roasted flavor and saves you from cooking raw meat.
-
Control the Thickness: If your gravy looks a bit too thick before baking, splash in another quarter cup of chicken broth. It will reduce slightly while in the oven.
-
Keep the Pastry Cold: If you are using puff pastry, keep it in the refrigerator until the exact moment you need to cut it and place it on the skillet. Cold pastry hits the hot oven and creates maximum flaky layers.
-
Let It Rest: It is tempting to dive right in, but letting the skillet rest for 10 minutes after baking allows the bubbling gravy to set up. This means you will get scoopable, hearty portions instead of a runny soup.
-
Protect Your Hands: Remember that the handle of the cast iron skillet will be scorching hot when it comes out of the oven. Keep an oven mitt or a handle cover draped over it as a reminder while you serve!
Variations to Try
-
Thanksgiving Leftover Pie: Swap the chicken for leftover roasted turkey, and add a dollop of leftover mashed potatoes or a spoonful of cranberry sauce to your plate for a holiday-inspired meal.
-
Herb Garden Upgrade: Replace the dried thyme with a tablespoon of freshly chopped rosemary and sage for a bright, earthy flavor profile.
-
Extra Veggie Loaded: Toss in some diced potatoes, green beans, or sweet corn along with the peas to stretch the filling and add more color.
What to Serve With Skillet Chicken Pot Pie
Because this skillet chicken pot pie is incredibly rich and filling, featuring protein, vegetables, and heavy carbs all in one pan, you only need light side dishes to round out the meal.
Serve it alongside a crisp, tart green salad tossed in a sharp lemon vinaigrette to cut through the richness of the cream sauce. Roasted Brussels sprouts or simple garlic butter green beans also make fantastic, earthy companions. If you want to lean all the way into comfort food territory, a side of creamy mashed potatoes is perfect for soaking up any extra gravy on your plate.
Storage & Reheating
Refrigerator
Allow any leftover pot pie to cool completely in the skillet. You can transfer the leftovers to an airtight container, or simply cover the skillet tightly with aluminum foil. Store in the refrigerator for up to 4 days.
Freezer
This dish freezes exceptionally well! Transfer the cooled leftovers to a freezer-safe container, separating the pastry from the filling if possible to prevent it from getting overly soggy. Freeze for up to 3 months. Thaw overnight in the refrigerator before reheating.
Reheating
To bring the pastry back to life, avoid the microwave if possible. Place the desired amount in an oven-safe dish and bake at 350°F (175°C) for 15 to 20 minutes until the filling is bubbly and the top is crispy again. If you are in a rush, you can microwave it, but the pastry will be soft rather than flaky.
Frequently Asked Questions
Can I use a traditional pie crust instead of puff pastry?
Yes, absolutely! If you prefer a traditional crust, simply unroll a store-bought refrigerated pie crust and drape it over the top of the skillet. Cut three or four small slits in the center to allow steam to escape, and bake as directed until golden.
Why is my pot pie filling runny?
Runny filling usually happens if the roux (butter and flour mixture) wasn’t thick enough, or if the pie was cut into straight out of the oven. Always let the gravy simmer on the stove until thick, and mandate a 10-minute resting period after baking.
Can I make this cast iron pot pie ahead of time?
You can prepare the creamy chicken and vegetable filling up to 2 days in advance. Store it in an airtight container in the fridge. When ready to bake, heat the filling gently on the stove, pour it into the skillet, add your fresh pastry topping, and bake.
Do I have to use a cast iron skillet?
While cast iron provides incredible heat retention and aesthetic appeal, you can use any large, oven-safe skillet. A stainless steel pan will work, or you can transfer the stovetop filling into a standard 9×9 baking dish before adding the topping and baking.
Can I use raw chicken instead of cooked?
Yes. If you are starting with raw chicken breasts or thighs, dice them into bite-sized pieces and cook them in the skillet with a little olive oil before Step 1. Once cooked through, remove the chicken to a plate, then proceed with melting the butter and sautéing the vegetables. Add the cooked chicken back in during Step 4.
Final Thoughts
This skillet chicken pot pie proves that you don’t need to sacrifice hours in the kitchen to enjoy spectacular, soul-warming comfort food. By utilizing a single cast iron pan and a brilliant pastry shortcut, you get all the creamy, savory flavors of a classic pot pie with a fraction of the effort. Gather your ingredients and get ready to enjoy your new favorite weeknight dinner!
Best Cast Iron Skillet Chicken Pot Pie
A cozy, easy one-pan skillet chicken pot pie featuring a rich, creamy filling topped with golden, flaky pastry pieces. Ready in under an hour!
Ingredients
Method
- Preheat your oven to 400°F (200°C).
- Heat the cast iron skillet over medium heat. Melt the butter and add the diced onion, carrots, and celery. Cook for 6-8 minutes until softened.
- Add the minced garlic and cook for 1 minute.
- Sprinkle the flour over the vegetables and stir continuously for 2 minutes to cook out the raw flour taste.
- Gradually pour in the chicken broth, stirring vigorously to prevent lumps.
- Stir in the heavy cream, dried thyme, salt, and pepper. Let the mixture simmer for 3-5 minutes until thick and bubbly.
- Turn off the heat. Fold in the cooked chicken and frozen peas until well combined.
- Cut the thawed puff pastry or biscuit dough into 2-inch pieces. Arrange them evenly over the hot filling in the skillet. Brush lightly with egg wash if desired.
- Transfer the skillet to the preheated oven and bake for 18-22 minutes, or until the pastry is deeply golden brown and puffed.
- Remove from the oven and let rest for 10 minutes before serving.
Notes
Shortcut: Use meat from a pre-cooked rotisserie chicken to cut down on prep time.
Skillet Safety: The cast iron handle will be extremely hot after baking. Keep a towel or mitt on it to prevent accidental burns.