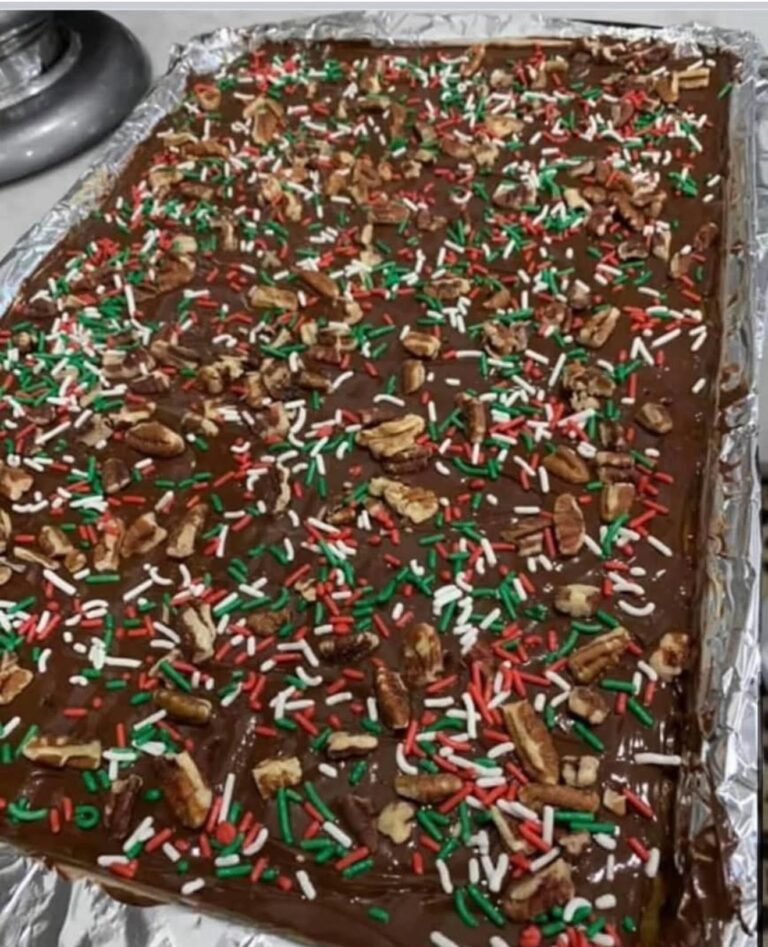
Homemade Christmas Chocolate Truffles with Sweetened Condensed Milk
An easy, no-bake family holiday candy made with dark chocolate, sweetened condensed milk, and festive toppings.
Some recipes are worth making every Christmas simply because the people you love look forward to them. These homemade chocolate truffles are one of those recipes. I’ve been making them for years, and my grandson loves them so much that even when I say I’m not making them this year, he begs for another batch. Naturally, I always end up making them!
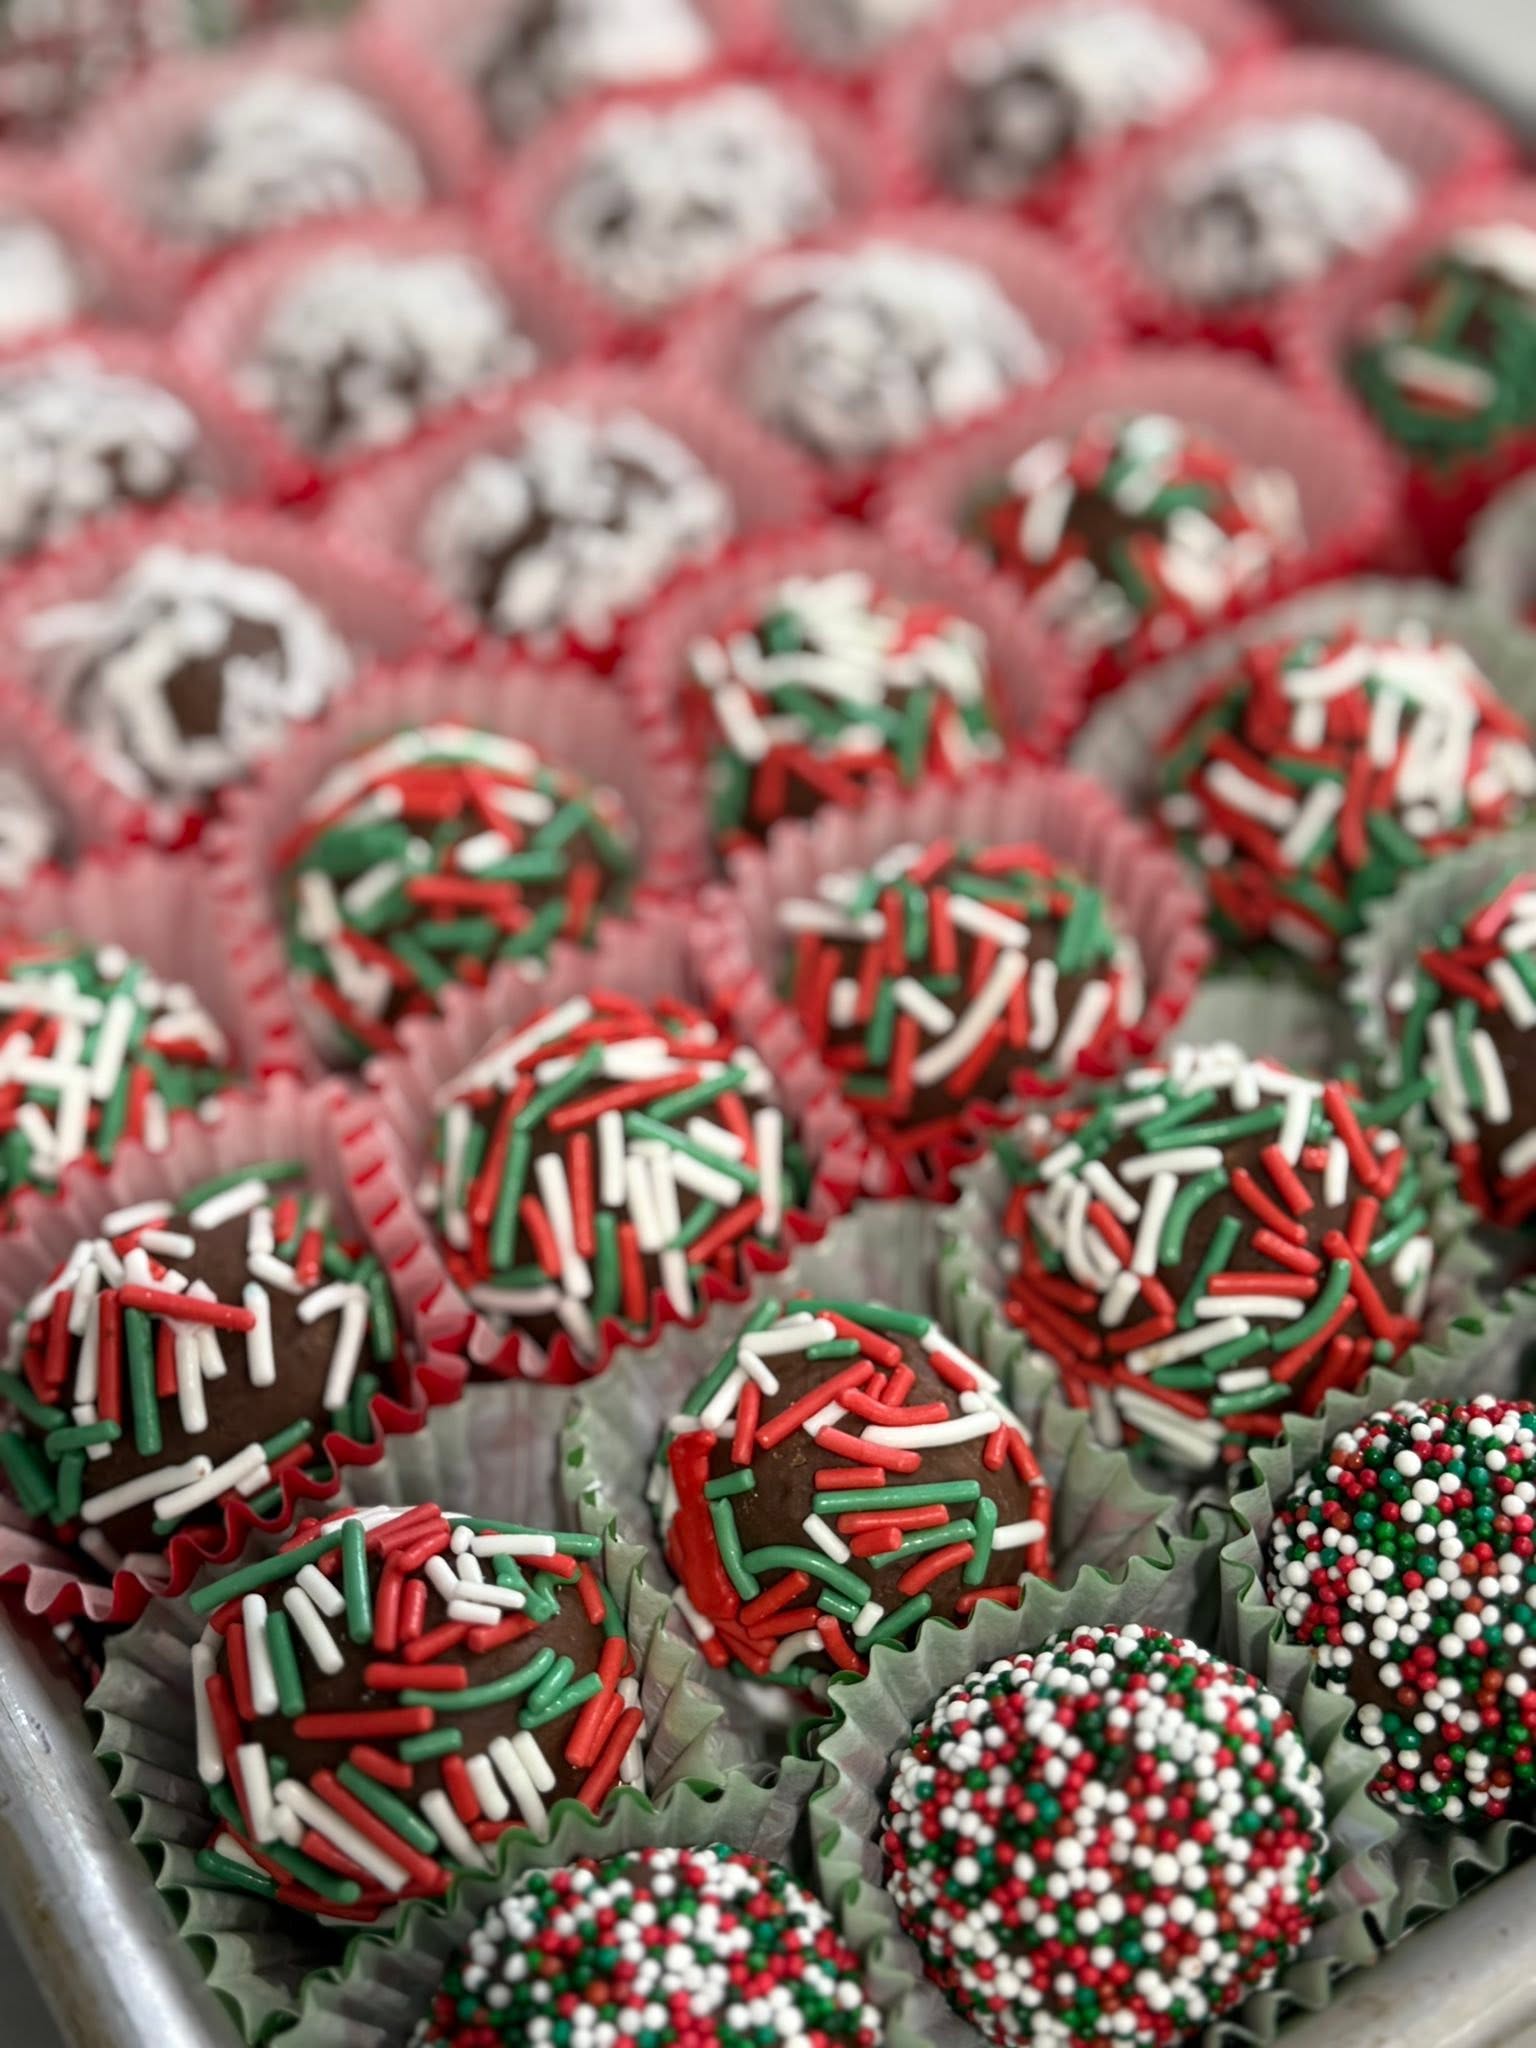
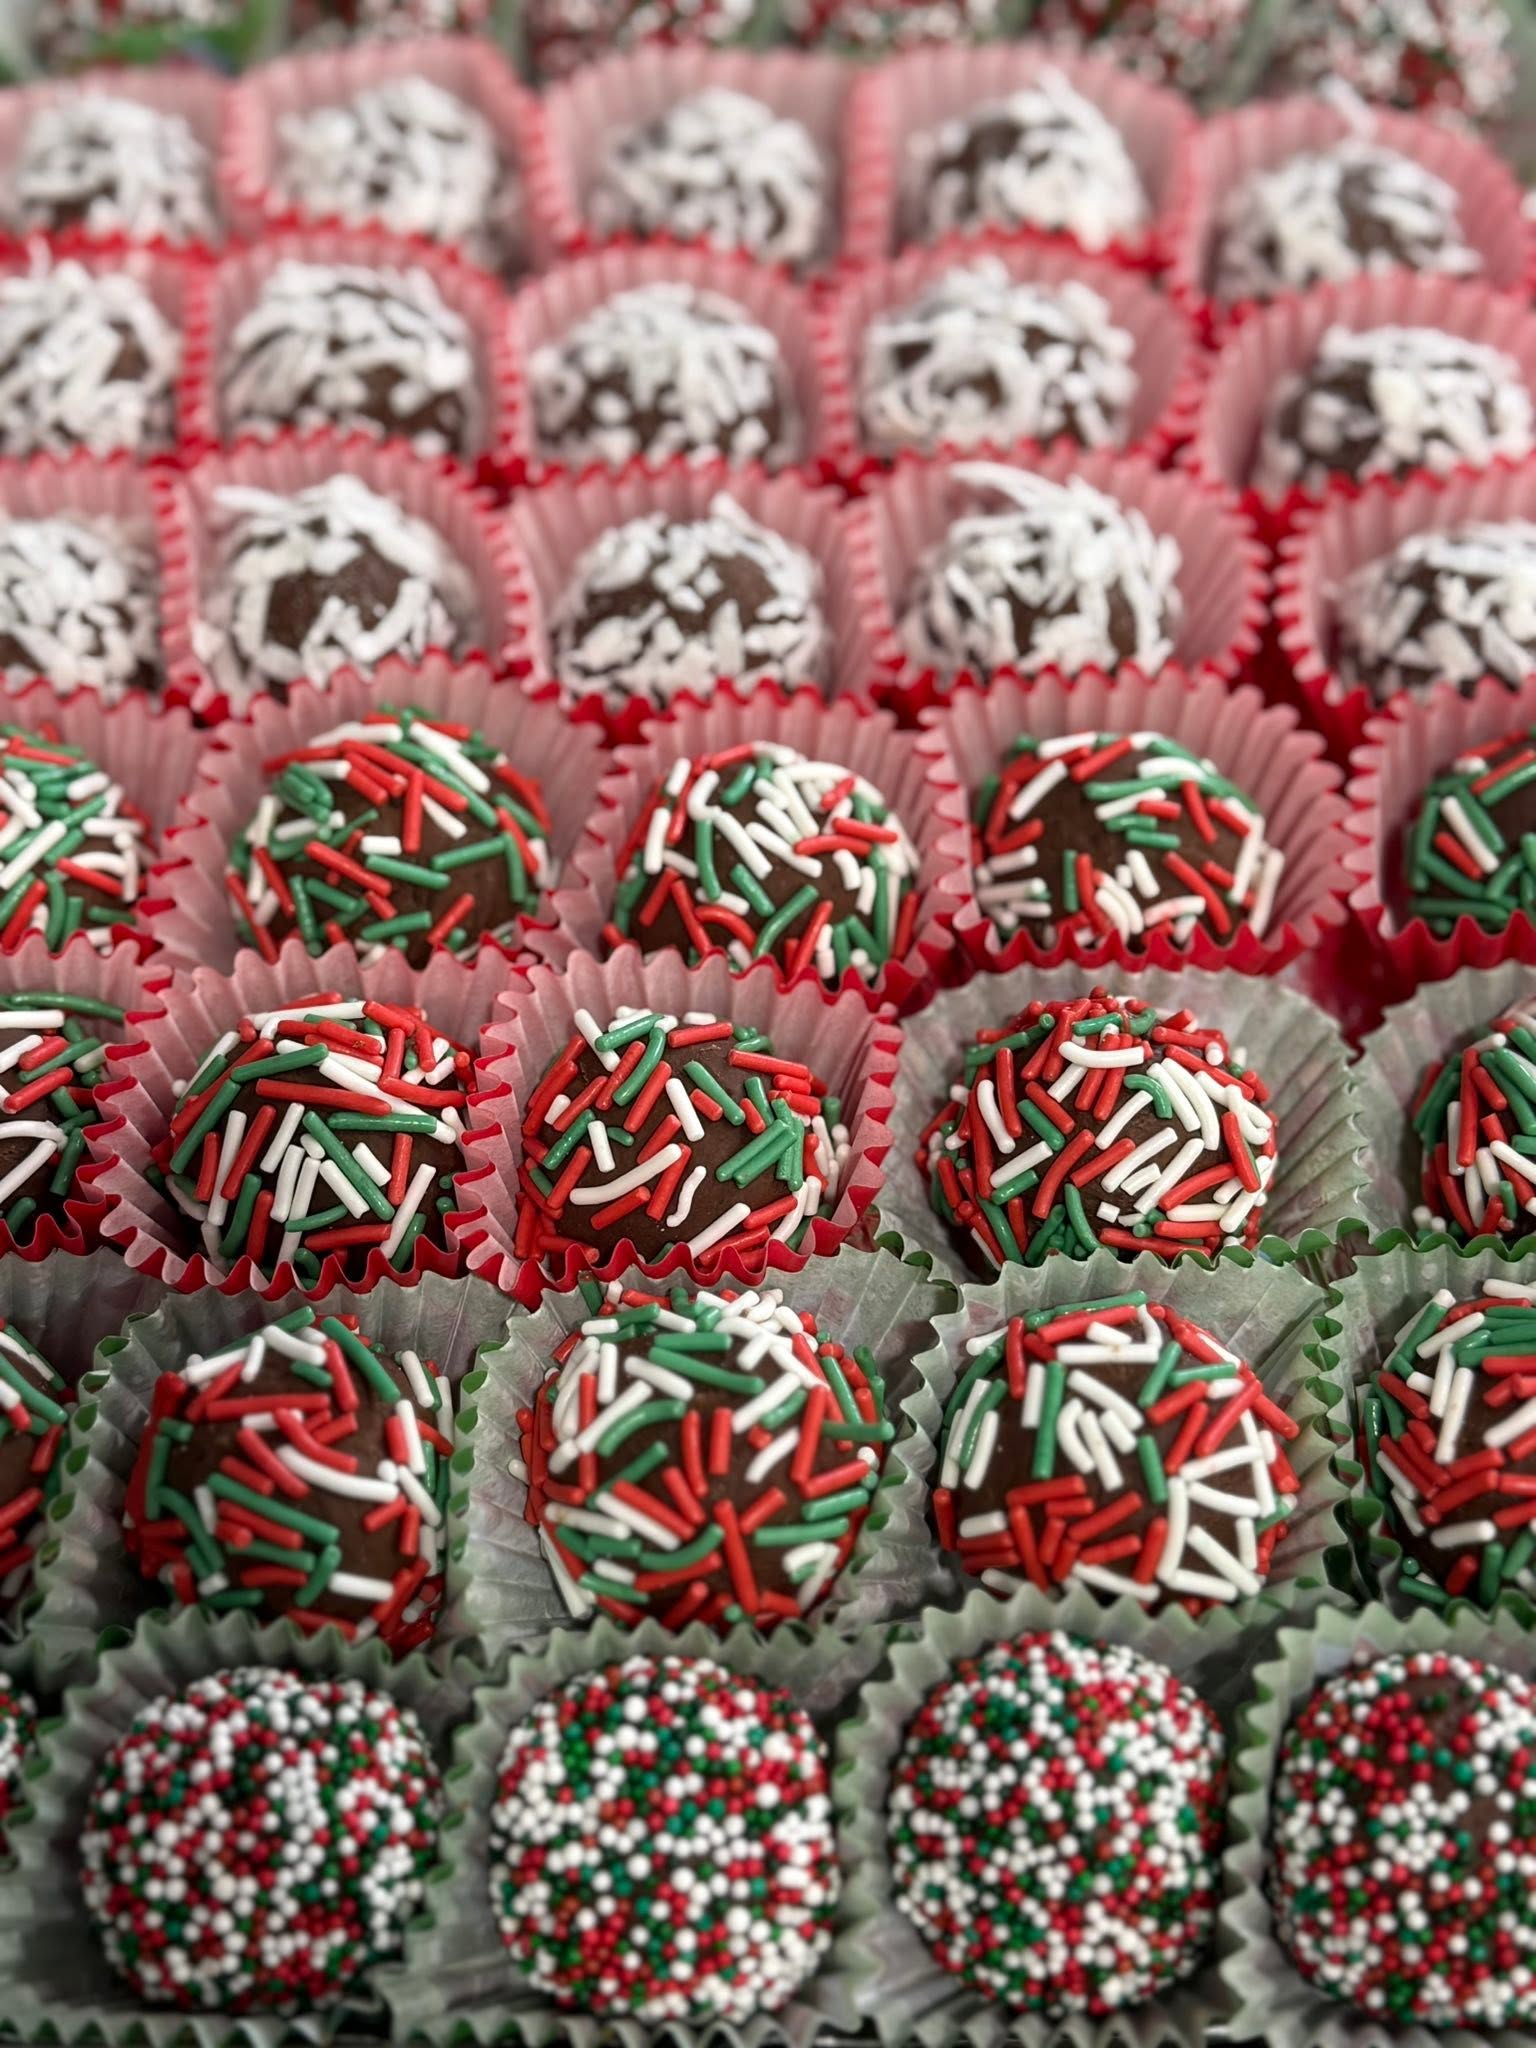
These little chocolate candies look beautiful in paper candy cups, especially when they’re rolled in red, white, and green sprinkles. The centers are rich and creamy, and all you have to do is melt, mix, chill, and roll. Make one batch with a few different toppings and you’ll have a whole assortment for the holiday dessert tray.
Ingredients
For the truffles
- 1 pound (16 ounces) dark chocolate, finely chopped
- 1 can (14 ounces) sweetened condensed milk
- 1 teaspoon vanilla extract or ½ teaspoon almond extract, optional
- About 1 teaspoon Chambord, amaretto, or Frangelico, optional in place of the extract
For coating and serving
- Red, green, and white holiday sprinkles
- Finely chopped pecans, walnuts, or hazelnuts
- Unsweetened cocoa powder
- Shredded coconut
- Crushed peppermint candies
- Miniature paper candy cups
Use dark chocolate you enjoy eating. Different brands and cocoa percentages set differently, so check the texture before you start shaping. Look for sweetened condensed milk on the label. Its thick consistency and sweetness are both important to the finished candy.
Yield About 35–45 small truffles. Prep time About 20 minutes. Chill time About 2–3 hours.
How to Make Chocolate Truffles
Step 1. Melt the chocolate
Place the chopped dark chocolate in a clean, dry microwave-safe bowl. Microwave in 20- to 30-second bursts, stirring between each burst, until the chocolate is smooth. Stir thoroughly when only a few pieces remain so the residual heat can finish melting them. You can also melt the chocolate in a heatproof bowl set above a pan of gently simmering water.
Step 2. Stir in the condensed milk
Add the full can of sweetened condensed milk to the melted chocolate. Stir until everything is thoroughly combined. The mixture will thicken as you stir. Scrape the sides and bottom of the bowl so no pockets of condensed milk remain.
Step 3. Add flavoring
Stir in vanilla, almond extract, or a small amount of your chosen liqueur. Almond extract gives a bakery-style flavor, while Chambord adds a raspberry note and Frangelico brings out a nutty flavor. Choose an extract for a batch you’re serving to children. Add liquid flavorings sparingly so the mixture stays firm enough to roll.
Step 4. Cover and chill
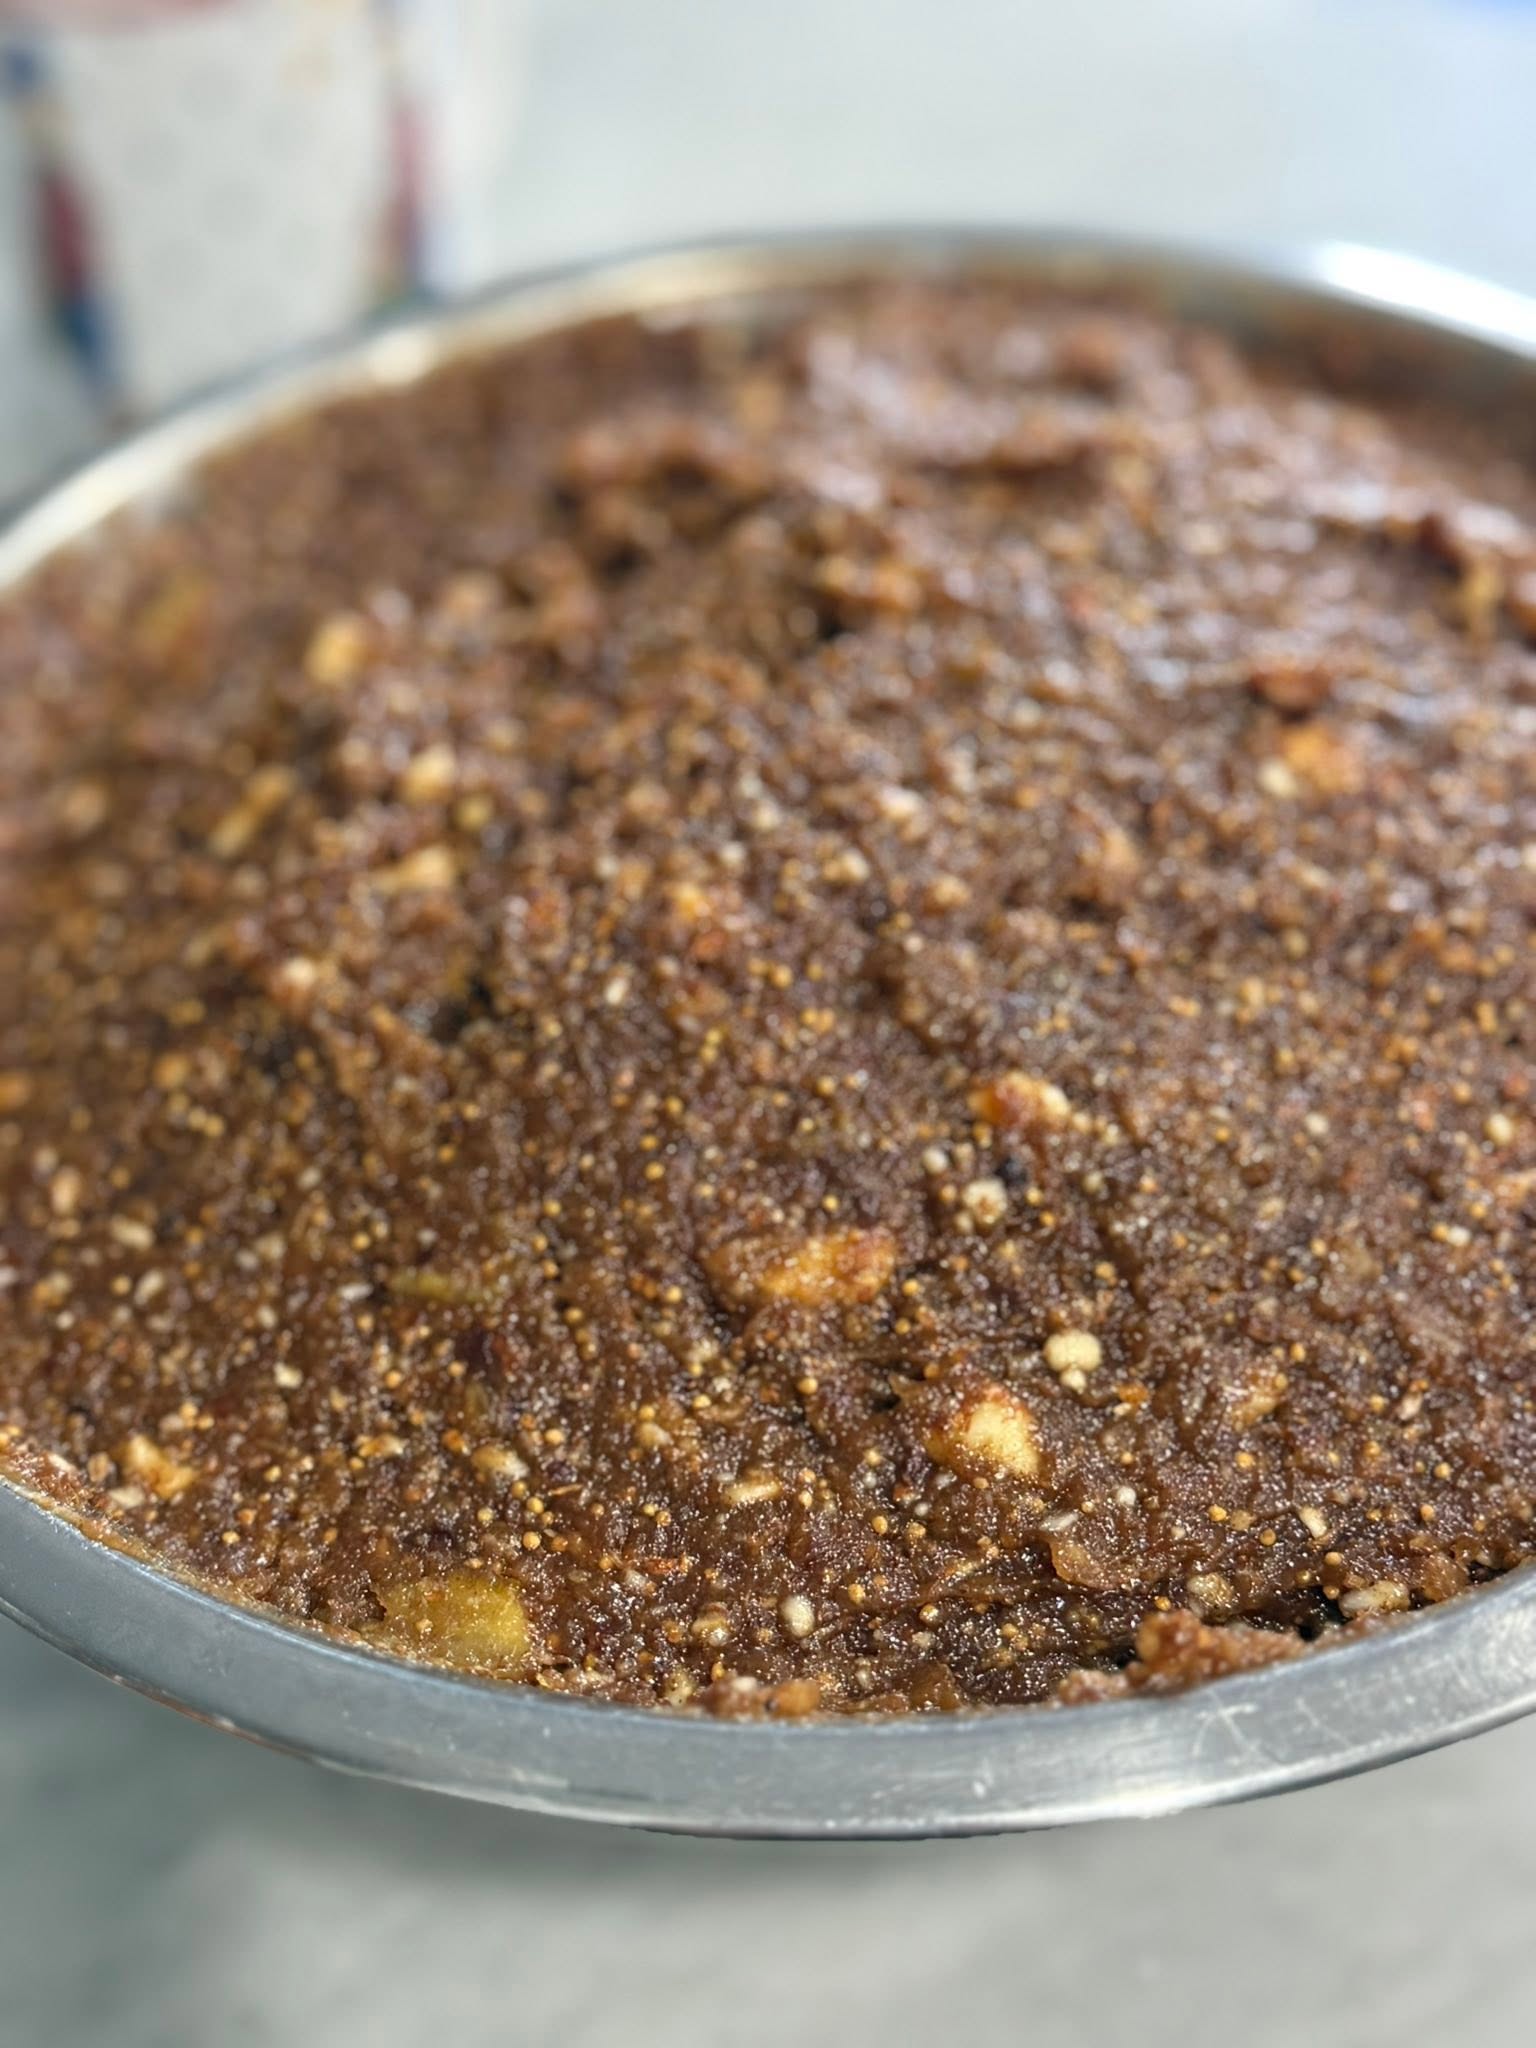
Cover the bowl and refrigerate until the chocolate mixture is firm enough to scoop, usually around 2 to 3 hours. A scoop should hold its shape. If the mixture sticks heavily to your hands, chill it longer. If it’s very hard, let it stand for a few minutes before scooping.
Step 5. Portion and roll
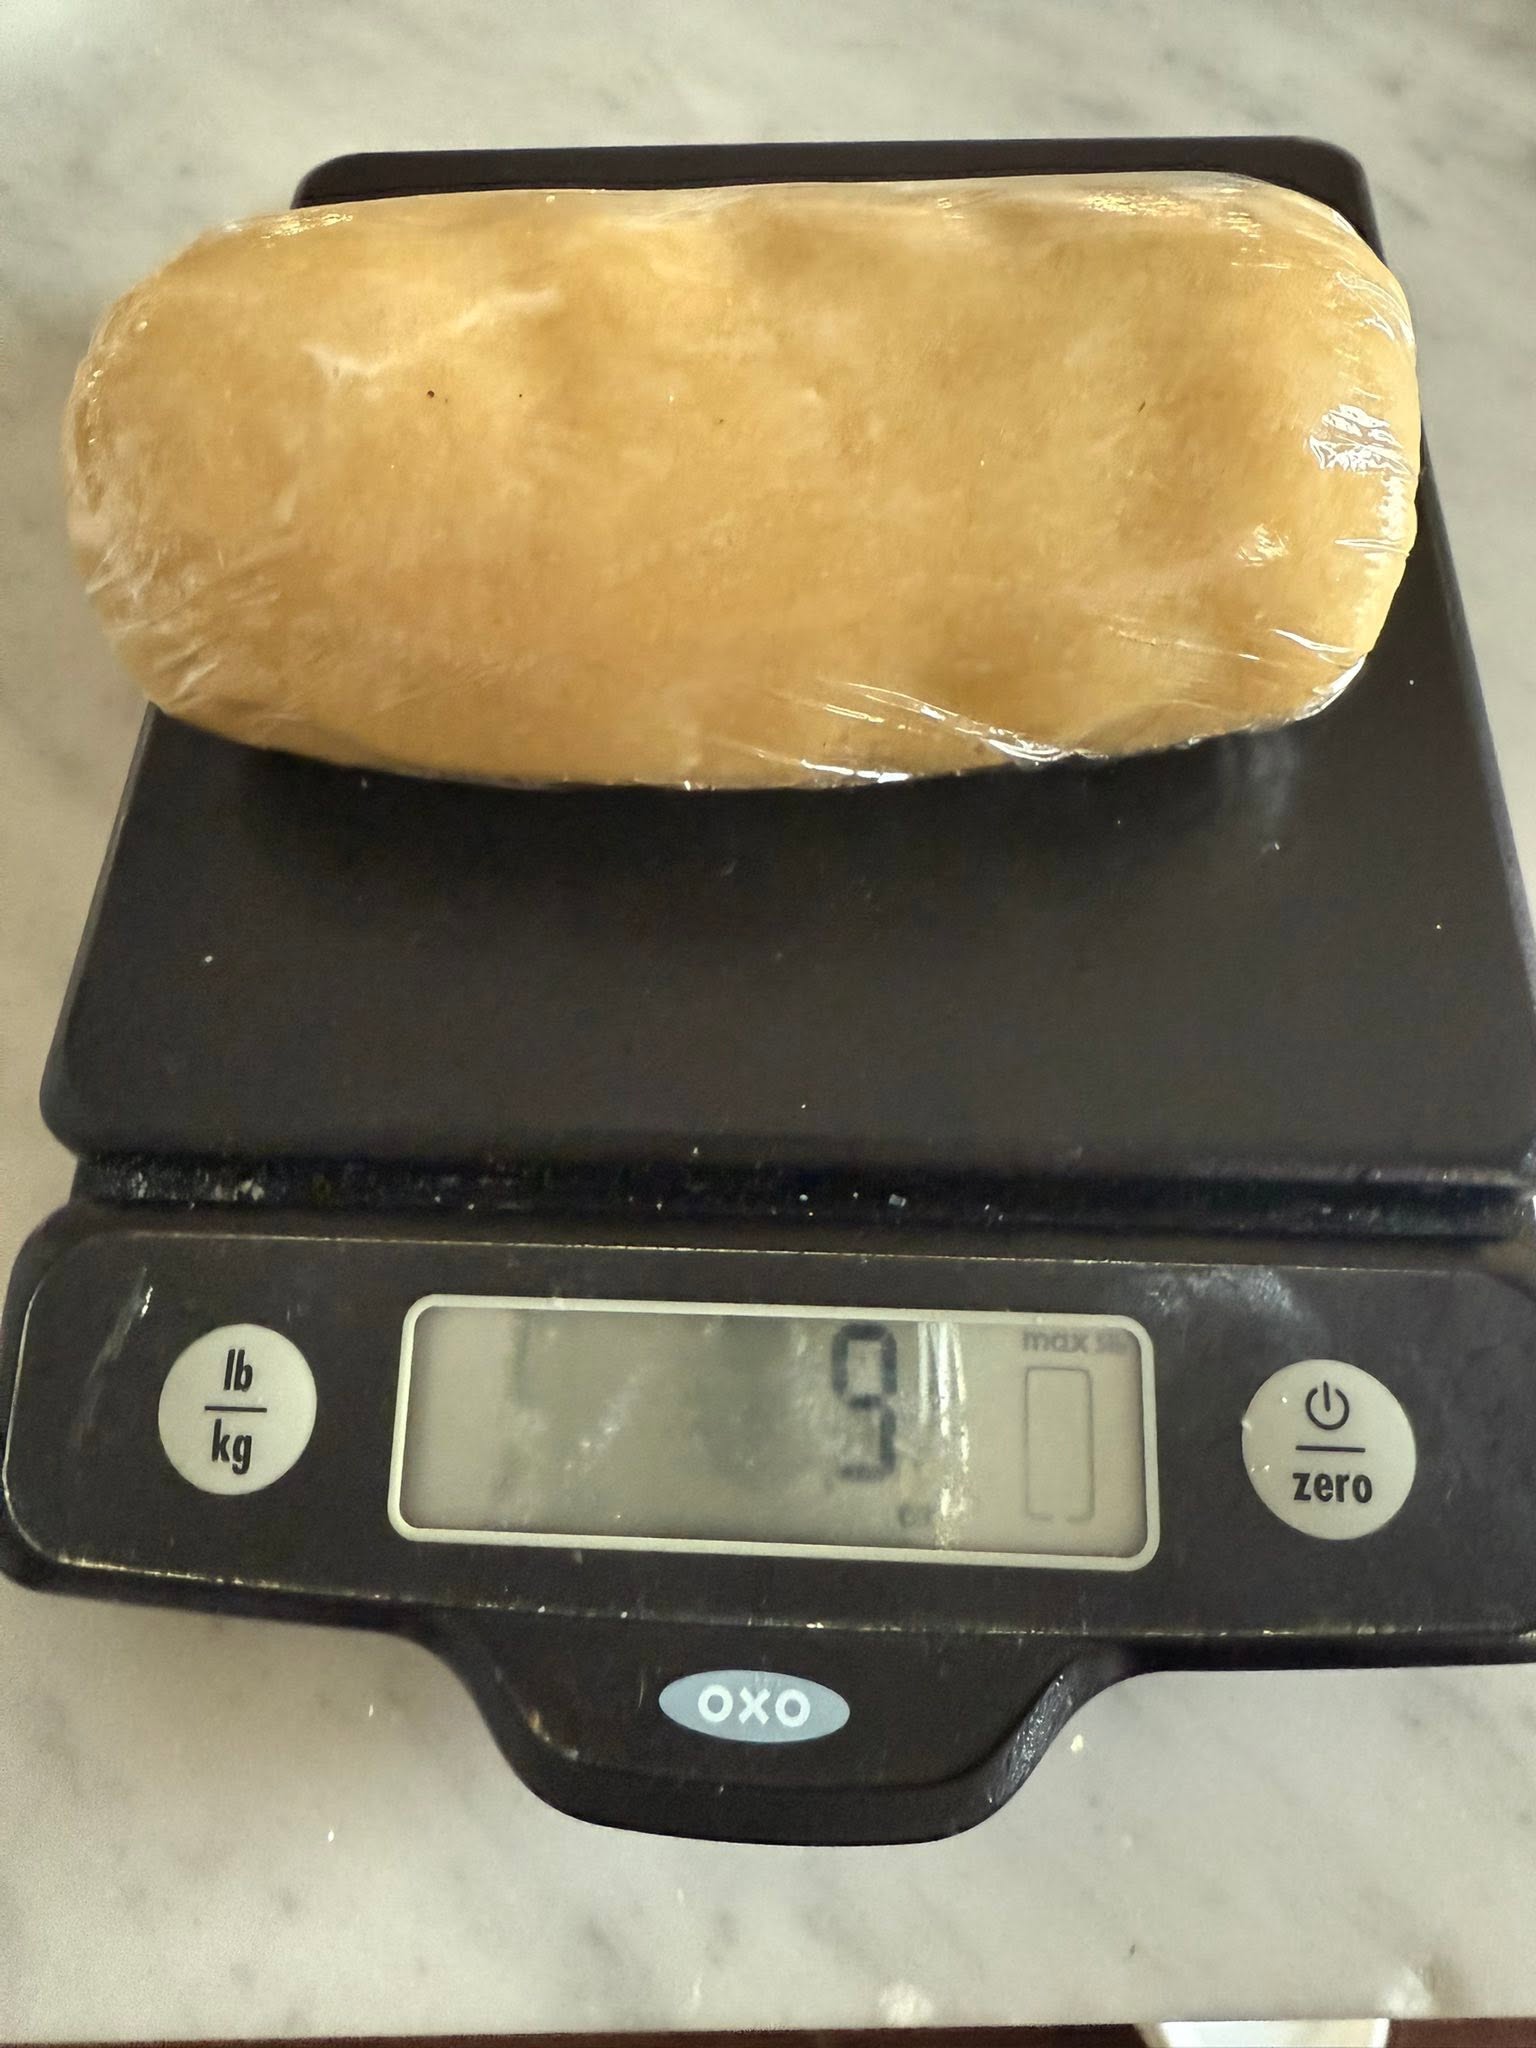
Use a small cookie scoop or spoon to portion the mixture. For evenly sized candies, weigh the first portion on a kitchen scale and use it as a guide for the rest. Roll each piece gently between your palms. If the mixture softens as you work, return it to the refrigerator for 10 to 15 minutes. You can also keep half the mixture chilled while you shape the first batch.
Step 6. Add festive coatings
Put each topping in its own shallow dish. Roll the balls in sprinkles, chopped nuts, cocoa powder, coconut, or crushed peppermint. If a topping needs help sticking, press it gently into the surface with clean fingertips. Finely chopped nuts give you a more even coating.
Step 7. Arrange in candy cups
Set each truffle in a miniature paper candy cup. Arrange the cups on a platter or pack them in a shallow container and refrigerate until serving. Let the truffles sit at room temperature for 5 to 10 minutes before serving for a slightly softer center.
Flavor and Topping Ideas
For almond truffles, add almond extract to the base and roll them in finely chopped toasted almonds. For raspberry truffles, add a small splash of Chambord and finish with cocoa powder. Hazelnut truffles are lovely with a little Frangelico and toasted hazelnuts. For a peppermint version, use a tiny amount of peppermint extract and roll the balls in crushed candy canes. A vanilla batch with both sprinkles and coconut makes a colorful tray from one bowl of chocolate.
Make-Ahead and Storage
Keep the truffles in an airtight container in the refrigerator. Place parchment between layers to protect the coatings. For longer storage, freeze them in a freezer-safe container for up to 2 months for best quality. Thaw them in the refrigerator overnight while still covered to help limit condensation. If you’re giving them away, pack them shortly before delivery and tell the recipient to refrigerate them.
Frequently Asked Questions
Can I make these truffles without an oven?
Yes. The only heating is melting the chocolate in a microwave or over gently simmering water. A candy thermometer is unnecessary.
Why is my mixture too soft to roll?
It may need more time in the refrigerator. The chocolate you use and the amount of flavoring can both affect the consistency. Give it another chill, then try shaping one truffle before portioning the whole batch.
Can I use milk chocolate?
Milk chocolate will make the truffles sweeter and may give you a softer center. Dark chocolate is the starting point for the texture and flavor in this recipe.
What toppings work well for Christmas?
Red, green, and white sprinkles bring color, and coconut adds a snowy finish. Cocoa powder and finely chopped nuts give the tray some contrast. Add crushed peppermint to just a few truffles if you’re sharing with a crowd.