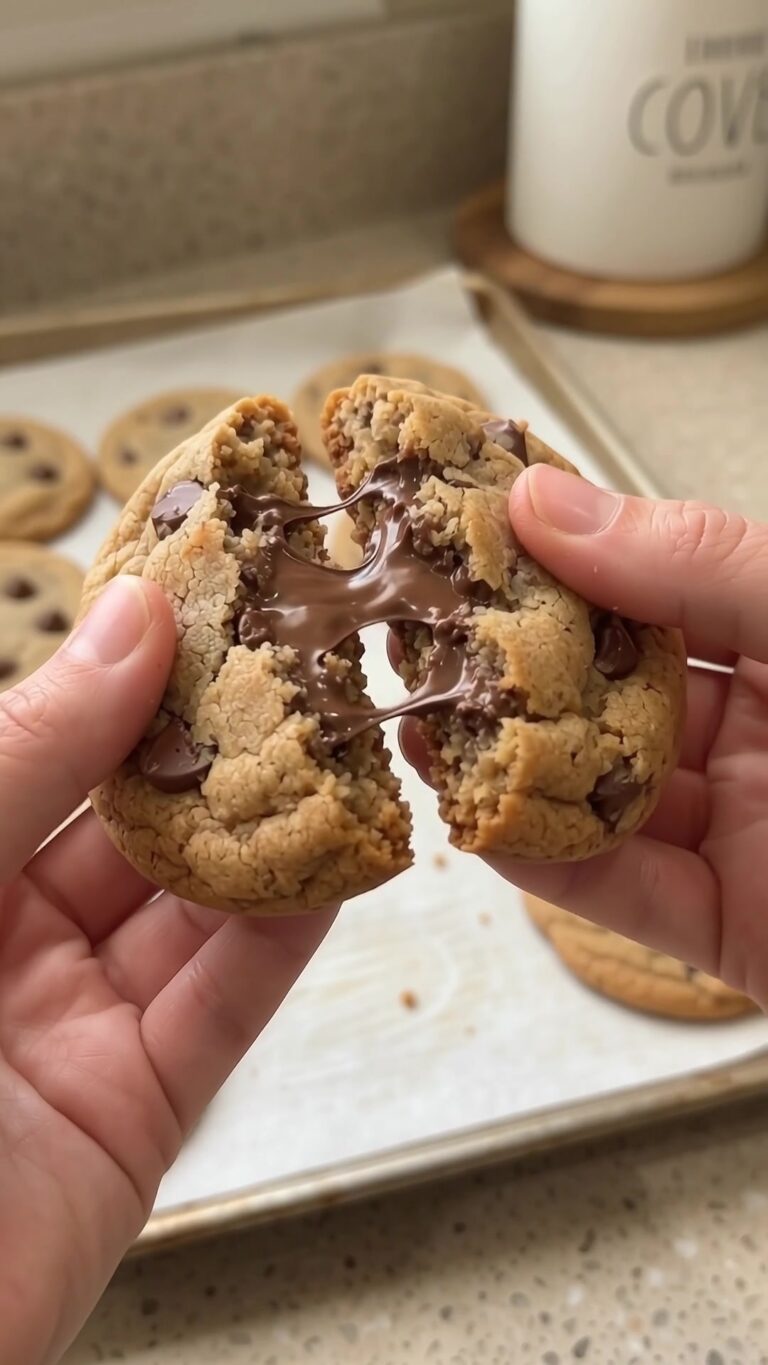
Decorated Christmas Sugar Cookies (Easy Cut-Out Recipe)
Decorated Christmas Sugar Cookies (Easy Cut-Out Recipe)
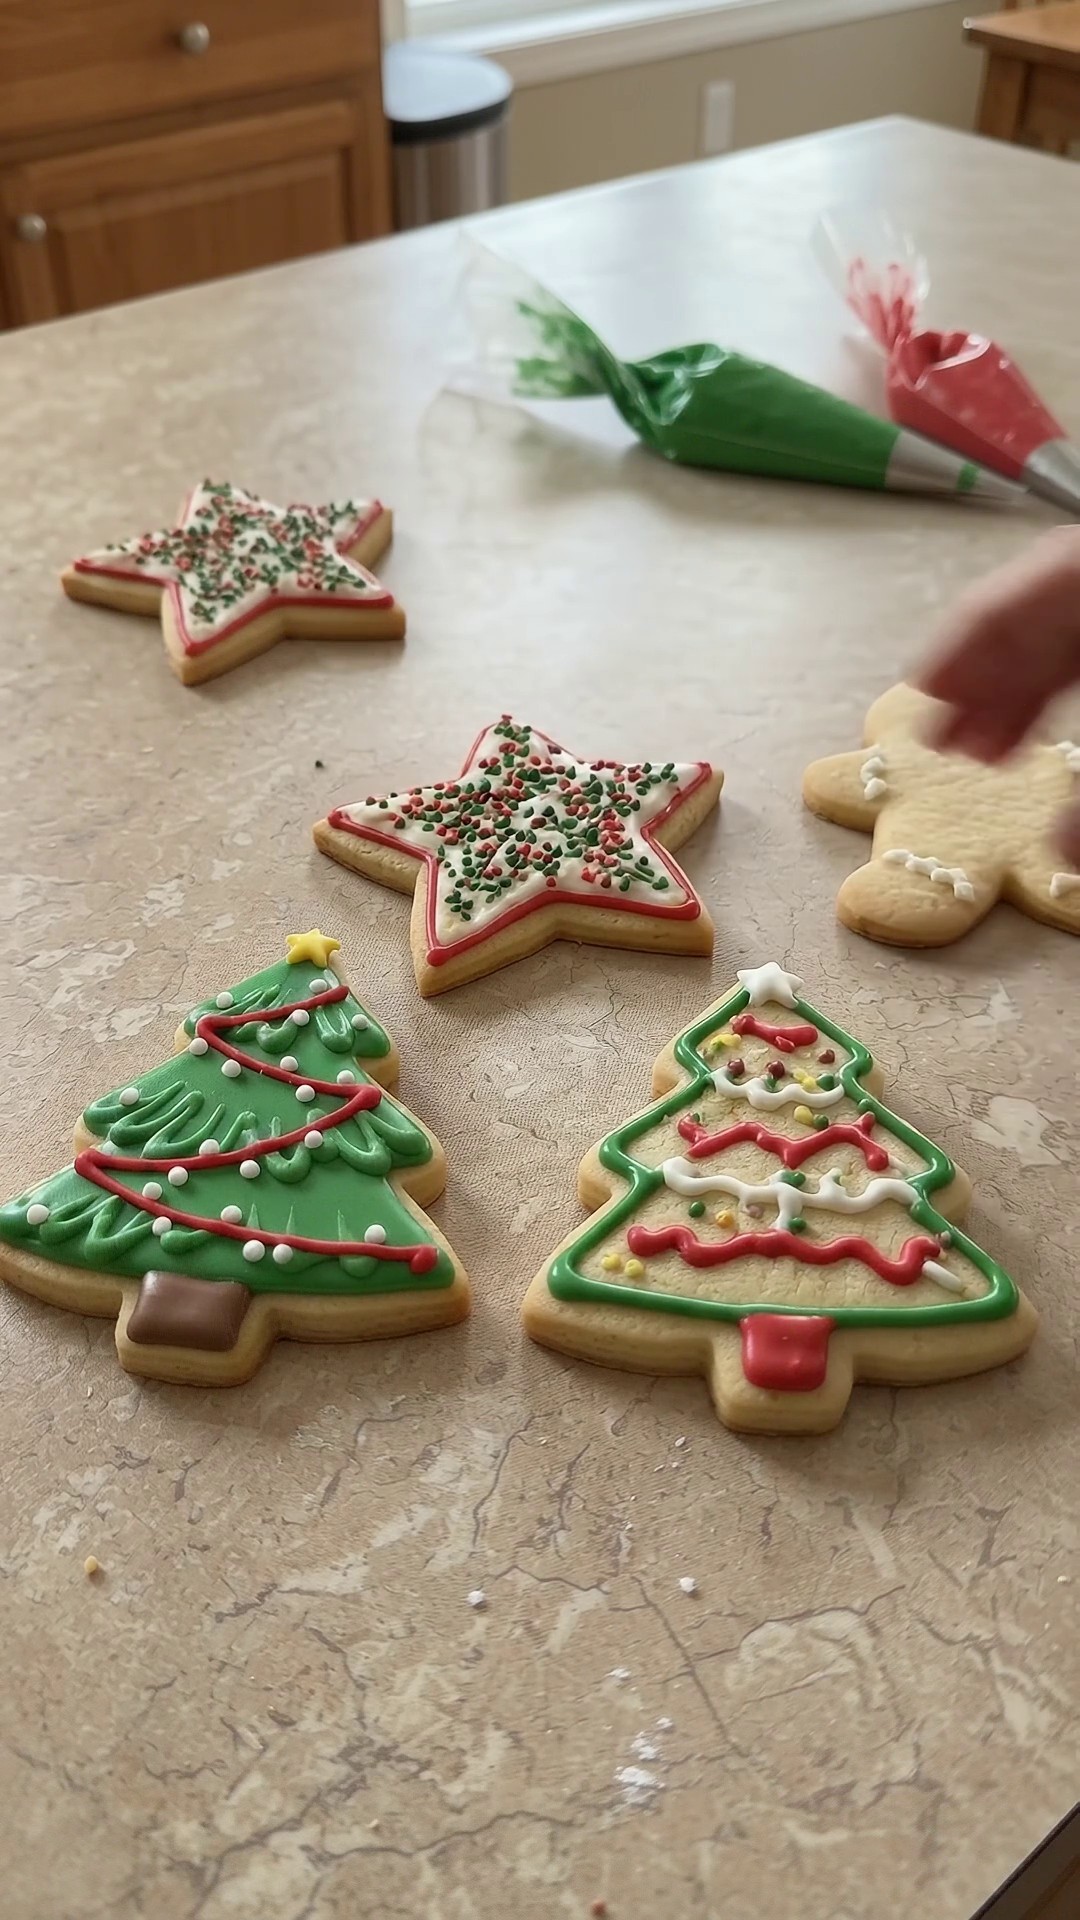
Christmas sugar cookies turn a simple butter dough into a tray of festive trees, stars, and other favorite holiday shapes. A little vanilla gives the cookies a familiar bakery aroma, and red and green icing makes decorating feel like part of the celebration.
This recipe keeps the finishing step approachable with a powdered sugar and milk icing. There is no separate royal icing to prepare. Bake the cut-outs, let them cool completely, and decorate at your own pace. Whether you prefer tidy outlines or a playful swirl of color, the finished cookies make a cheerful addition to a holiday dessert table.
Chill: 30 minutes | Oven: 350°F | Bake: 8–11 minutes per batch | Rolling thickness: About ¼ inch
Christmas Sugar Cookie Ingredients
For the Dough
- 1 cup butter, softened
- 1 cup granulated sugar
- 1 egg
- 2 teaspoons vanilla extract
- 3 cups all-purpose flour
- 1 teaspoon baking powder
- ½ teaspoon salt
For the Icing
- 2 cups powdered sugar
- 2–3 tablespoons milk
- Green and red food coloring, as needed
Optional sprinkles can be added while the icing is wet if you want to echo the decorated video images. The basic icing needs only powdered sugar, milk, and the listed coloring. Keep some icing white if you want a third color without adding another ingredient.
Soften butter until it is pliable, not melted. Measure flour by spooning it into the cup and leveling the surface. Packing the flour can make the dough harder to roll and the baked cookies less tender.
How to Make Decorated Christmas Sugar Cookies
1. Cream Butter and Sugar
Beat the softened butter and granulated sugar until creamy and evenly blended. Scrape down the bowl so no streaks of butter remain. Add the egg and vanilla, then beat until incorporated.
2. Add the Dry Ingredients
Whisk the flour, baking powder, and salt together in a separate bowl. Add to the butter mixture and mix just until a dough forms. Use a spatula to bring together any loose crumbs rather than continuing to beat the dough for a long time.
3. Chill the Dough
Cover and refrigerate for 30 minutes. Flattening the dough into a disk before chilling makes it easier to roll afterward. While it rests, gather cutters, a rolling pin, parchment, and baking sheets.
4. Roll and Cut
Heat the oven to 350°F. Roll the dough on a lightly floured surface to about ¼ inch thick, then cut into Christmas shapes. Transfer to parchment-lined sheets, leaving space between cookies.
Keep the thickness consistent and place similar-sized shapes on the same sheet. Gather scraps gently and reroll only as needed. If the dough becomes too soft to lift neatly, chill it briefly rather than working in more flour.
5. Bake and Cool
Bake for 8–11 minutes, until the cookies are set and the edges just begin to color. Smaller shapes may finish first, so watch them closely. Let the cookies firm on the tray before transferring to a rack.
Cool completely before decorating. Even a slightly warm cookie can thin the icing and make carefully piped lines run, so this is a good point to take a break and clear your work surface.
6. Mix and Color the Icing
Whisk the powdered sugar with 2 tablespoons of milk until smooth. Add the remaining milk a little at a time only as needed. The icing should be thick enough to control but fluid enough to spread.
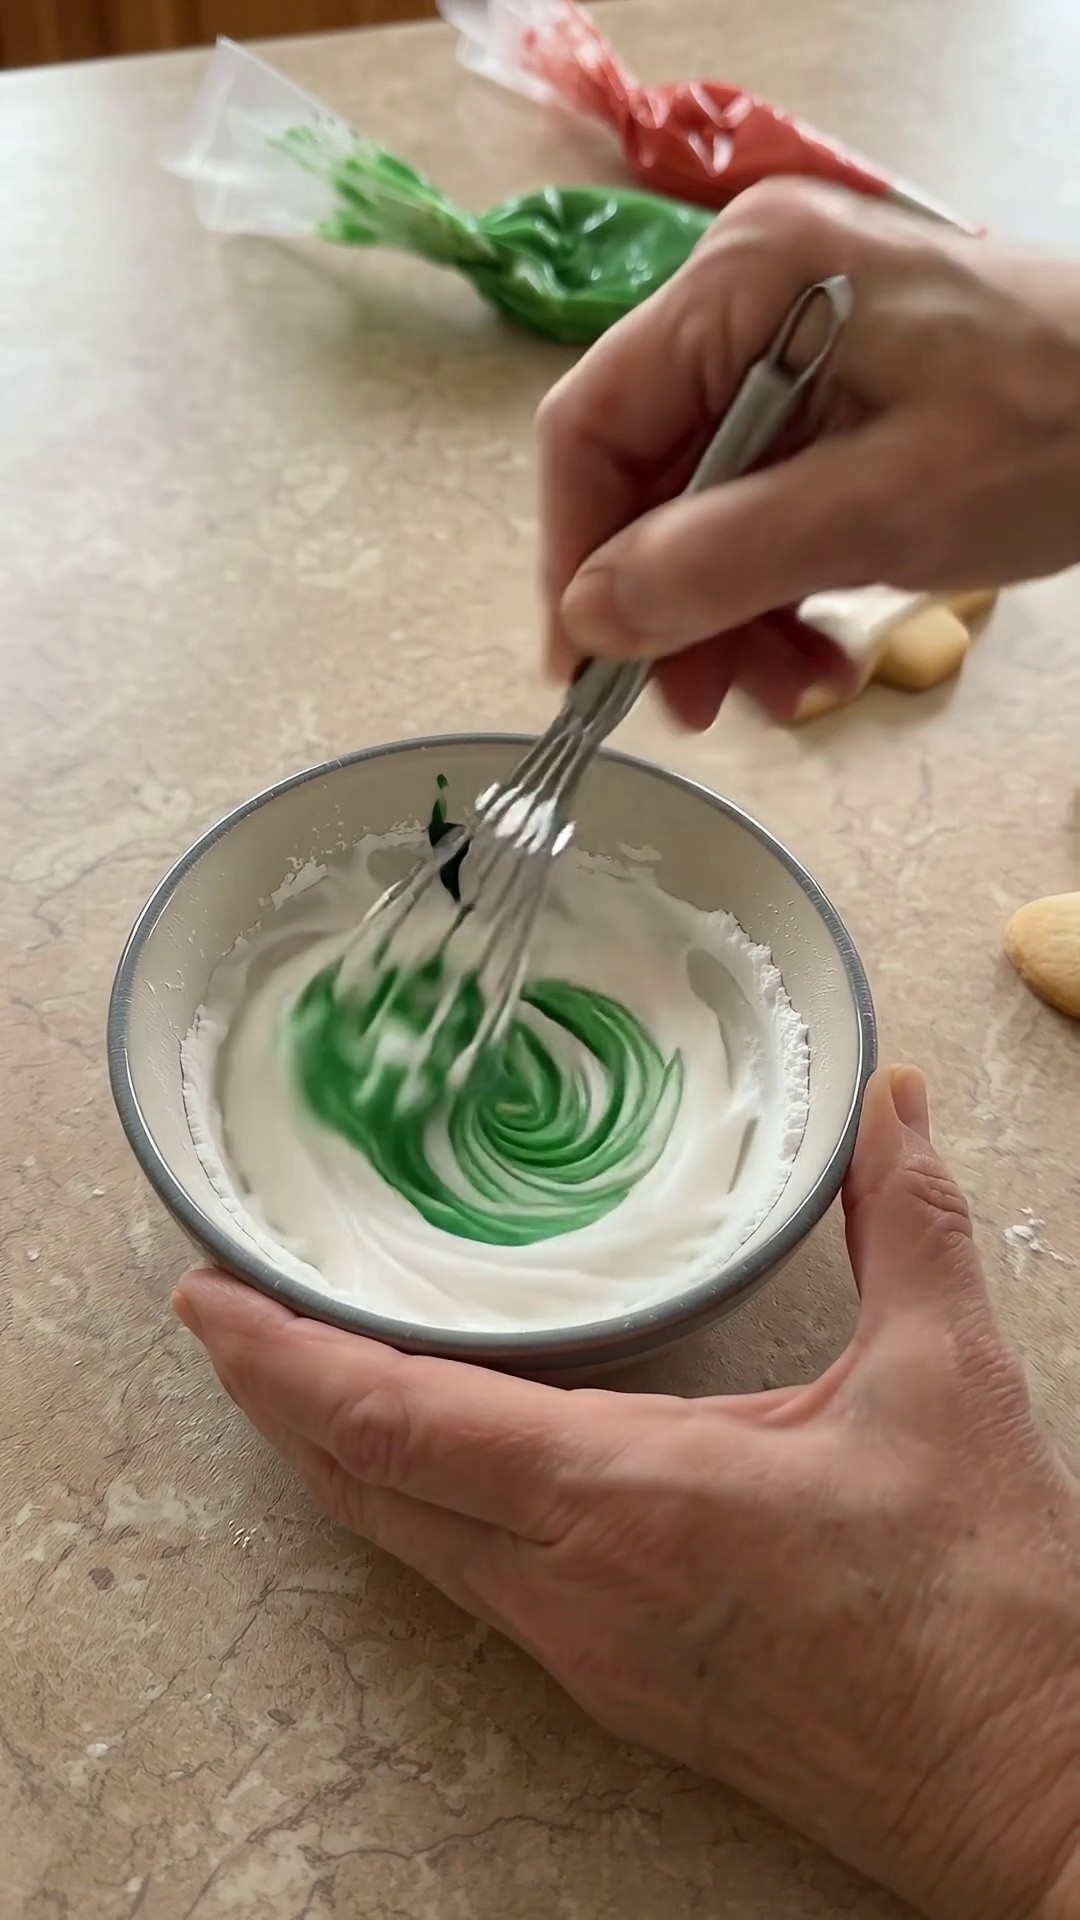
Divide among small bowls and tint with red and green food coloring. Use small additions and stir thoroughly before judging the shade. Keep unused icing covered so its surface does not dry out while you decorate.
7. Decorate the Cookies
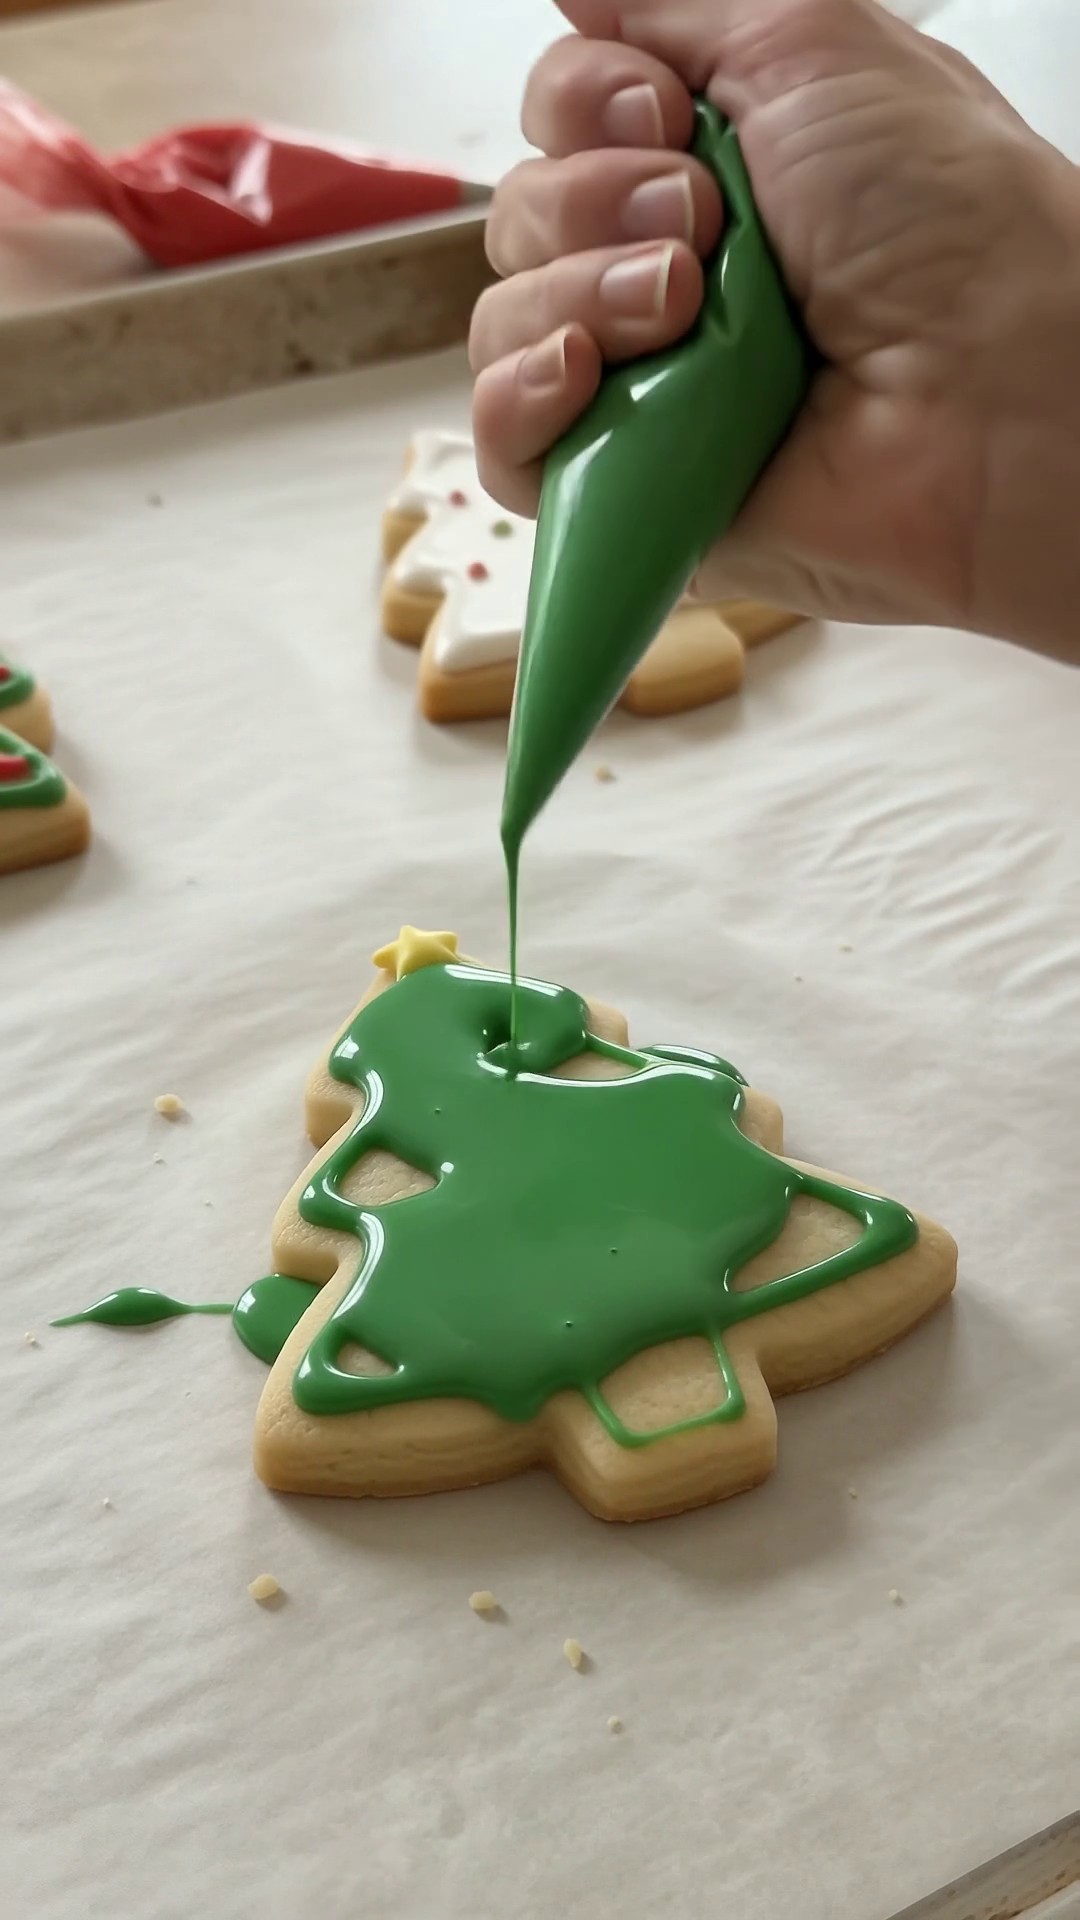
Spoon icing into small piping bags or spread it with a spoon. Outline trees and stars, add simple stripes, or cover the surface with a thin layer. Let the icing set before arranging or stacking the cookies.
Tips for Neat Holiday Cut-Outs
Keep the dough cool. Chilled dough lifts more easily and helps preserve the cut shapes. Work with a portion at a time if the room is warm.
Use flour sparingly. A light dusting prevents sticking; repeated heavy dusting can dry the dough.
Control icing thickness. Begin with less milk and add slowly. This simple glaze does not behave exactly like royal icing, so choose uncomplicated patterns and allow plenty of setting time.
Let the cookies lead. Trees and stars look festive with just one or two colors. You do not need elaborate details for an attractive tray.
Storage and Make-Ahead Advice
For the best texture, bake the cookies ahead and decorate closer to serving. Freeze undecorated, cooled cookies in a sealed container for up to 2 months, separating layers with parchment. Thaw covered before icing.
Because this icing contains milk, refrigerate decorated cookies in an airtight container and use within 3–4 days. Let the icing set before layering, with parchment between layers. Keep serving time at room temperature brief and return leftovers to the refrigerator.
Frequently Asked Questions
Why are my cut-outs spreading?
The dough may be too warm. Chill as directed, use cool baking sheets, and avoid leaving shaped cookies beside the hot oven.
Can I make the dough the day before?
Yes. Refrigerate it covered overnight, then let it soften just enough to roll without cracking.
Is the icing royal icing?
No. It is a simple powdered sugar and milk icing. It is suitable for basic spreading and piping, with a different finish from traditional royal icing.
Can I decorate with sprinkles?
Yes, as an optional addition. Apply them while the icing is still wet so they stick, then let everything set before moving the cookies.
Recipe note: This is a suggested recipe based on the visible dish and actions in the supplied video package. Exact measurements were not supplied by the video, and this recipe has not been independently tested.