White Chocolate Pretzel Clusters
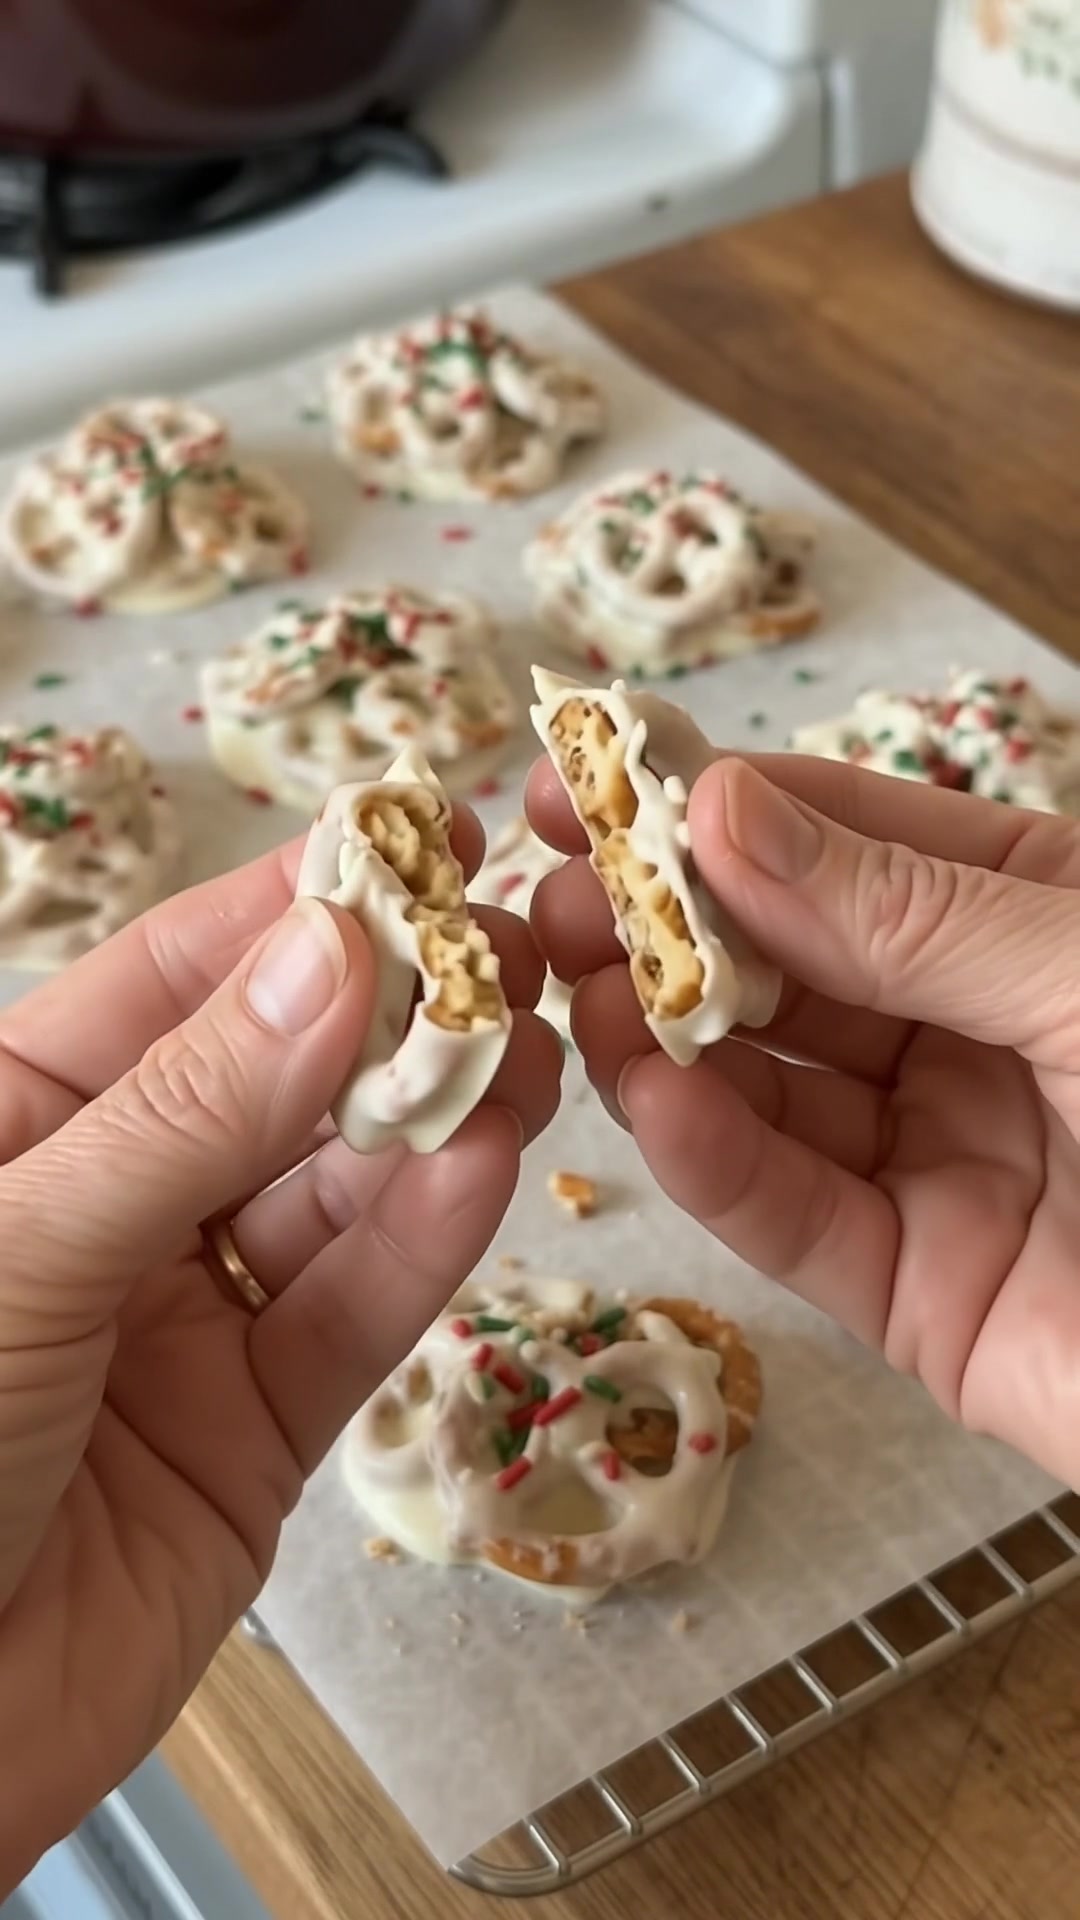
White chocolate pretzel clusters are an easy, three-ingredient Christmas treat with salty mini pretzels, a sweet white coating, and cheerful red and green sprinkles.
When the oven is already busy with holiday baking, a tray of no-bake clusters is a welcome addition to the kitchen. The pretzels supply the crunch, melting wafers make the coating straightforward, and sprinkles add the finishing touch. There is no need to shape perfectly identical pieces: small, loosely piled clusters look inviting on a cookie plate. This measured version follows the preparation shown in the supplied images, with the ingredient amounts listed below. Set out your parchment and toppings before melting so assembly moves smoothly.
Why You’ll Love This Recipe
- Only three ingredients are needed for the whole batch.
- The sweet coating and salty pretzels balance each other.
- No oven, dough chilling, or cookie cutters are required.
- Small clusters are easy to portion for holiday trays.
- Red and green sprinkles make decorating quick and simple.
Recipe Details
Makes: about 12–16 clusters. Method: no-bake. Allow about 15 minutes for melting, coating, and portioning, plus time for the coating to set. Refrigerating the tray takes about 15–20 minutes. Room-temperature setting time varies with your kitchen and the melting wafers you use. Follow the package directions for melting and setting whenever they give more specific guidance.
Ingredients
- 4 cups mini pretzels
- 12 ounces white chocolate melting wafers
- 2–3 tablespoons red and green sprinkles
Choose small pretzels that are easy to gather into a spoonful. Mostly intact pieces give the clusters their recognizable shape, while a few broken pieces help fill the gaps. Use white chocolate melting wafers as listed rather than assuming that every white baking chip will melt or set the same way. Keep the sprinkles ready in a small dish before you start coating.
Numbered Instructions
- Prepare the tray. Line a baking sheet with parchment paper. If you plan to refrigerate the clusters, check that the tray fits in your refrigerator and make a level space for it before beginning.
- Melt the coating. Melt the white chocolate wafers according to their package directions, stirring until smooth. Use a clean, dry bowl and utensils. Follow the recommended heat and stirring intervals rather than heating continuously until the entire bowl looks liquid.
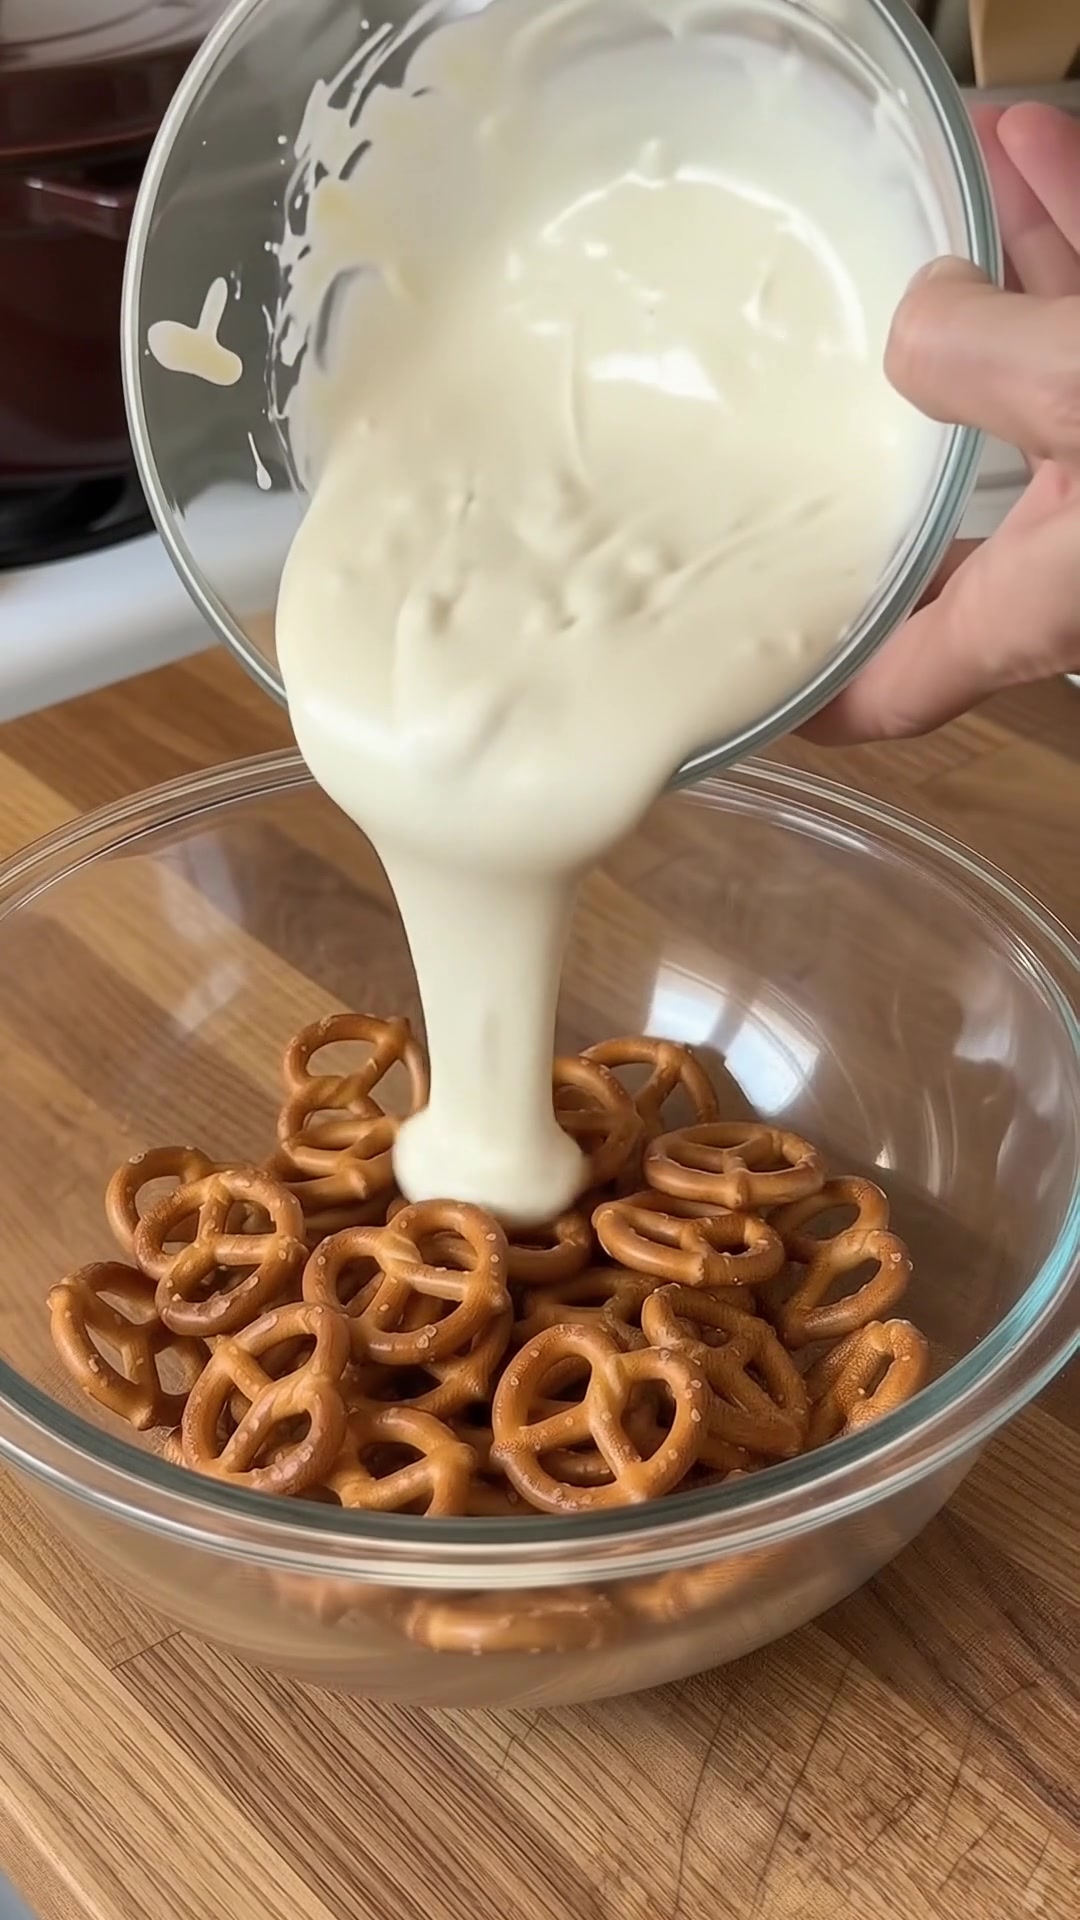
- Coat the pretzels. Put the mini pretzels in a large bowl. Pour the melted coating over them and gently fold with a spoon or spatula. Lift from the bottom to distribute the chocolate without crushing the pretzels. Continue only until the pieces are coated.
- Portion the clusters. Spoon small piles onto the parchment-lined sheet, leaving a little space between them. Aim for about 12–16 clusters, keeping the portions similar so they are easy to serve. Gather stray pretzels toward the center of each pile while the coating is still soft.
- Add the sprinkles. Scatter the red and green sprinkles over the clusters while the chocolate is wet. Decorate a few clusters at a time if the coating begins setting quickly. This helps the sprinkles adhere instead of rolling off a hardened surface.
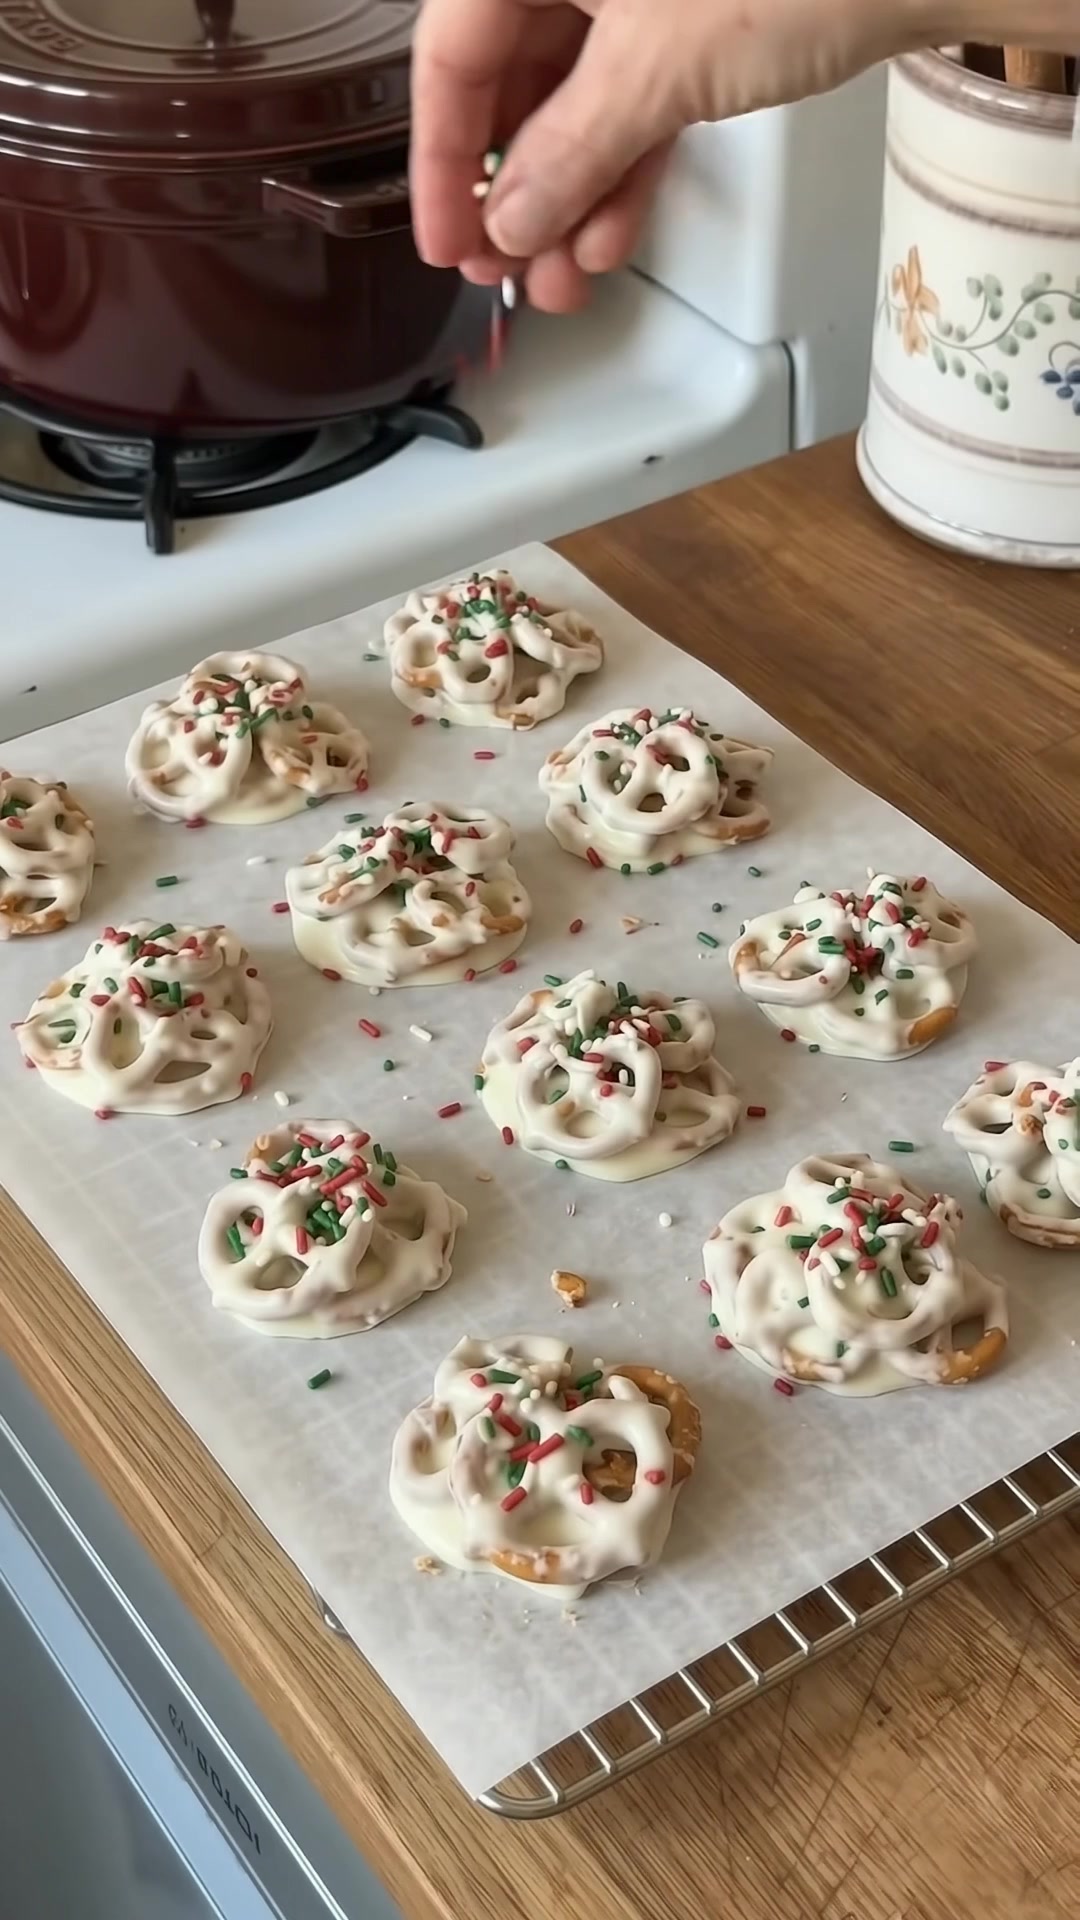
- Let them set. Leave the tray at room temperature until the coating is firm, or refrigerate for about 15–20 minutes. A finished cluster should lift from the parchment without leaving a wet coating behind. Once set, transfer gently to a serving plate or storage container.
Helpful Tips
Have everything ready before the coating melts. A lined tray, cleared counter, and open sprinkle dish let you work without searching for supplies while the chocolate thickens. Avoid placing the mixing bowl beside a steaming kettle or saucepan; water droplets can interfere with a smooth coating.
Stir gently and use a bowl with enough room to turn the pretzels over. Vigorous mixing produces crumbs instead of distinct clusters. Scrape the coating from the sides of the bowl back onto the pretzels so it is distributed across the batch rather than left behind.
Keep the piles compact enough that neighboring pretzels touch and can set together. Very widely scattered pieces may not lift as one cluster. If the coating begins to firm before portioning is complete, follow the wafer package’s reheating guidance. Do not improvise extra liquid to thin it.
Variations
Use the lower end of the sprinkle range for a lighter finish or the upper end for a more colorful tray. The clusters remain the same three-ingredient treat either way. Smaller piles are convenient for mixed dessert boxes, while larger ones make a more substantial individual serving.
For a slightly different appearance, leave most pretzels whole or gently break some before coating. Keep the total at 4 cups. More broken pieces create tighter clusters; whole mini pretzels give a more open, rustic shape. Neither approach requires a change to the melting wafers.
Storage Advice
Once completely set, store the clusters in an airtight container in a cool, dry place for up to 1 week. Separate layers with parchment to protect the sprinkle tops and prevent pieces from sticking together. Keep them away from direct sun or a warm oven, which can soften the coating.
For gifts, pack only fully firm clusters and cushion them so they do not slide around. Avoid enclosing them with moist cakes or soft fruit-filled treats, which can reduce the pretzels’ crunch. If the kitchen is too warm for storage, refrigerate in a closed container and let the container stand briefly before opening to limit condensation on the coating.