Garlic Rosemary Mini Focaccia (Small-Batch Sourdough)
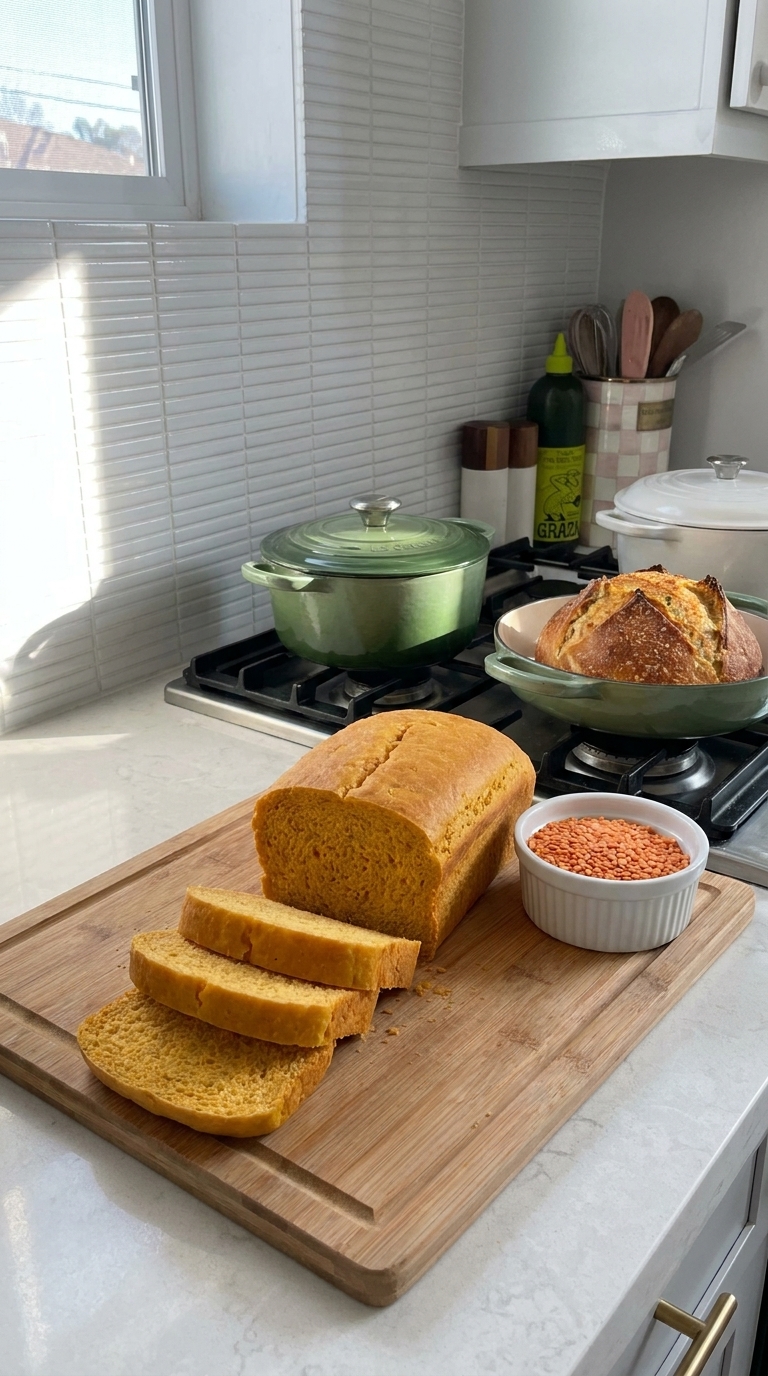
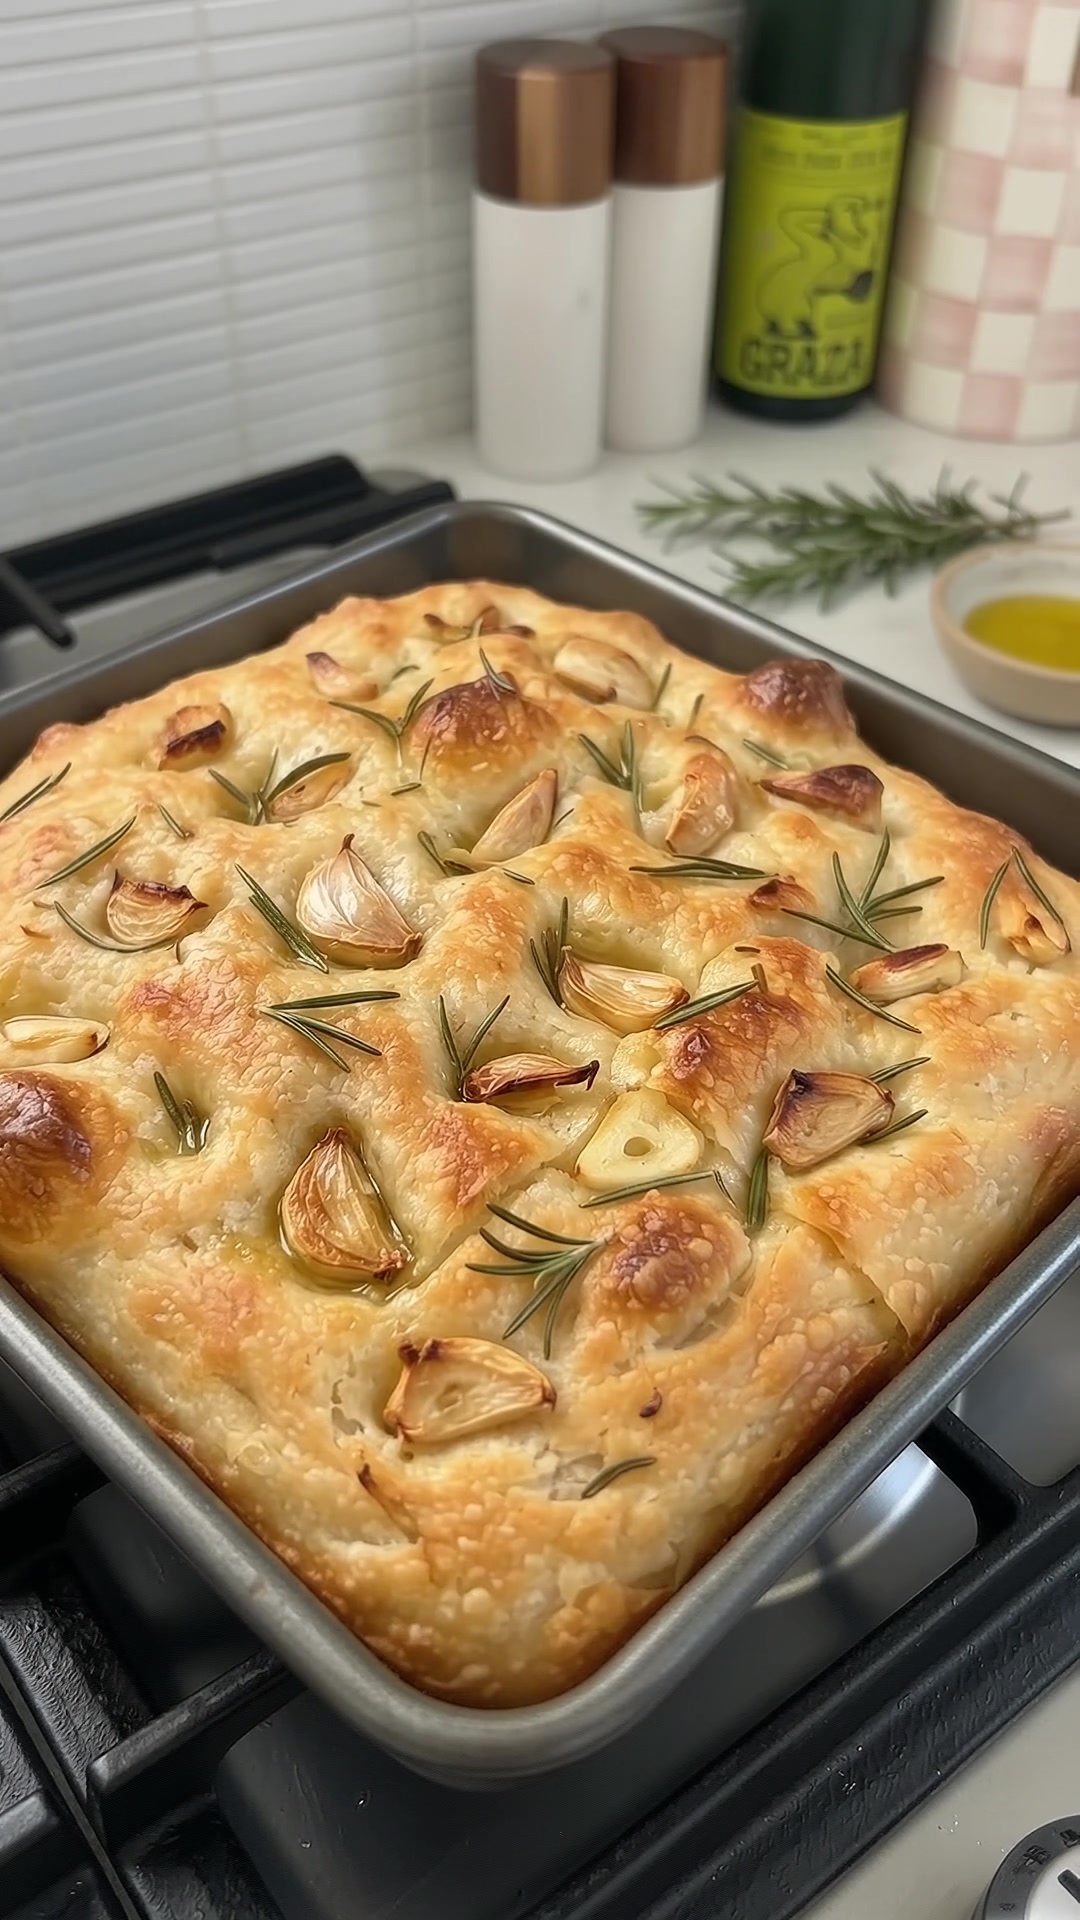
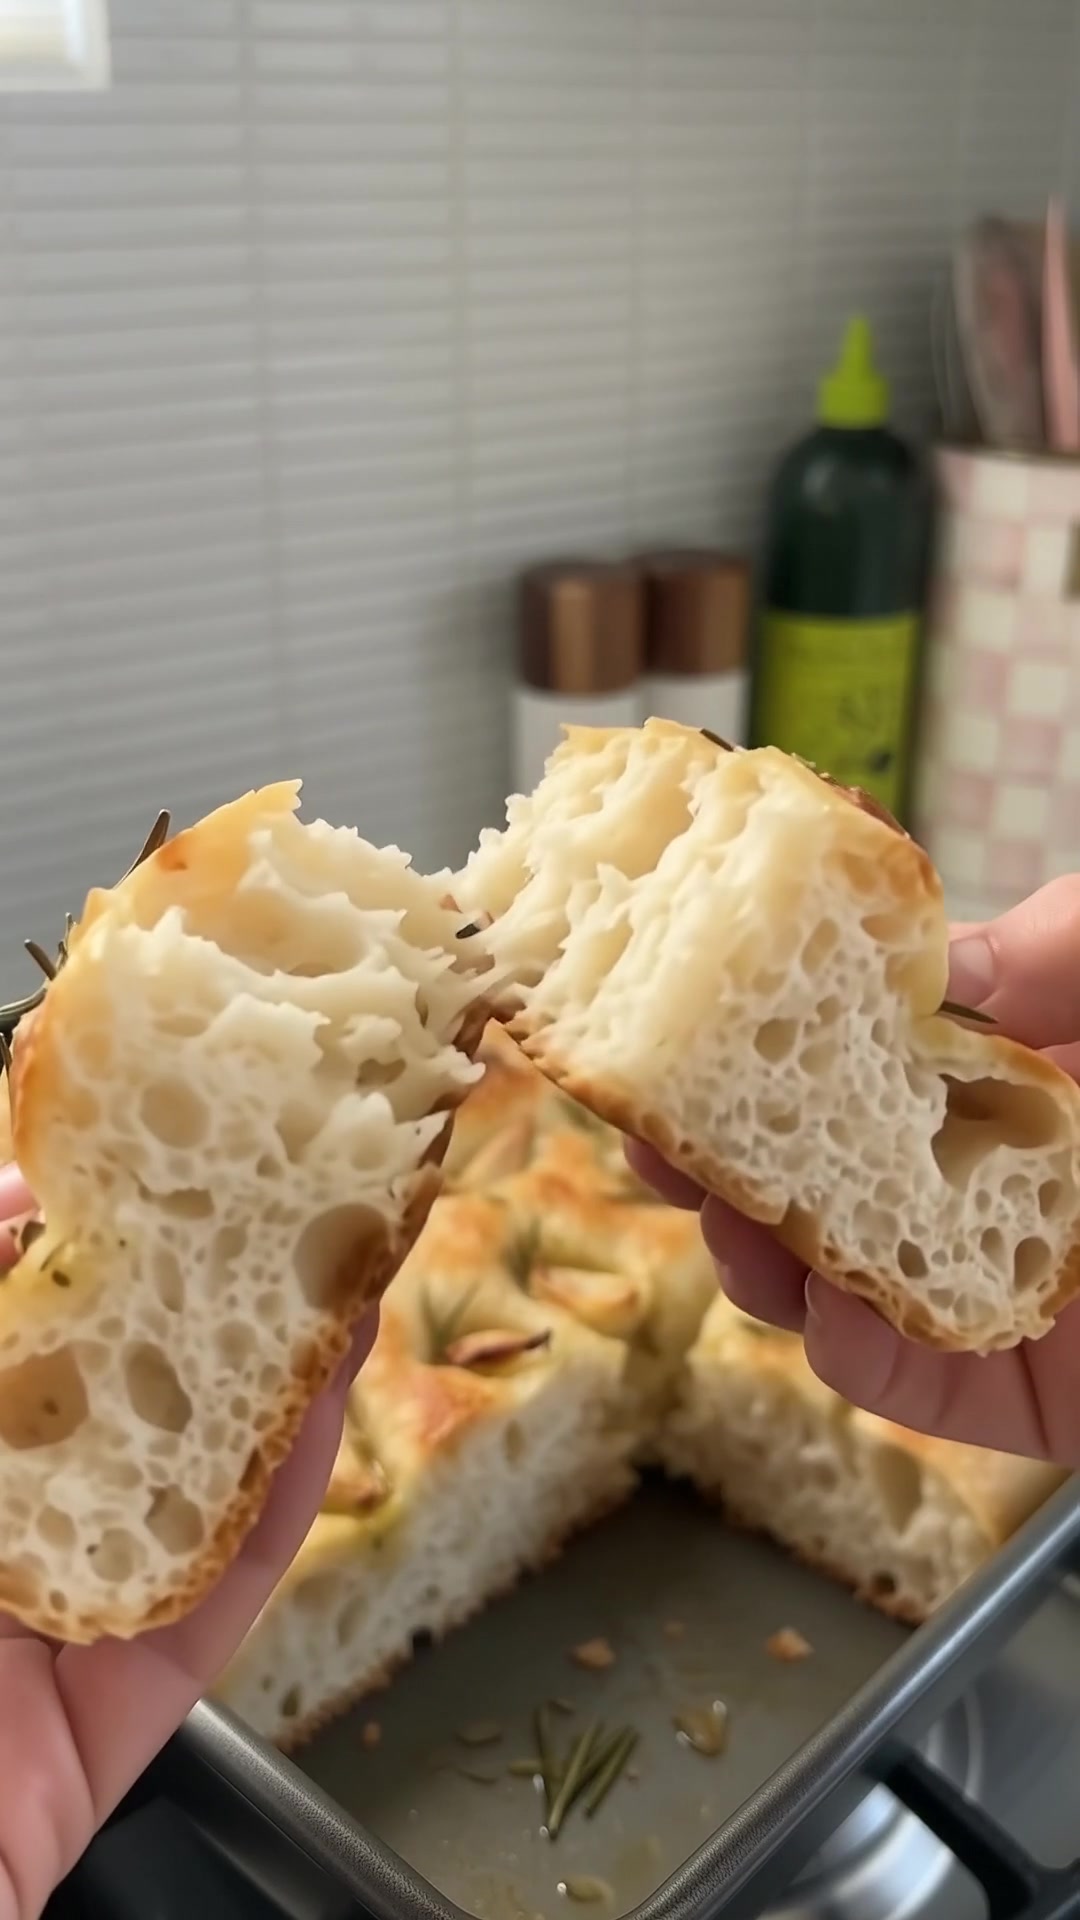
A small pan of airy sourdough focaccia with olive oil, rosemary, and garlic tucked into its golden surface.
Garlic rosemary mini focaccia is a small-batch bread for a soup supper, sandwich lunch, or snack board. Here “mini” means an 8-inch square pan rather than individual rolls, matching the supplied photos. The wet dough needs folds and time instead of long kneading. A bubbly starter, a generously oiled pan, and a patient final rise make the biggest difference.
Why You’ll Love This Focaccia
- A manageable batch for a small household.
- Crisp, olive-oil edges and a soft center.
- Simple folds performed right in the bowl.
- A fragrant topping with familiar ingredients.
Garlic Rosemary Mini Focaccia Recipe
Hands-on: 25 minutes
Rising: About 6–10 hours at 75°F
Bake: 22–28 minutes
Yield: One 8-inch square focaccia, 6–9 portions
Oven: 425°F
Ingredients
- ¼ cup active 100%-hydration sourdough starter, about 2 ounces by weight
- ¾ cup lukewarm water
- 2 cups bread flour, spooned and leveled
- ¾ teaspoon fine salt
- 3 tablespoons olive oil, divided, plus a little for your hands
- 2 small garlic cloves, very thinly sliced
- 2 teaspoons chopped fresh rosemary
- 1 tablespoon water for the topping
- ¼ teaspoon flaky salt, optional
Baking Tip: Use starter that has expanded well after feeding and is still holding its rise. Unfed discard changes the timing and will not reliably lift this dough on the stated schedule.
How to Make Garlic Rosemary Mini Focaccia
Step 1: Mix a Soft Dough
Stir the starter and ¾ cup water in a medium bowl. Add the flour, fine salt, and 1 tablespoon olive oil. Mix until no dry flour remains. The dough should be sticky and soft, but it should gather together as you stir. Cover and rest for 30 minutes so the flour can hydrate.
Measure flour lightly rather than packing it into the cup. If the dough seems very stiff after resting, work in another teaspoon or two of water. Do not add extra flour simply because the mixture sticks to your fingers; this is deliberately a wet dough.
Step 2: Fold and Ferment
With wet or lightly oiled hands, lift one side of the dough and fold it toward the center. Turn the bowl and repeat on all four sides. Cover and repeat this set twice more at 30-minute intervals. The dough should become smoother and stretch farther without tearing.
After the folds, leave covered at about 75°F until visibly airy, jiggly, and roughly 50–75% larger, often 4–6 hours total from mixing. The exact timing depends on your starter and room. Look for bubbles along the bowl and a domed surface rather than insisting on a perfectly doubled volume.
Step 3: Transfer to the Pan
Coat an 8-inch square metal pan with 1 tablespoon olive oil, including the corners. If the pan tends to stick, line the bottom with parchment before oiling. Ease the dough into the pan without punching out the bubbles. Fold the edges underneath once if needed to make a loose square.
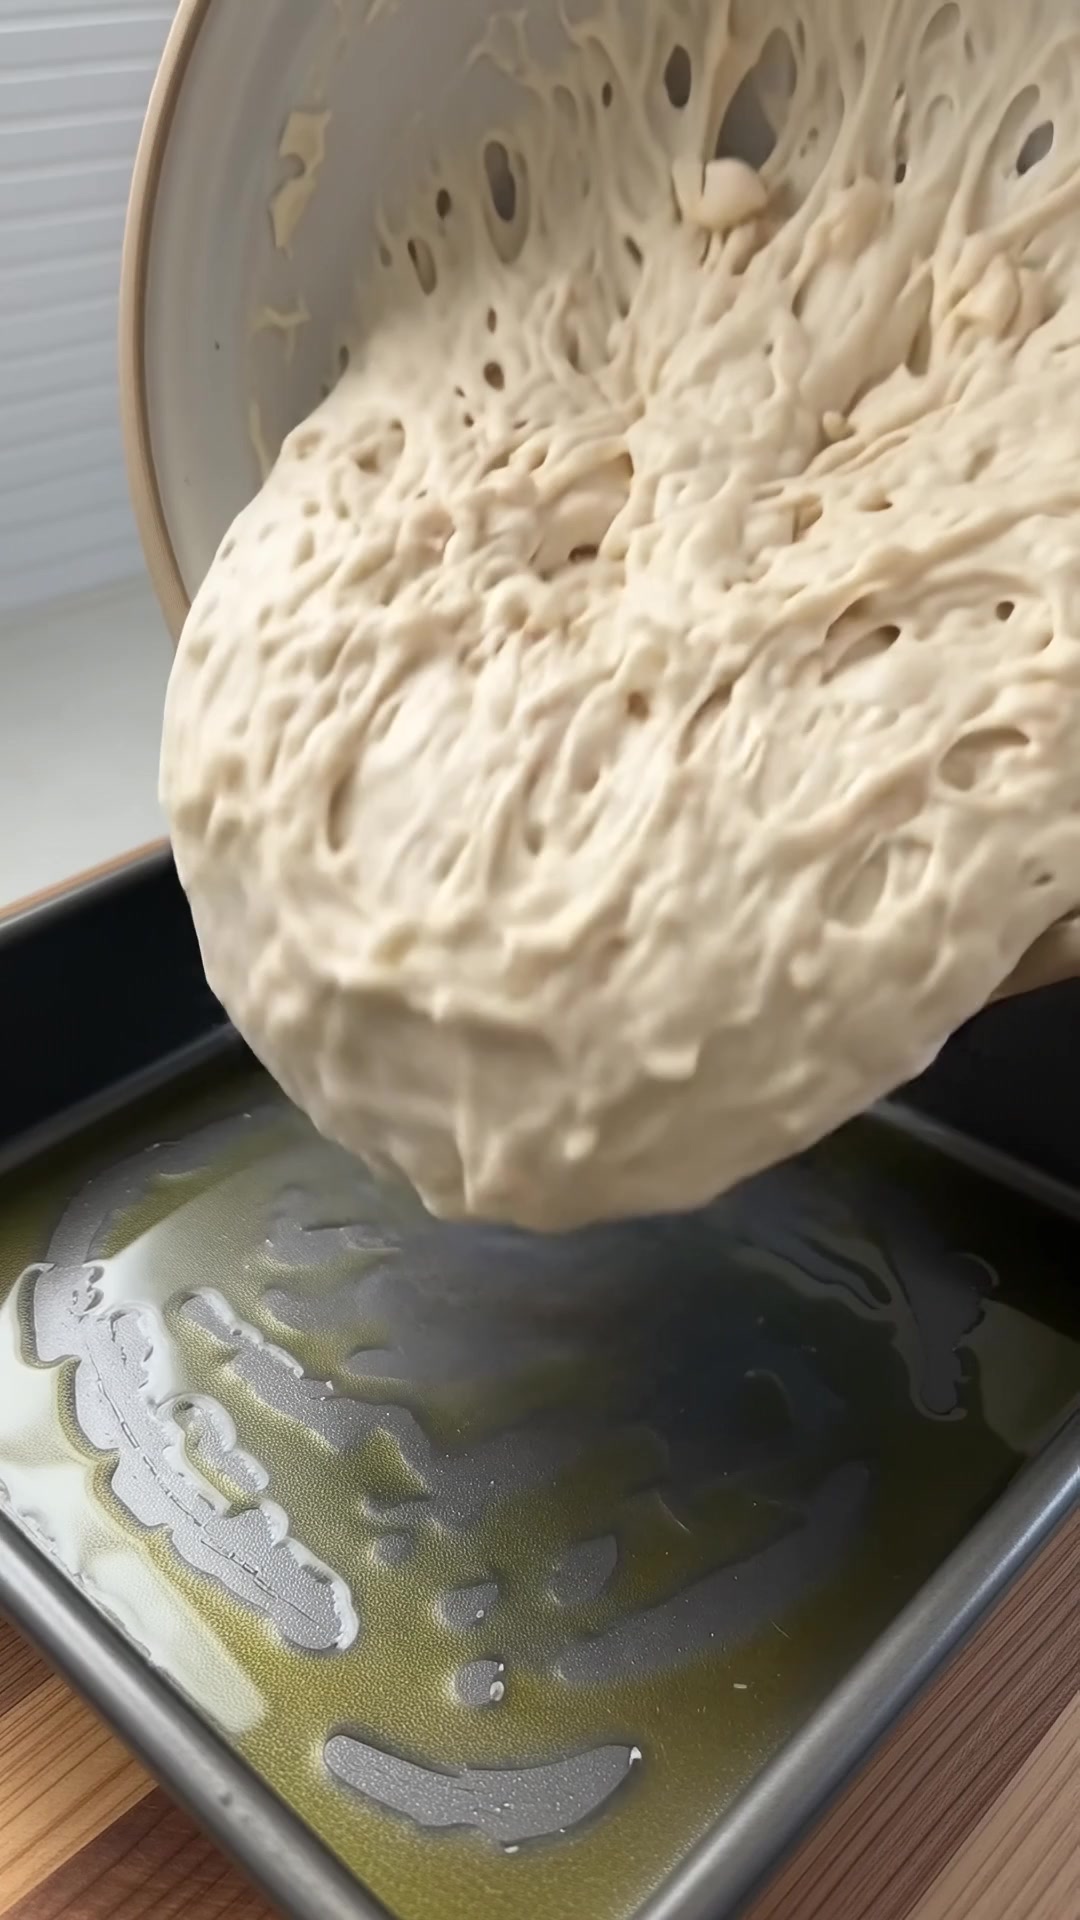
Cover and rest 30 minutes, then gently encourage the dough toward the corners. If it pulls back, stop and let it relax before trying again. Leave to proof for another 1½–3½ hours, until the dough has spread, looks inflated, and jiggles when the pan is nudged.
Step 4: Dimple and Top
Heat the oven to 425°F. Toss the sliced garlic and rosemary with the remaining tablespoon olive oil. Drizzle the tablespoon water over the dough, then add the garlic oil. Oil your fingertips and press straight down to make deep dimples, taking care not to drag or tear the surface.
Tuck garlic slices into the dimples so they are partly protected from direct heat. Sprinkle lightly with flaky salt if desired. The dough should retain plenty of bubbles between the dimples; if it feels dense and springs back strongly, give it more proofing time before baking.
Step 5: Bake and Cool
Bake on the middle rack for 22–28 minutes, until the top and edges are well golden. Lift one corner carefully to check that the base is browned. The center should register about 205–210°F. If the garlic darkens too fast, tent loosely with foil near the end.
Let rest in the pan for 5 minutes, then transfer to a wire rack so the underside stays crisp. Cool for at least 20 minutes before slicing. Pulling apart a warm piece shows the open crumb, but let the bread settle rather than cutting immediately from the oven.
Tips and Variations
Use a metal pan rather than a thick ceramic dish for a crisp base. For a milder topping, replace raw garlic slices with small pieces of roasted garlic. Thyme can stand in for rosemary. A few halved cherry tomatoes are another option, but drain them well and avoid covering the entire surface with wet toppings.
Storage Guidance
Enjoy on the day of baking for the crispest edges. Refrigerate leftovers airtight for up to 3 days because of the fresh garlic topping. Reheat uncovered at 375°F for 8–10 minutes. Freeze cooled portions for up to 2 months and reheat from frozen until hot throughout. Cool fully before packaging to avoid a soggy crust.
Short FAQ
Why is the crumb dense?
The dough may have needed more fermentation or proofing. Use the bubbly, jiggly appearance as your guide.
Can I use all-purpose flour?
Yes. It may make a softer dough, so hold back a tablespoon of water initially if necessary.
Do I need a mixer?
No. A spoon and a few gentle hand folds are enough for this small batch.