Italian Lemon Knot Cookies (Soft Nonna’s Recipe)
Nonna’s Italian Lemon Knot Cookies (Soft, Glazed Christmas Cookies)
There’s something wonderful about the smell of fresh lemon cookies baking in the kitchen, especially during the holidays. These Italian Lemon Knot Cookies are soft, tender, lightly sweet, and covered in a delicious homemade lemon glaze.
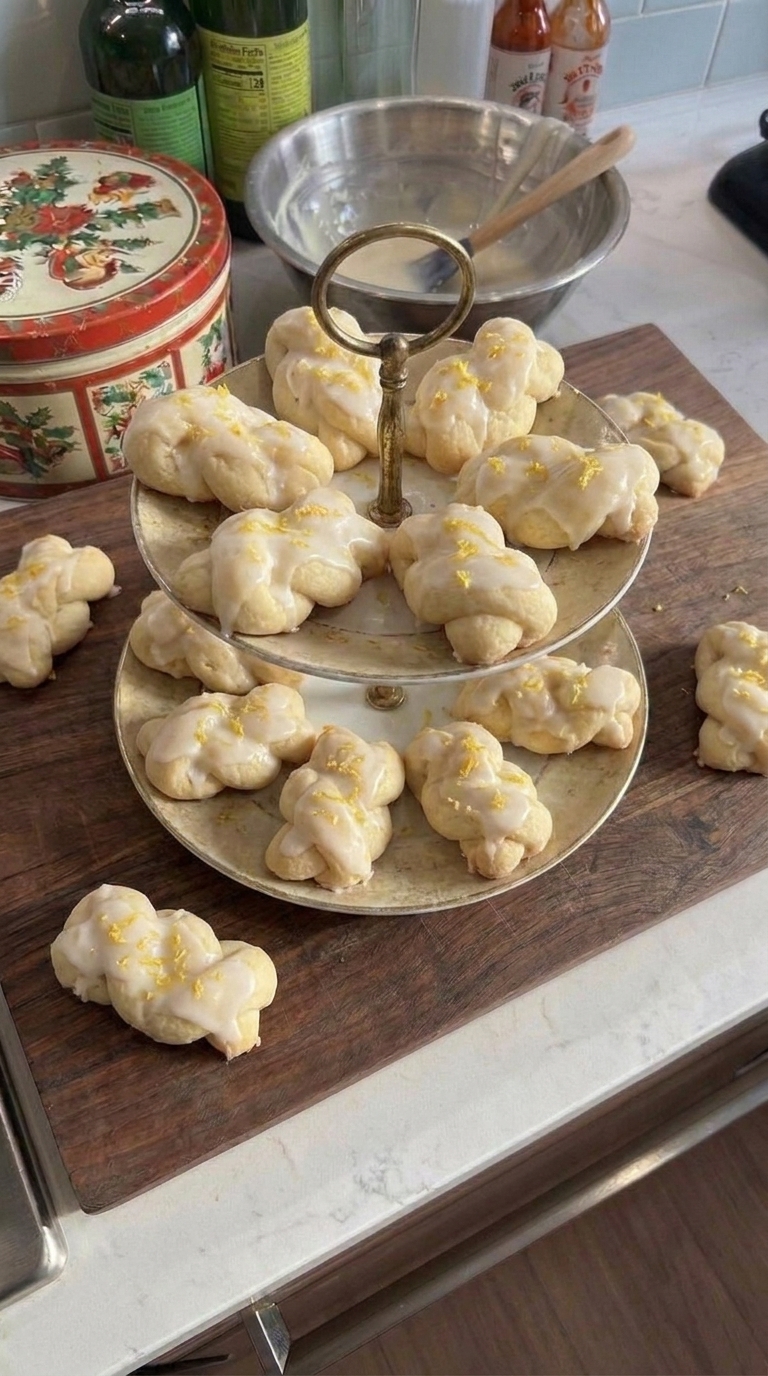
Known in many Italian-American families as lemon knot cookies or Italian love knots, these traditional-style cookies are a favorite for Christmas, Easter, weddings, and family celebrations.
Their beautiful knotted shape makes them look impressive, but they’re surprisingly easy to prepare. With simple ingredients like flour, butter, eggs, fresh lemons, and powdered sugar, you can make a batch of homemade cookies that look beautiful on any holiday dessert table.
The secret is keeping the dough soft, shaping the knots gently, and baking them just until set.
Why You’ll Love These Italian Lemon Knot Cookies
These cookies have everything you want in a classic homemade Italian dessert.
- Soft and tender texture: Unlike crunchy biscotti, these cookies have a delicate, cake-like bite.
- Fresh lemon flavor: Lemon zest and juice provide a bright citrus taste without being overpowering.
- Beautiful presentation: Their hand-tied knots and white glaze make them perfect for holiday cookie trays.
- Simple ingredients: Everything you need is available at most grocery stores.
- Great for making ahead: Bake the cookies in advance and glaze them before serving.
They’re also wonderful with a hot cup of coffee or tea.
Ingredients for Italian Lemon Knot Cookies
For the Cookies
- 3 cups all-purpose flour
- 2 teaspoons baking powder
- ¼ teaspoon salt
- ½ cup unsalted butter, softened
- ¾ cup granulated sugar
- 3 large eggs, room temperature
- 1 teaspoon vanilla extract
- 1 tablespoon fresh lemon zest
- 2 tablespoons fresh lemon juice
- 1–2 tablespoons milk, if needed
For the Lemon Glaze
- 1½ cups powdered sugar
- 2–3 tablespoons fresh lemon juice
- 1 teaspoon finely grated lemon zest
- Christmas sprinkles, optional
Ingredient Tip: Fresh lemons make a noticeable difference. Bottled lemon juice may work in the glaze, but freshly grated zest gives these cookies their wonderful citrus aroma.
How to Make Nonna’s Italian Lemon Knot Cookies
Step 1: Prepare Your Baking Sheets
Preheat your oven to 350°F (175°C).
Line two large baking sheets with parchment paper to prevent sticking and promote even baking.
In a medium bowl, whisk together the flour, baking powder, and salt. Set aside.
Step 2: Cream the Butter and Sugar
In a large mixing bowl, beat the softened butter and granulated sugar until light and creamy, approximately 2–3 minutes.
Add the eggs one at a time, mixing well after each addition.
Stir in the vanilla extract, fresh lemon zest, and lemon juice.
The mixture should smell wonderfully fresh and citrusy.
Step 3: Make the Soft Cookie Dough
Gradually add the dry ingredients to the wet mixture.
Mix just until a soft dough forms.
If the dough seems too dry or crumbly, add milk one tablespoon at a time until it becomes workable.
Avoid overmixing, which can make the cookies tough.
The finished dough should feel soft and slightly tacky but hold its shape when rolled.
Step 4: Shape the Italian Knots
Divide the dough into small portions, approximately one tablespoon each.
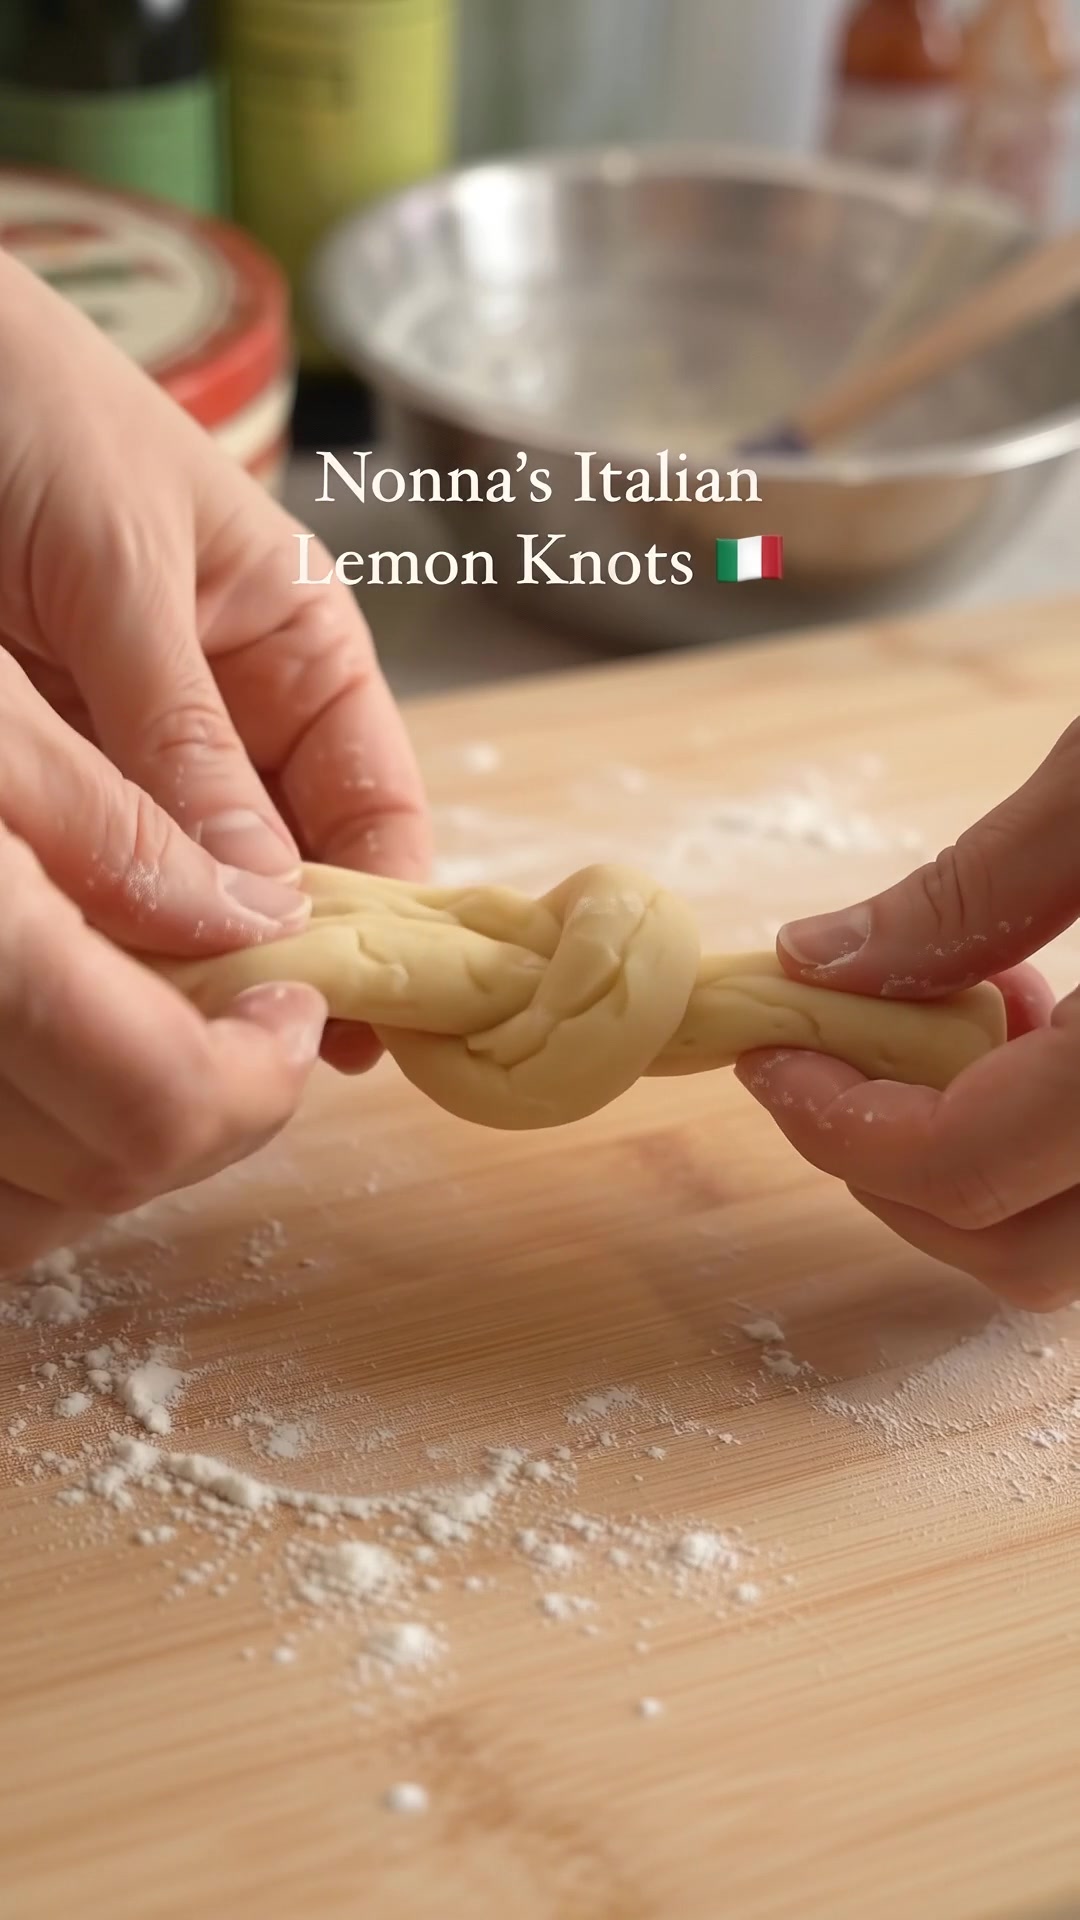
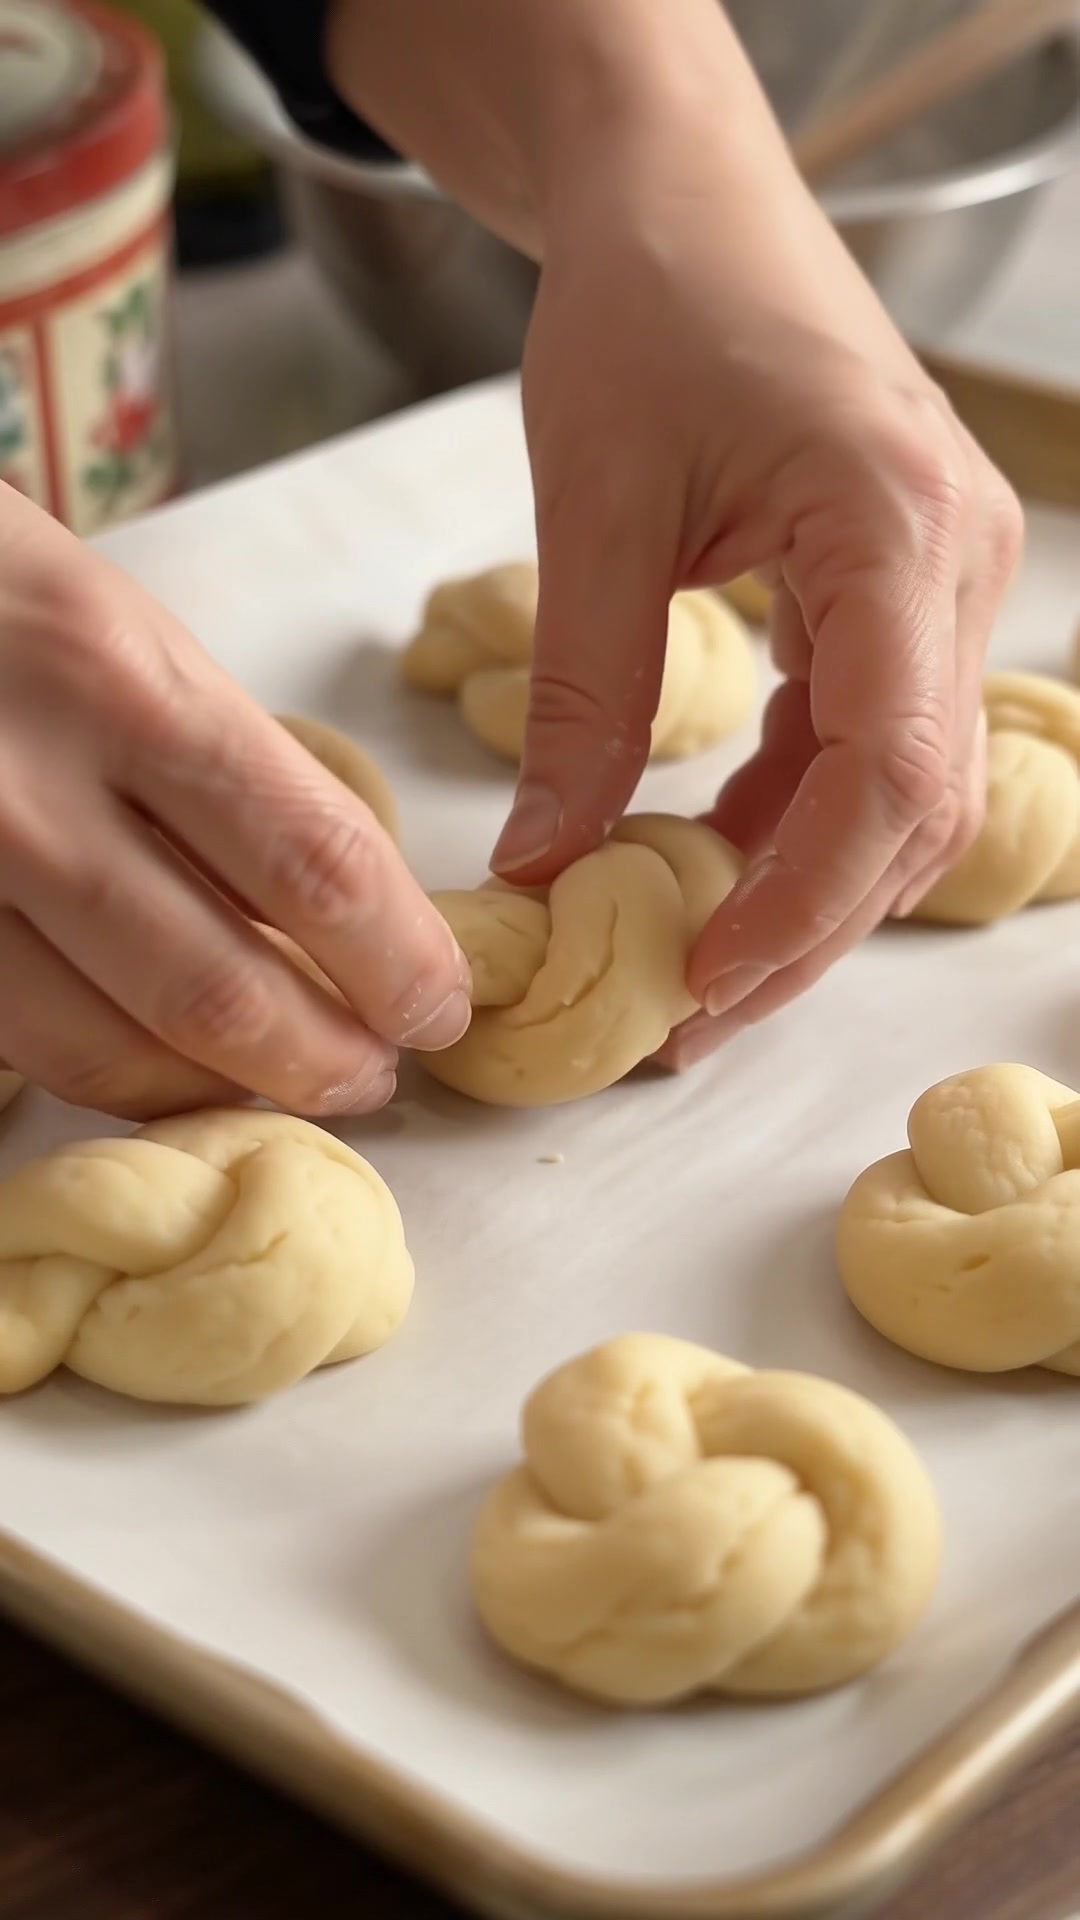
On a lightly floured surface, roll each portion into a rope about 5 inches long.
Carefully tie the rope into a loose knot, gently tucking the ends underneath.
Don’t pull the knots too tightly because the dough needs room to expand during baking.
Place each shaped cookie on the prepared baking sheets, leaving approximately 2 inches between them.
Step 5: Bake Until Just Set
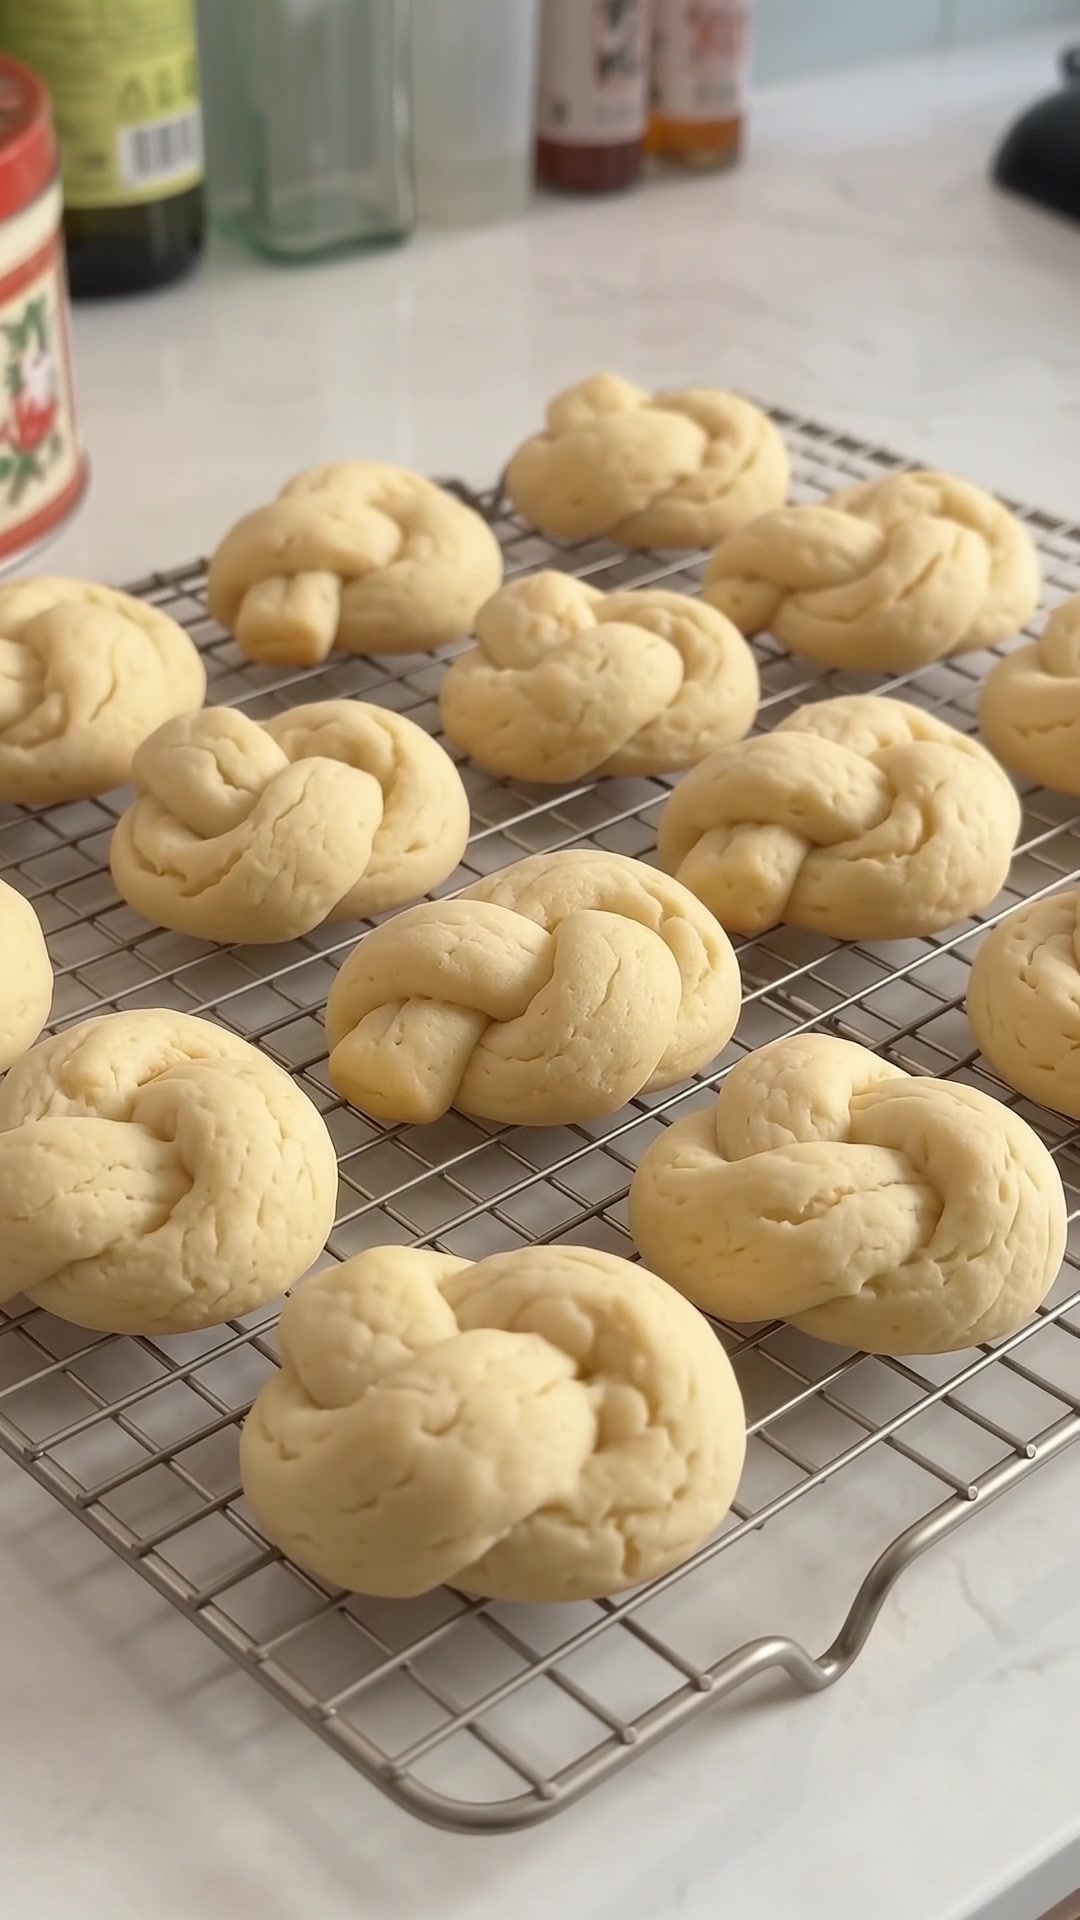
Bake the cookies for 10–12 minutes, or until the tops are set and the bottoms are lightly golden.
The cookies should remain pale rather than becoming deeply browned.
Remove them from the oven and allow them to rest on the baking sheet for 3–5 minutes.
Transfer to a wire cooling rack and let them cool completely before glazing.
Step 6: Prepare the Lemon Glaze
In a small bowl, whisk together the powdered sugar and 2 tablespoons of fresh lemon juice.
Add more lemon juice gradually until the glaze becomes smooth, thick, and pourable.
It should coat the cookies without immediately running off.
Step 7: Glaze and Decorate
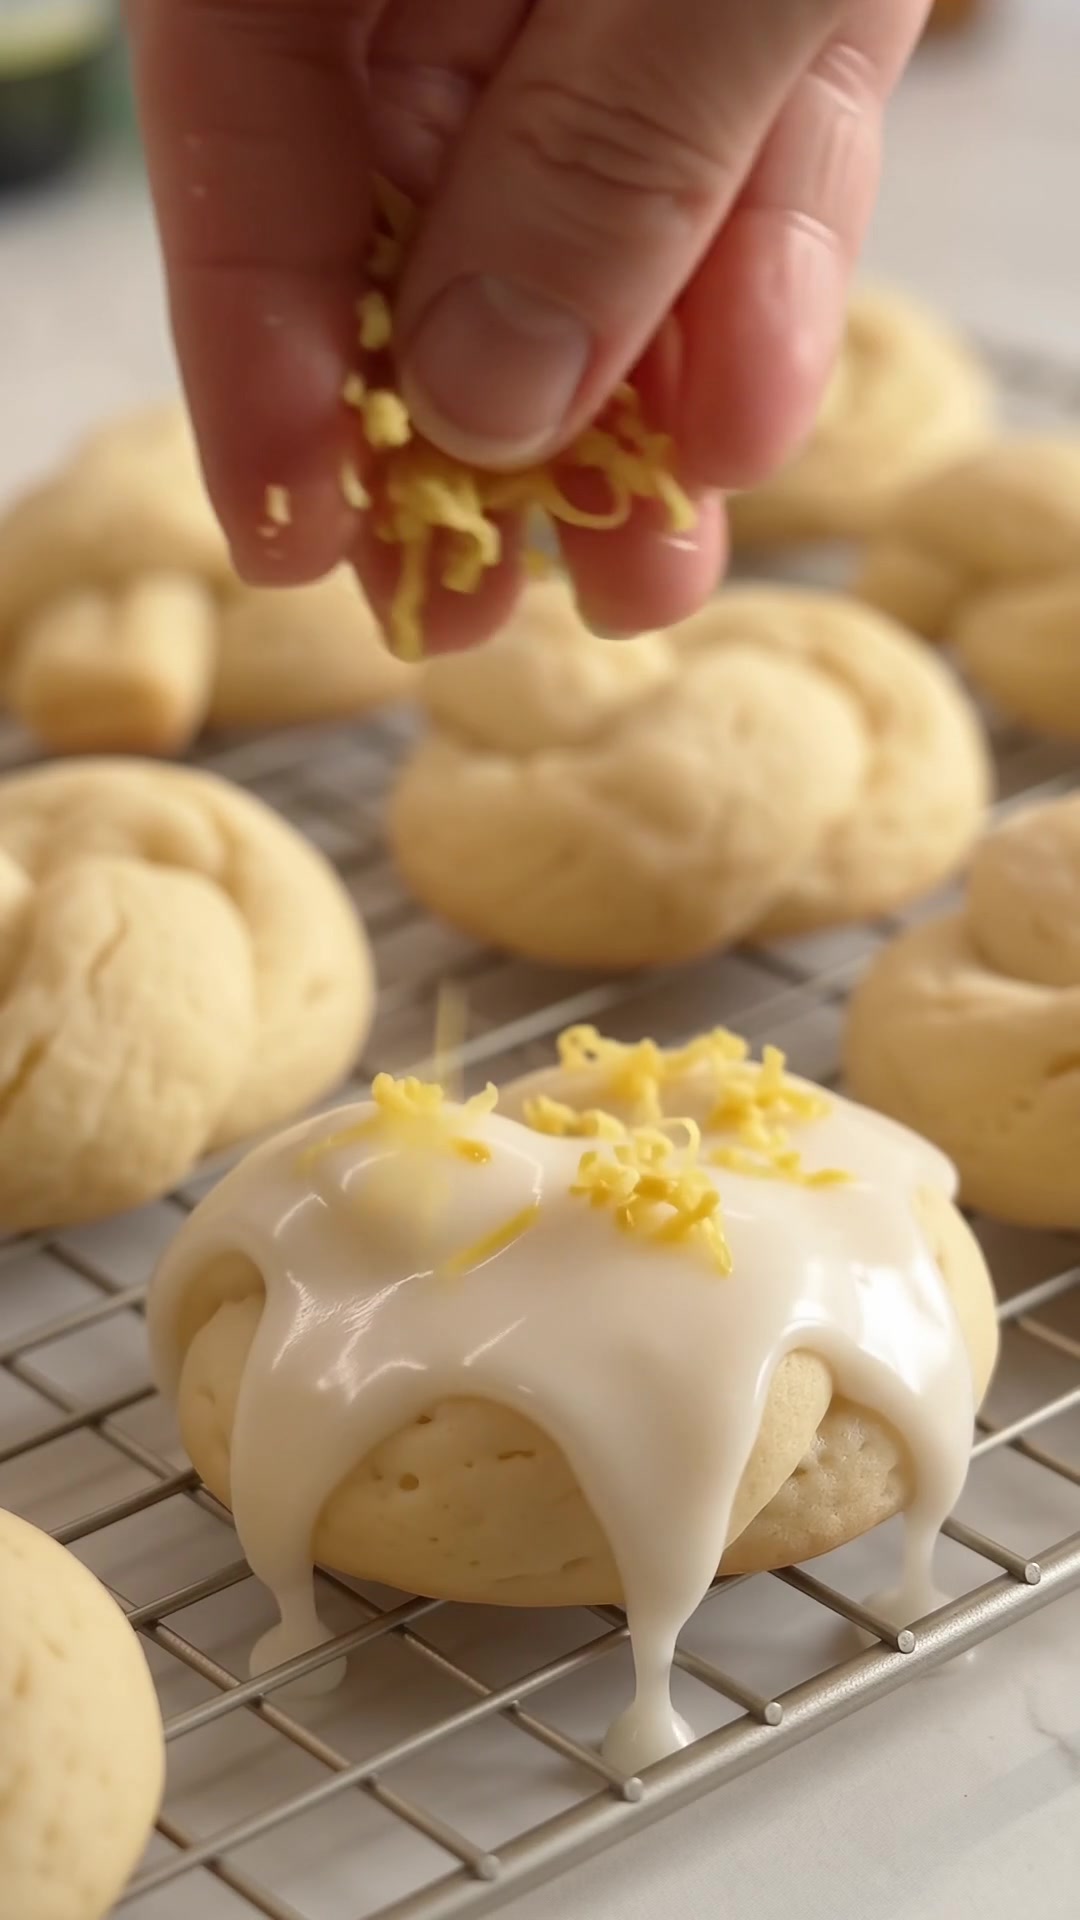
Dip the tops of the cooled cookies into the lemon glaze, or spoon the glaze generously over each knot.
Place them back on the cooling rack.
Immediately sprinkle with fresh lemon zest and optional Christmas sprinkles.
Allow the glaze to set for approximately 30–60 minutes before storing or serving.
Grandma’s Tips for Perfect Lemon Knot Cookies
Don’t add too much flour. The dough should remain soft. Excess flour can make the finished cookies dry.
Use room-temperature ingredients. Softened butter and room-temperature eggs combine more evenly.
Keep the knots loose. Tight knots can lose their attractive shape as the cookies rise.
Avoid overbaking. Italian lemon cookies should be tender and pale, with lightly golden bottoms.
Cool before glazing. Warm cookies cause the icing to melt and become too thin.
Use fresh lemon zest. The zest contains aromatic oils that provide much of the lemon flavor.
Delicious Variations
One wonderful thing about Italian knot cookies is how easily you can customize them.
Orange Knot Cookies: Replace the lemon zest and juice with fresh orange zest and orange juice.
Almond Italian Knots: Add ½ teaspoon almond extract to the dough for a classic Italian bakery flavor.
Christmas Sprinkle Cookies: Decorate the fresh glaze with red, green, and white nonpareils.
Vanilla Glazed Knots: Replace the lemon juice in the glaze with milk and add ½ teaspoon vanilla extract.
Extra-Lemony Cookies: Add a little more finely grated lemon zest to the glaze for a stronger citrus finish.
How to Store Italian Lemon Knot Cookies
Room Temperature
Store fully cooled, glazed cookies in an airtight container at room temperature for up to 4 days.
Place parchment paper between layers to protect the glaze.
Freezing
For the best results, freeze the cookies before glazing.
Arrange the cooled cookies in a freezer-safe container and freeze for up to 2 months.
Thaw at room temperature, then prepare and apply fresh lemon glaze.
Make-Ahead Instructions
You can prepare the cookie dough one day ahead.
Wrap it tightly and refrigerate overnight.
Allow the dough to soften slightly before shaping if it becomes too firm.
Frequently Asked Questions
Why are my Italian lemon cookies dry?
The most common reasons are adding too much flour or baking them too long. Measure flour carefully and remove the cookies once they’re set.
Can I make these cookies without a mixer?
Yes! You can cream the softened butter and sugar using a wooden spoon, although it will require a little more effort.
Can I use bottled lemon juice?
Fresh lemon juice is recommended for the best flavor, especially in the glaze. Bottled juice can be used when necessary.
Why did my cookies lose their knot shape?
The dough may have been too soft, or the knots may have been pulled too tightly. Try chilling the dough briefly before shaping.
Are Italian lemon knot cookies only for Christmas?
Not at all! These cookies are popular for Easter, weddings, birthdays, and other Italian-American family celebrations.
Final Thoughts
Nonna’s Italian Lemon Knot Cookies are a beautiful reminder that some of the best homemade desserts come from simple ingredients and a little patience.
Their soft texture, fresh lemon flavor, delicate knotted shape, and sweet white glaze make them a wonderful addition to any Christmas cookie platter.
Whether you’re continuing a family baking tradition or trying Italian knot cookies for the first time, this recipe is a lovely one to share.
Serve them with coffee, package them in holiday cookie tins, or bring a batch to your next family gathering.
Nonna's Italian Lemon Knot Cookies
Ingredients
Method
- Preheat oven to 350°F and line two baking sheets with parchment paper.
- Whisk together flour, baking powder, and salt.
- Cream butter and sugar until light and fluffy.
- Beat in eggs one at a time.
- Add vanilla, lemon zest, and lemon juice.
- Gradually incorporate dry ingredients until a soft dough forms. Add milk if needed.
- Divide dough into tablespoon-sized portions.
- Roll each portion into a 5-inch rope and tie into a loose knot.
- Arrange cookies 2 inches apart on baking sheets.
- Bake for 10–12 minutes until set and lightly golden underneath.
- Cool completely on a wire rack.
- Whisk powdered sugar with lemon juice until smooth.
- Dip cookie tops into glaze.
- Sprinkle with lemon zest and optional decorations.
- Allow glaze to set before serving.